On This Page
- Creating Checklists
- Create a Checklist from a Template
- The Checklist Page
- Checklist Name
- Checklist Status
- Checklist View Selector
- Checklist Members
- Checklist Automations
- Checklist Menu
- Move Completed Tasks to End
- Delete Completed Tasks
- Duplicate Checklist
- Make Checklist into a Template
- Publish Checklist
- Embed Your Checklist
- Checklist Notes
- Download Checklist
- Delete a Checklist
Checklist
Creating Checklists
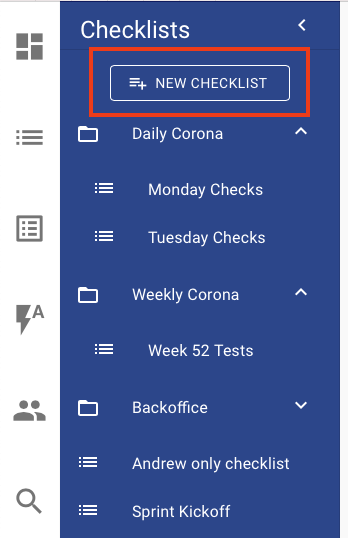
To create a new checklist, go to the Checklists page and click the "New Checklist" button:
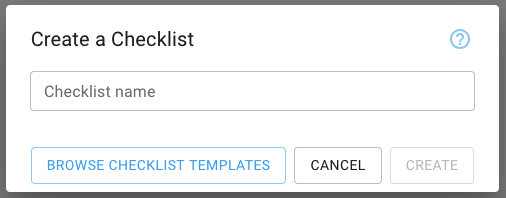
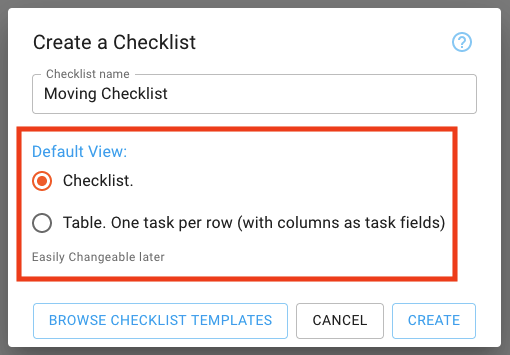
This will open the "Create a Checklist" dialog:
Once you click in the checklist name field, the app will display a list of types to choose from:
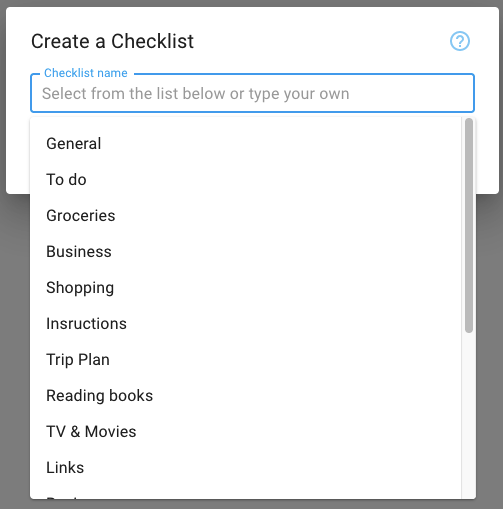
You can choose from any available types. Alternatively, start typing the name of the type you want to create. If there's a checklist template with a similar name, we'll suggest it:
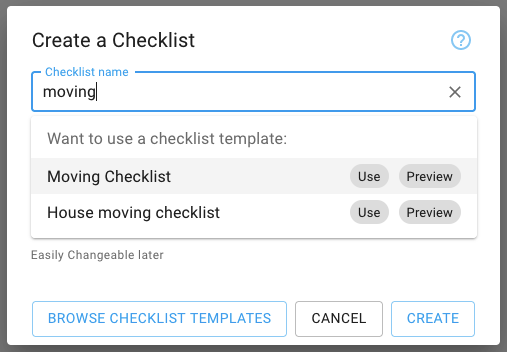
You have two options:
- Preview - click to see the template before using it.
- Use - click to create a checklist from this template.
If you don't want to use any of the suggested templates, continue typing the name of the checklist type you want to create.
Note: The checklist name must be 1-256 characters long.
You can then choose from the following default view options:
- List - a simple checklist with tasks and subtasks.
- Table - a checklist with a table view.
To learn more about the different views, refer to Checklist Views ↗.
Click the "Create" button to create the checklist.
Once created, the app will redirect to the new checklist.
Create a Checklist from a Template
To explore our database of checklist templates, click "Browse Checklist Templates." This takes you to the Checklist Templates ↗ section, where you can explore and select a template to use.
The Checklist Page
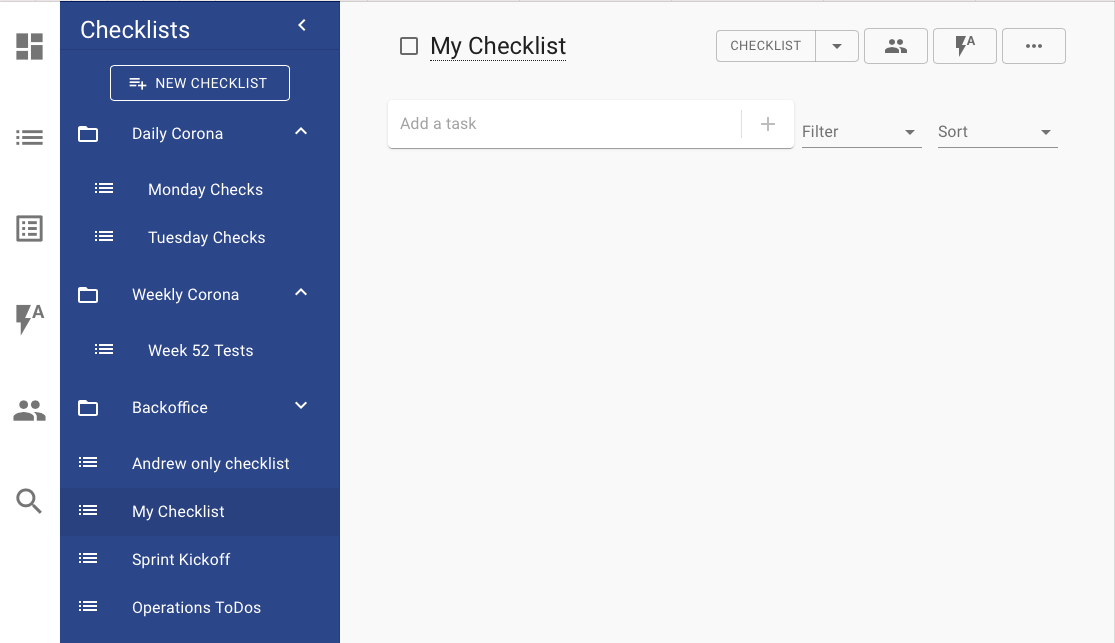
A newly created checklist opens with the Checklist view and is devoid of tasks:
Checklist Name
The checklist name appears at the top of the page:

Click on the checklist name to edit it:

Make the desired changes to the name and either hit Enter or click anywhere outside the name. Cancel changes with the ESC button.
Checklist Status
The Checklist status can be open or completed (unchecked or checked, respectively):

The status auto-updates based on the checklist's task statuses. Read more about Checklist Propagation ↗.
To manually change the status, click on the checkbox:
- If the checklist was open, it and all tasks and subtasks become completed.
- If the checklist was completed, it and all tasks and subtasks become open.
Checklist View Selector
Choose from various views (e.g., Checklist, Table, Form) using the Checklist View Selector:

Note: Available viewers may vary based on checklist owner settings. See Checklist Views ↗ for more info.
Checklist Members
To view and manage checklist members, use the Checklist Members button. Read more about Checklist Members ↗.
Checklist Automations
Checklist automations enhance productivity. Define automation recipes by clicking on the Automation button:

This directs you to the Checklist Automation page, where you can view existing automation recipes and create new ones.
Read more about Checklist Automation ↗
Checklist Menu
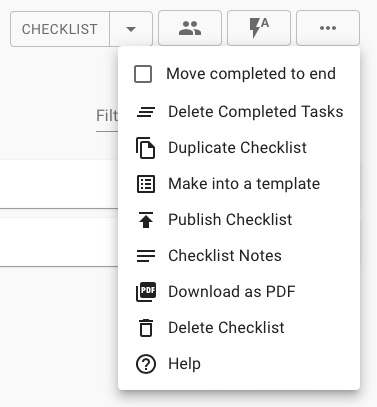
The Checklist menu provides important functionality. Access it by clicking on its buttons:
Move Completed Tasks to End
Boost productivity by moving completed tasks to the end. Open the Checklist menu and check the checkbox next to "Move Completed to End."
When checked, completed tasks are moved to the end but as individual tasks, not subtasks. This ensures completed tasks are kept at the end of the checklist, not just as the last subtask.
Delete Completed Tasks
Open the Checklist menu and click "Delete Completed Tasks" to remove completed tasks.
Duplicate Checklist
Duplicate a checklist by clicking "Duplicate Checklist" in the Checklist menu. This opens the "Duplicate Checklist" dialog:
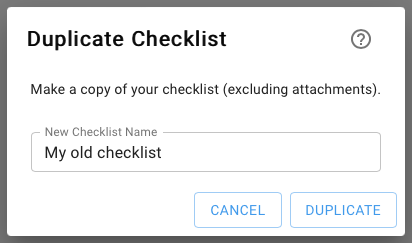
Provide a new name, hit Duplicate, and navigate to the new checklist.
Note: Attachments are not duplicated for privacy reasons.
Make Checklist into a Template
If you regularly use a checklist, make it a template. From the Checklist Menu, click "Make into a template." A confirmation dialog opens:

Click Confirm, and the app processes the request, displaying a confirmation message:

Click EDIT on the message to edit the template immediately.
Read more about Checklist Templates ↗.
Publish Checklist
Publish the checklist on checklist.com for others to view/use. Open the Checklist Menu and click "Publish Checklist." This opens the "Publish Checklist" dialog:
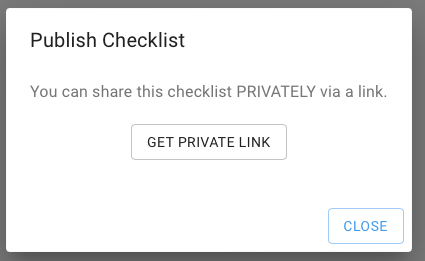
Click the button to get a private link (accessible only by people with the private link). The dialog displays the link to your checklist:
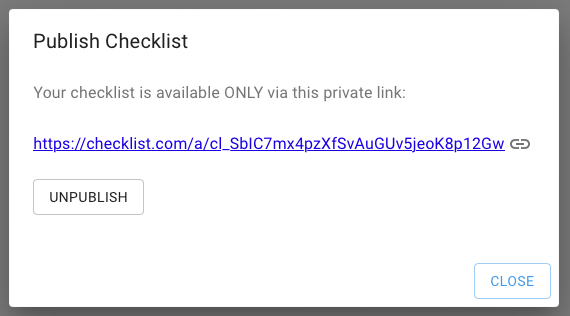
Click the link to view the published checklist or use the 'Link' button to copy it. Unpublish to revoke access.
See below how to add notes to the published checklist.
Warning: Unpublishing and then re-publishing generates a new link, rendering the old link inaccessible.
Embed Your Checklist
You can Publish a Checklist and then embed it on your site. On the published checklist, click on the Embed button:
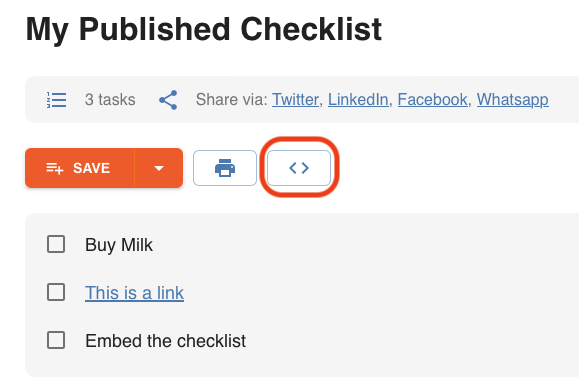
Copy the embed code and paste it on your website HTML code:
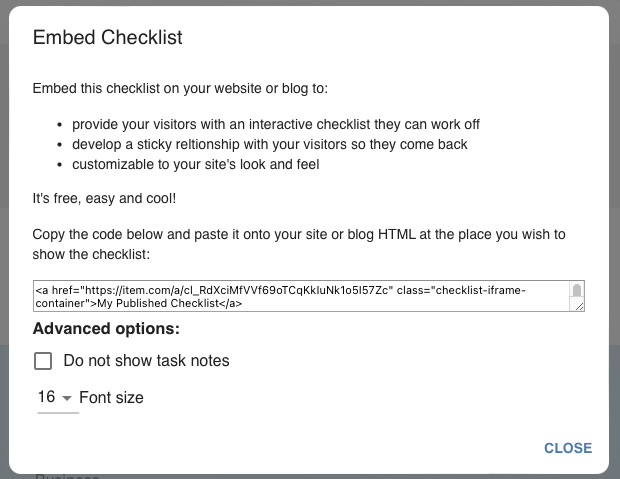
Optional: Customize font size and decide whether to show or hide task notes.
Checklist Notes
Add notes to the top of the checklist for context or instructions. Open the Checklist Menu and click "Checklist Notes." The app opens the "Notes" dialog:
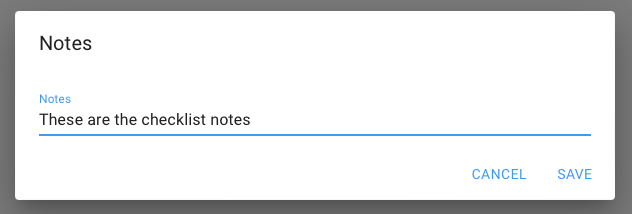
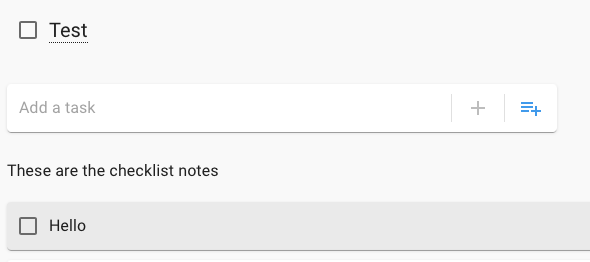
Update and save notes, visible at the top of the checklist:
Download Checklist
Download the Checklist as a PDF. Open the Checklist Menu and click "Download as PDF." The app opens the "Download Checklist" dialog:
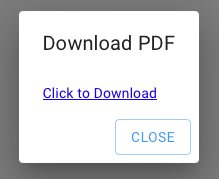
Click the link to download the generated PDF.
Delete a Checklist
To delete a checklist, select the option from the Checklist Menu. Confirm on the dialog, and the checklist is deleted. Redirect to the Checklists page to choose another checklist.
If you were only a member and not the owner, the checklist won't be deleted; you'll be removed as a member, losing access.
