
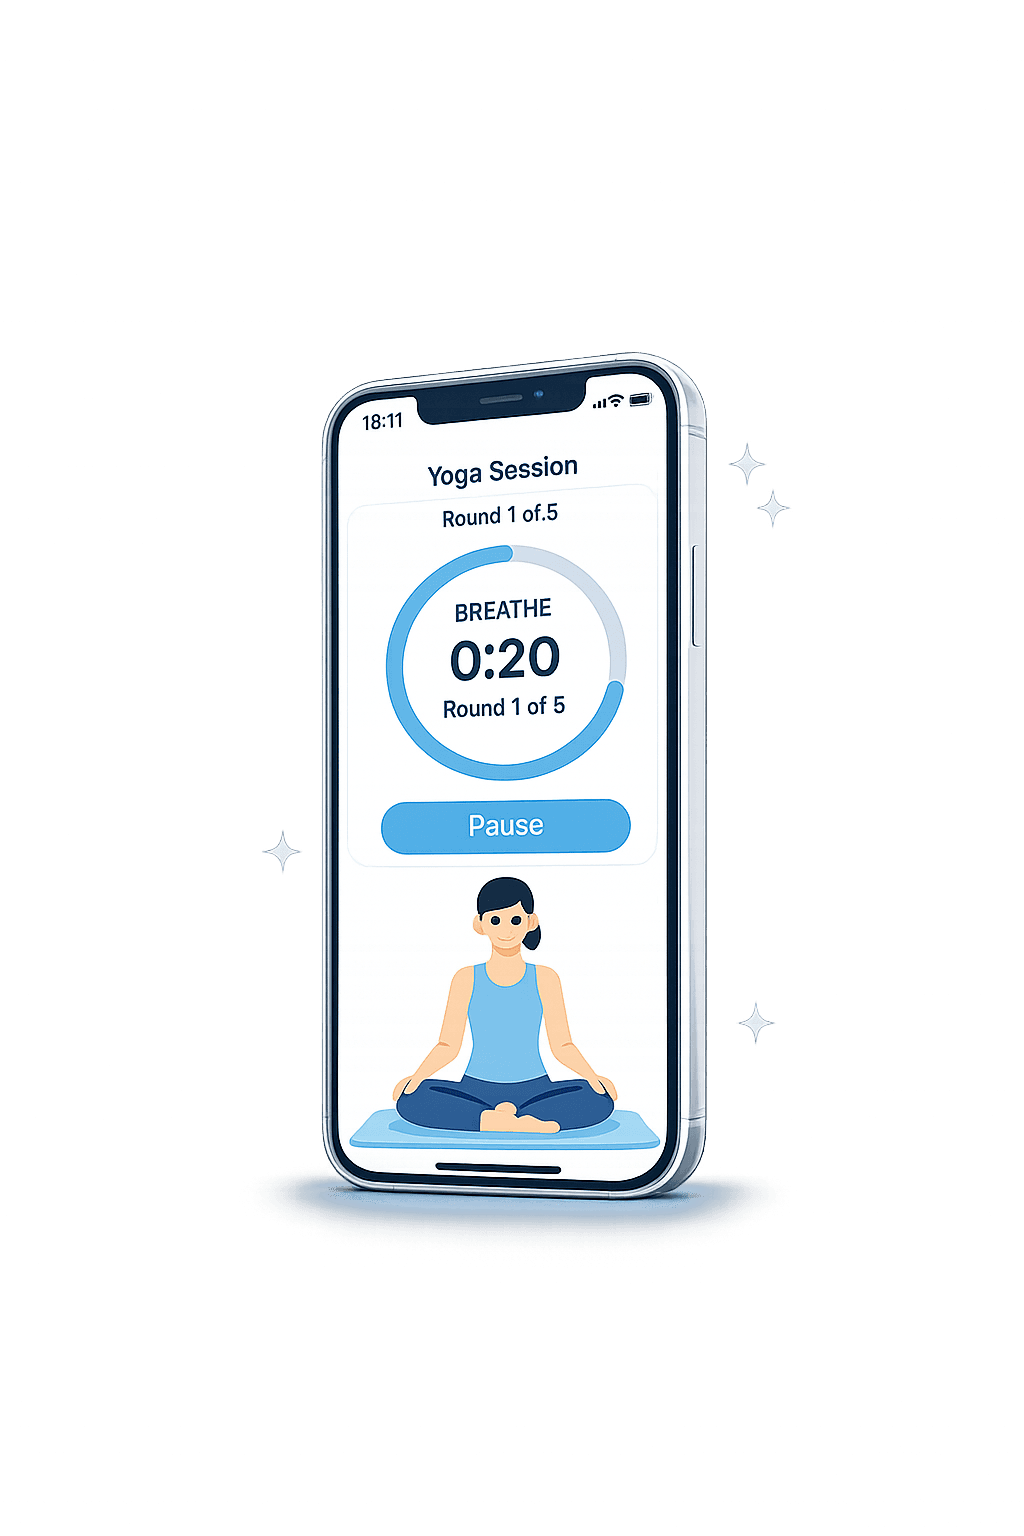
Your checklist
No poses selected yet
Choose a preset above or add poses from the list below.
Choose more poses
Add optional poses to your routine.
52 poses currently match
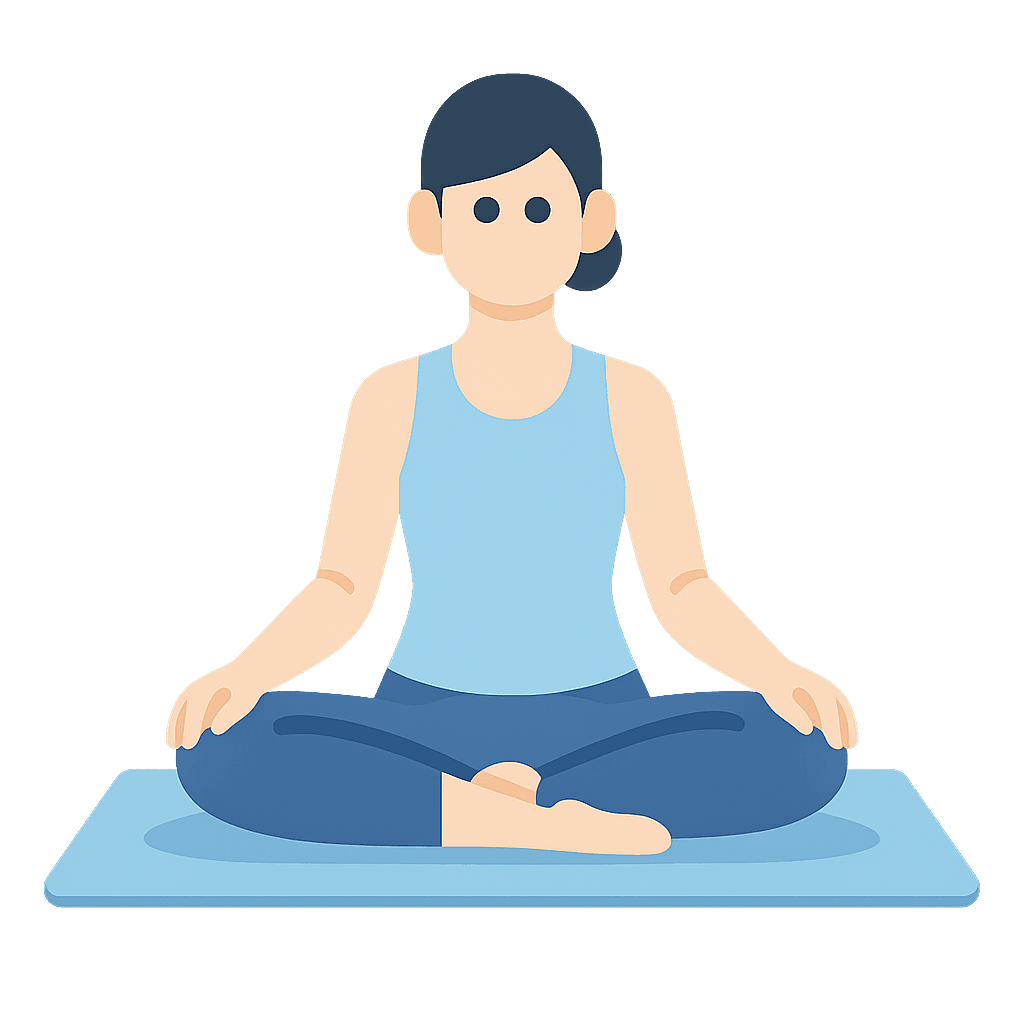
Easy Pose Breathing
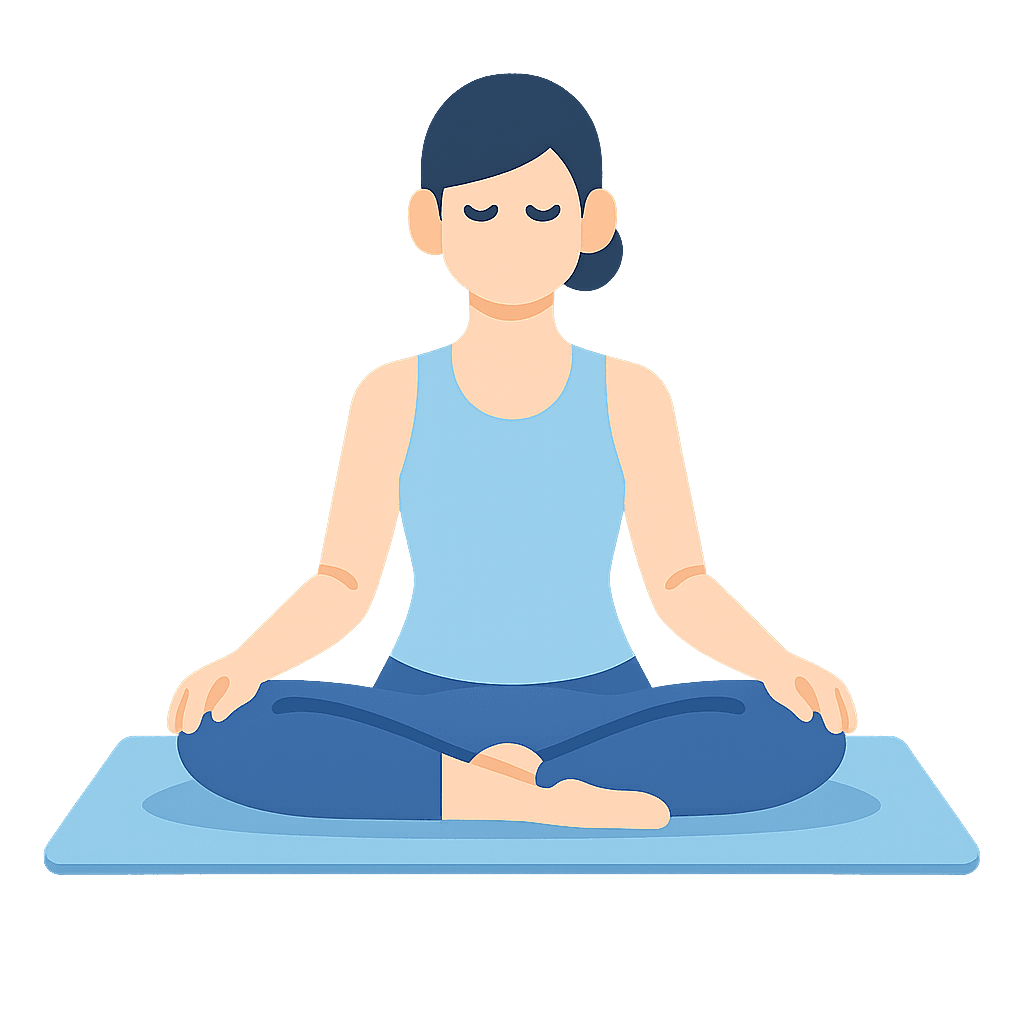
Box Breathing
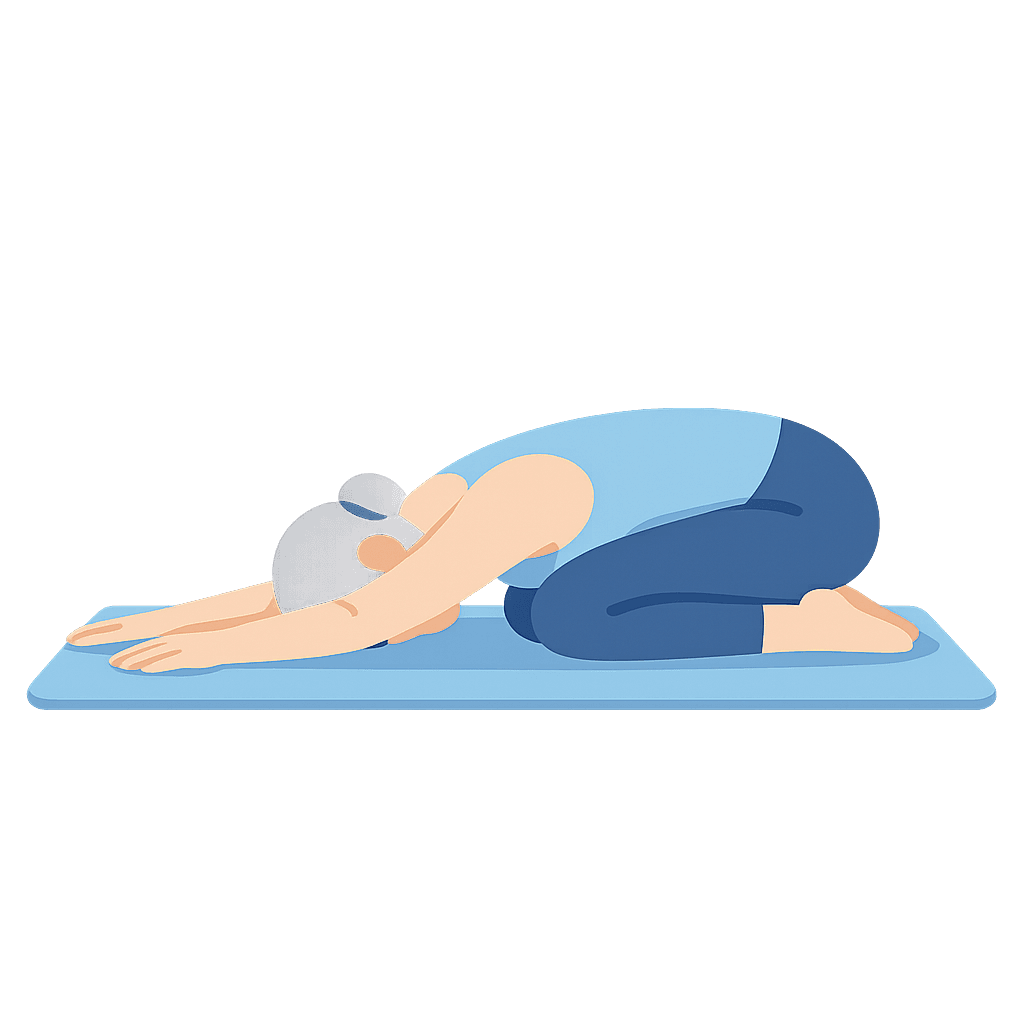
Child’s Pose
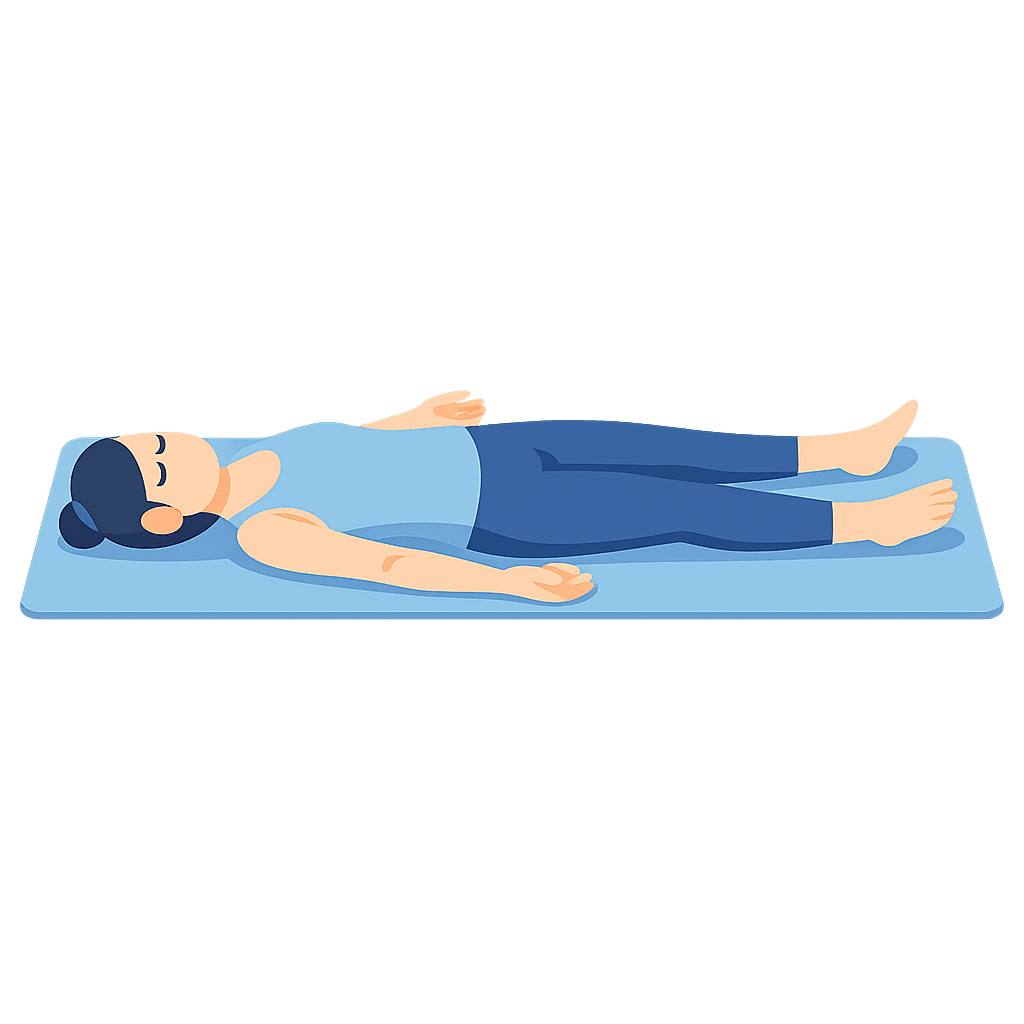
Corpse Pose
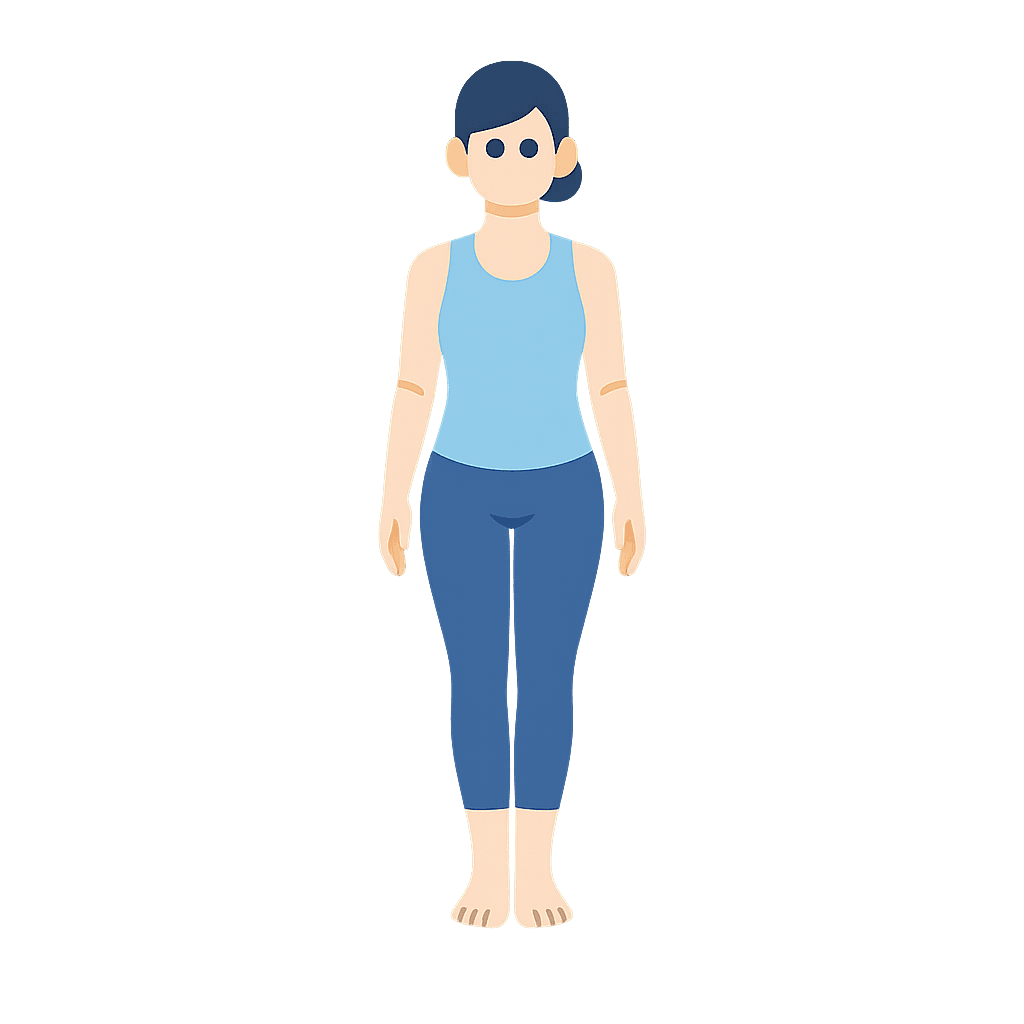
Mountain Pose
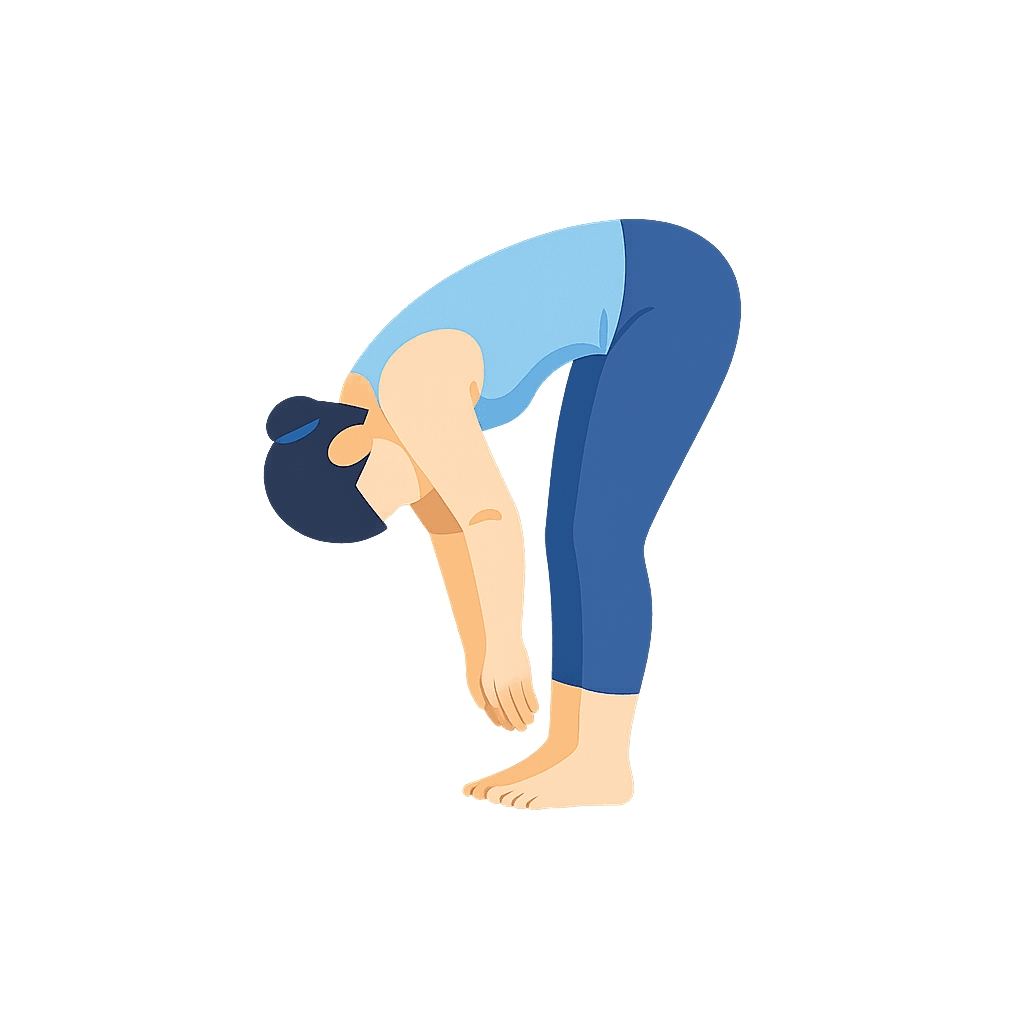
Standing Forward Fold
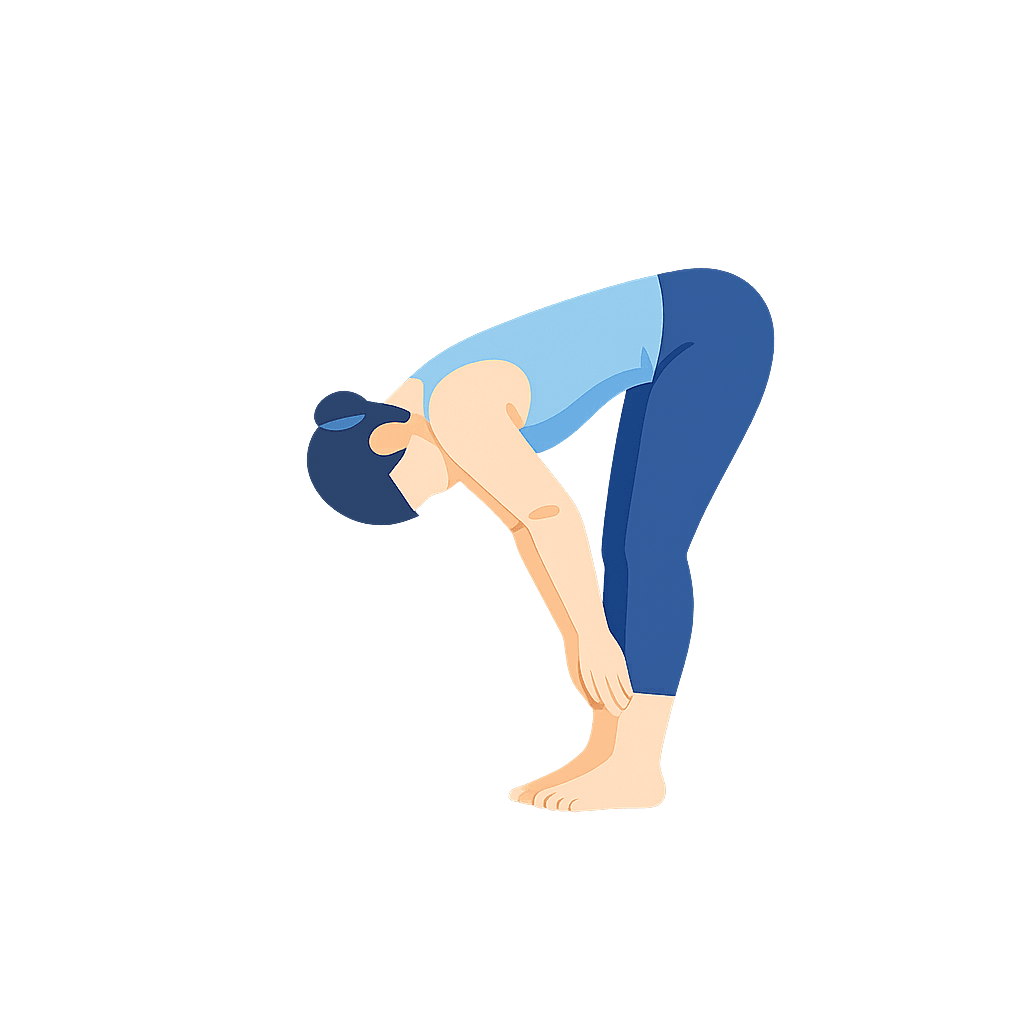
Half Forward Fold
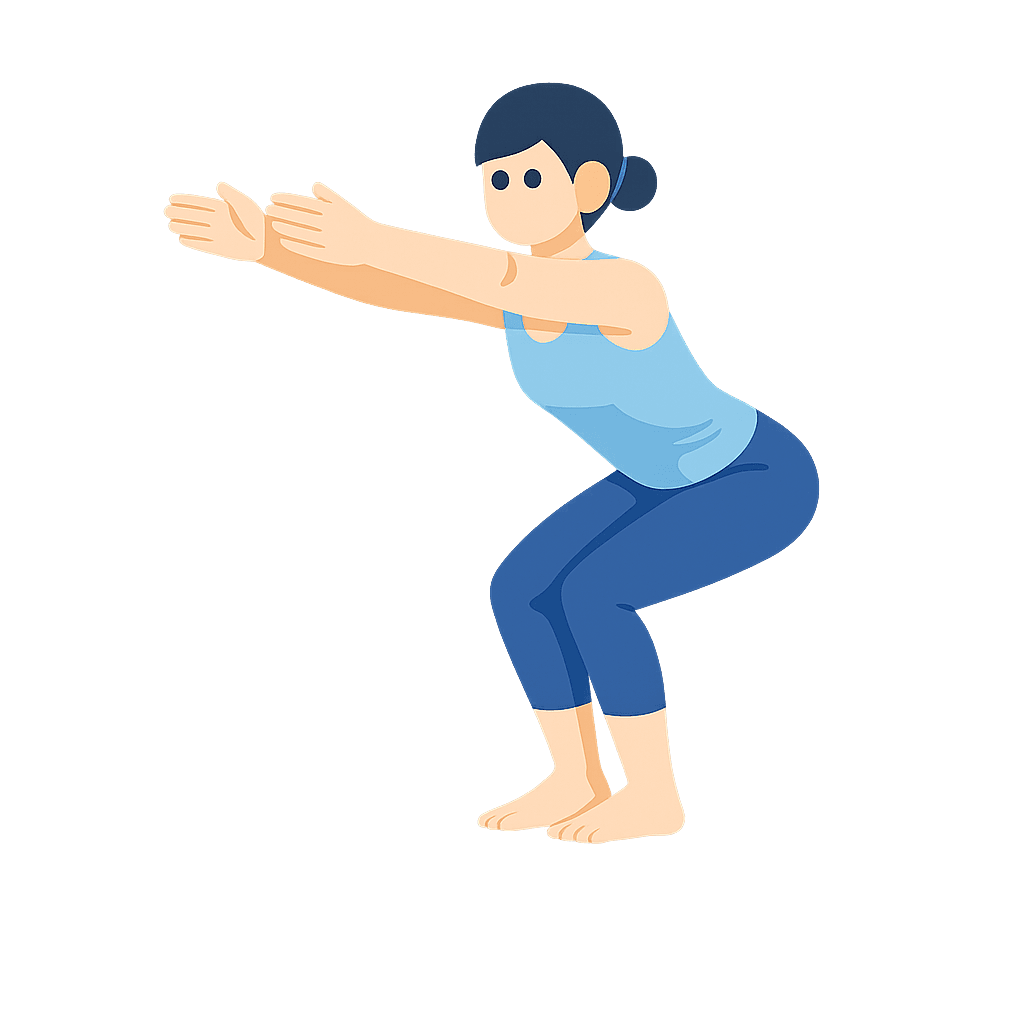
Chair Pose
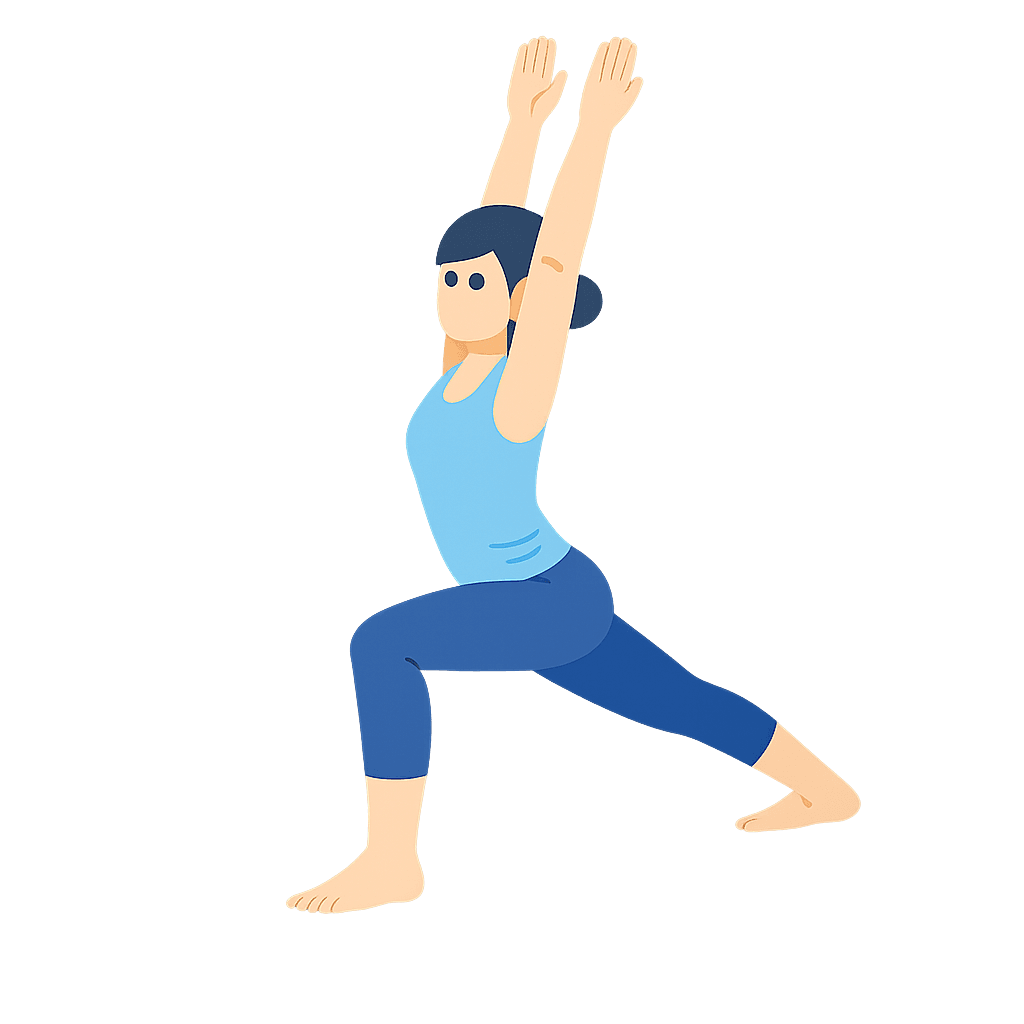
Warrior I
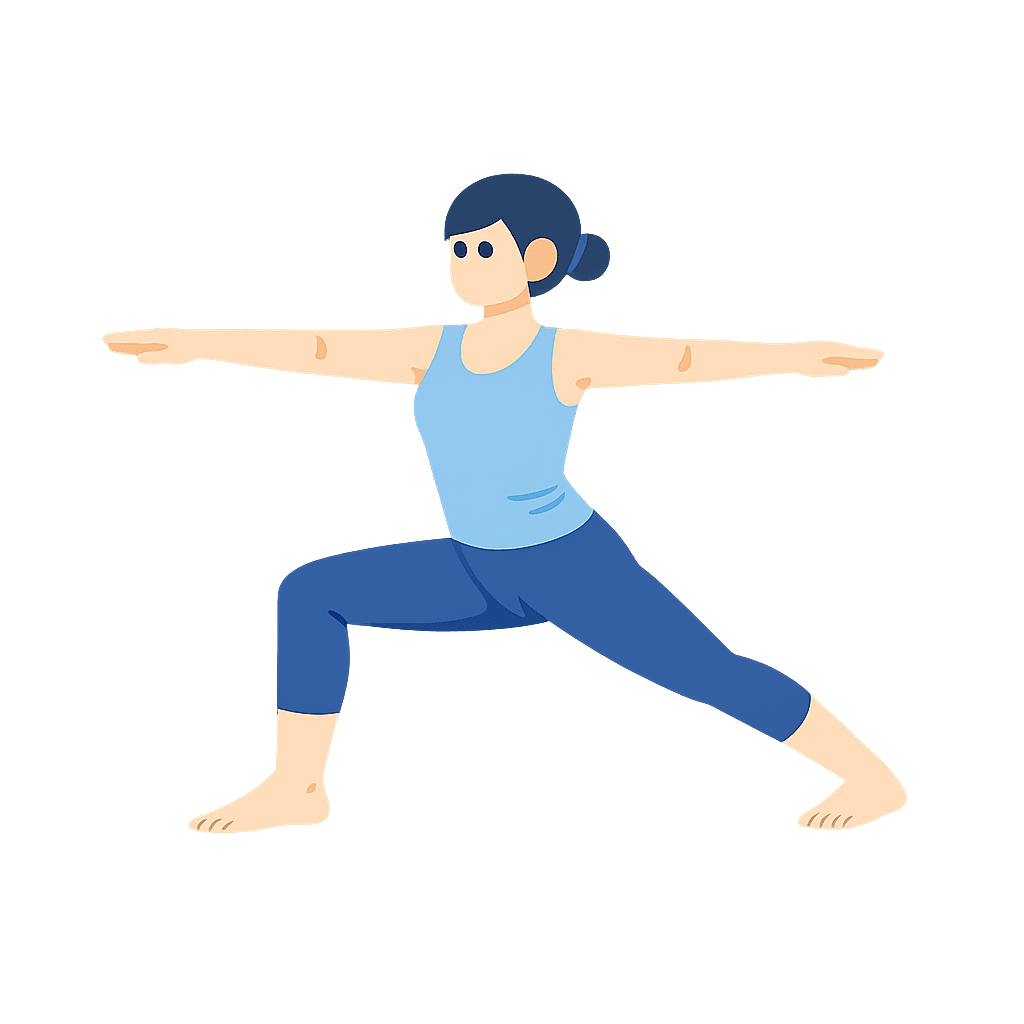
Warrior II
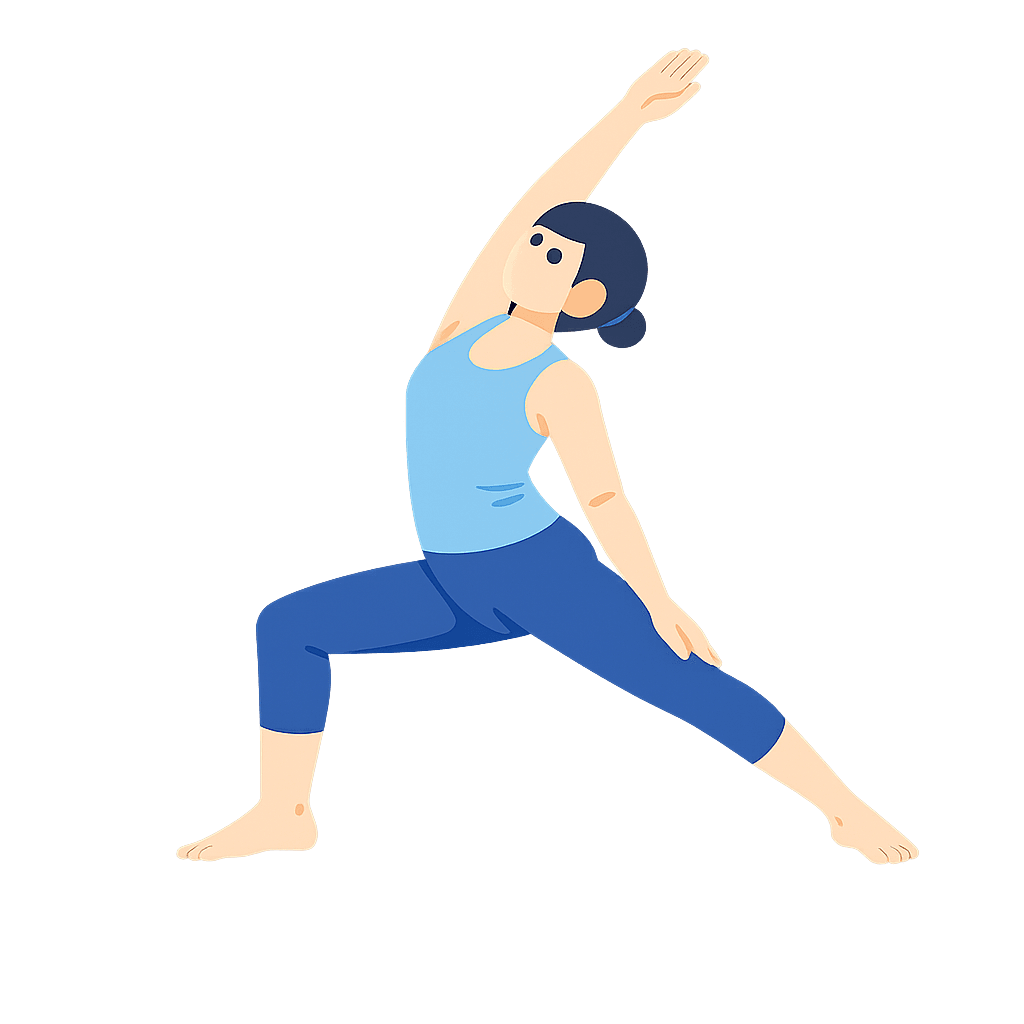
Reverse Warrior
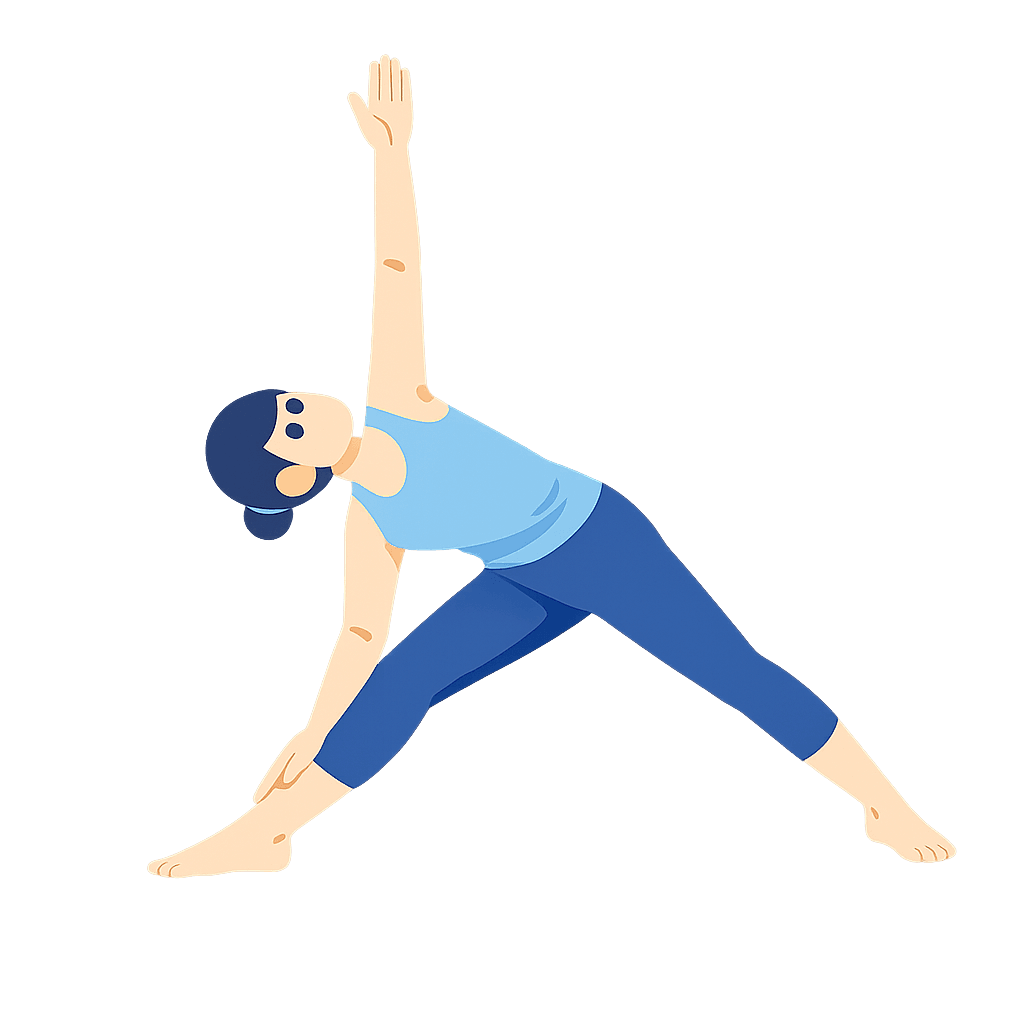
Triangle Pose
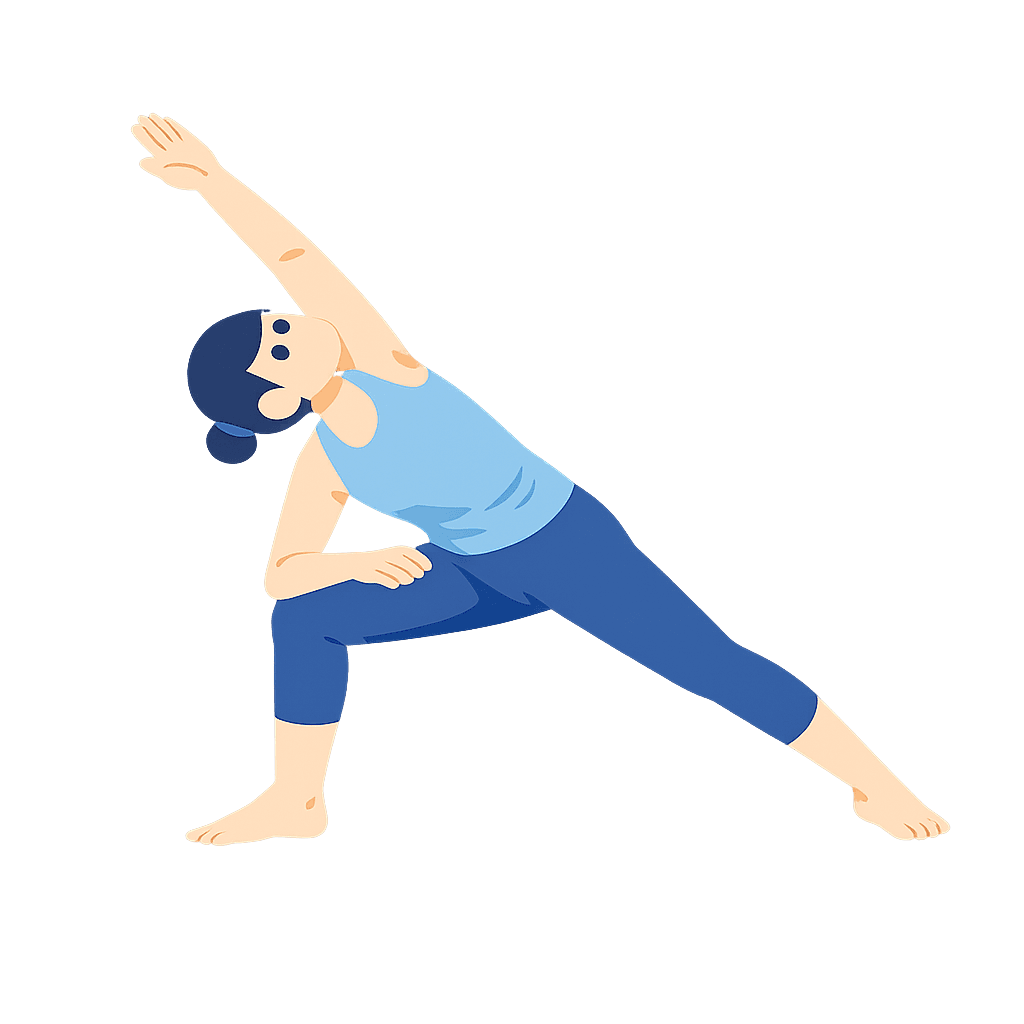
Extended Side Angle
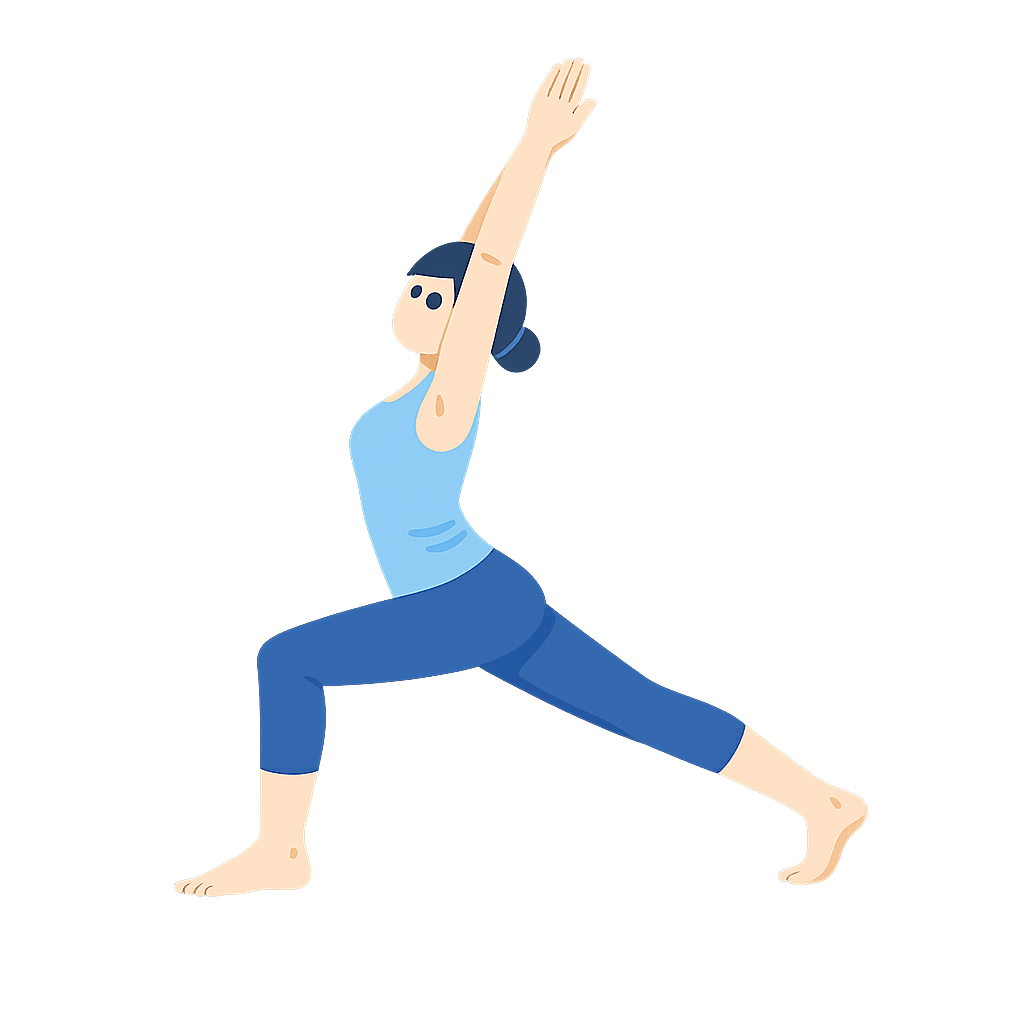
High Lunge
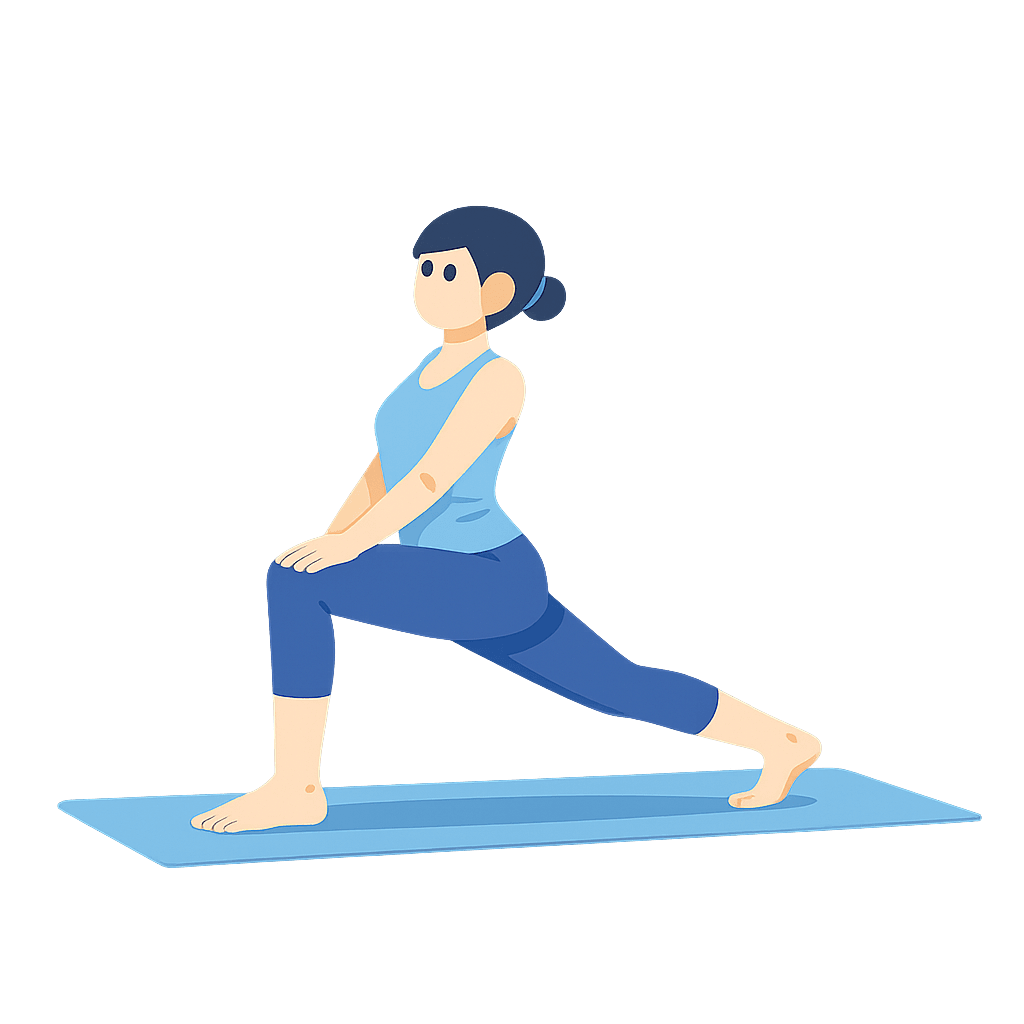
Low Lunge
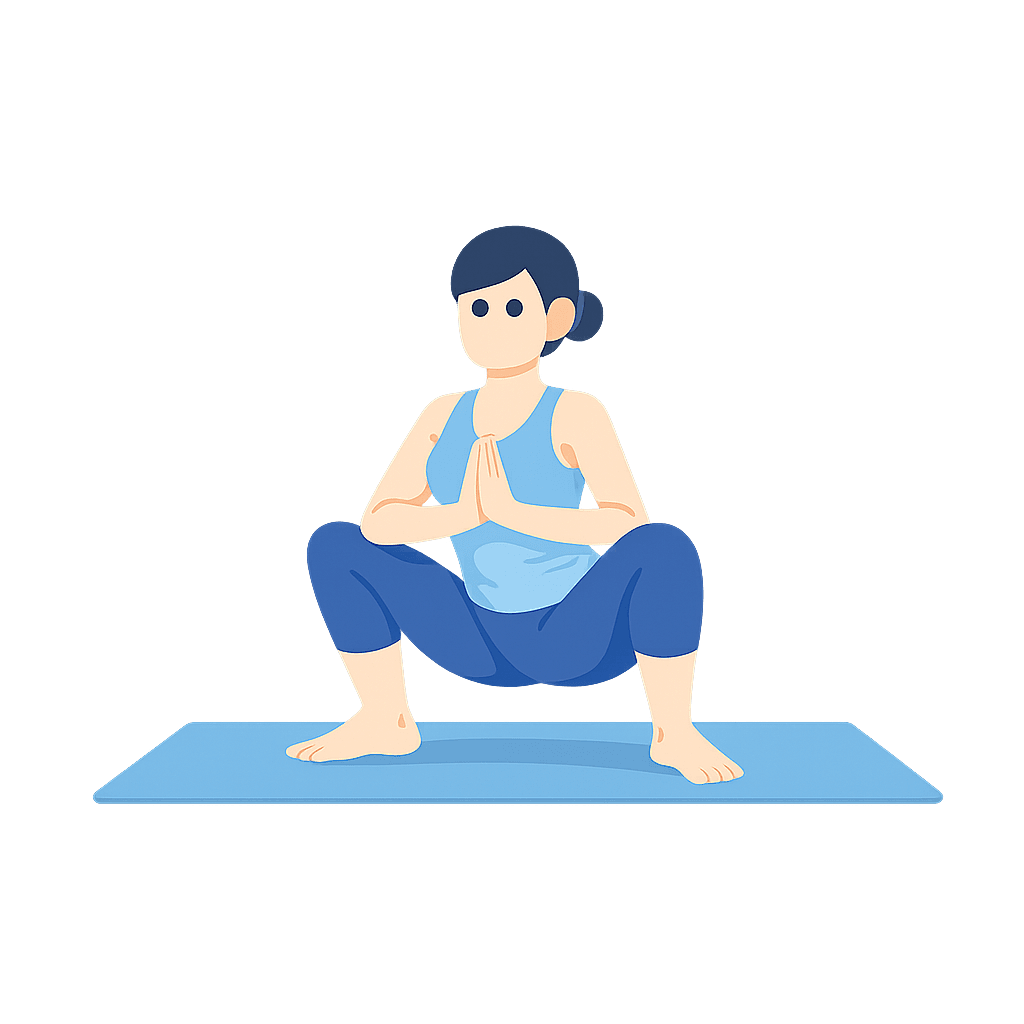
Garland Pose
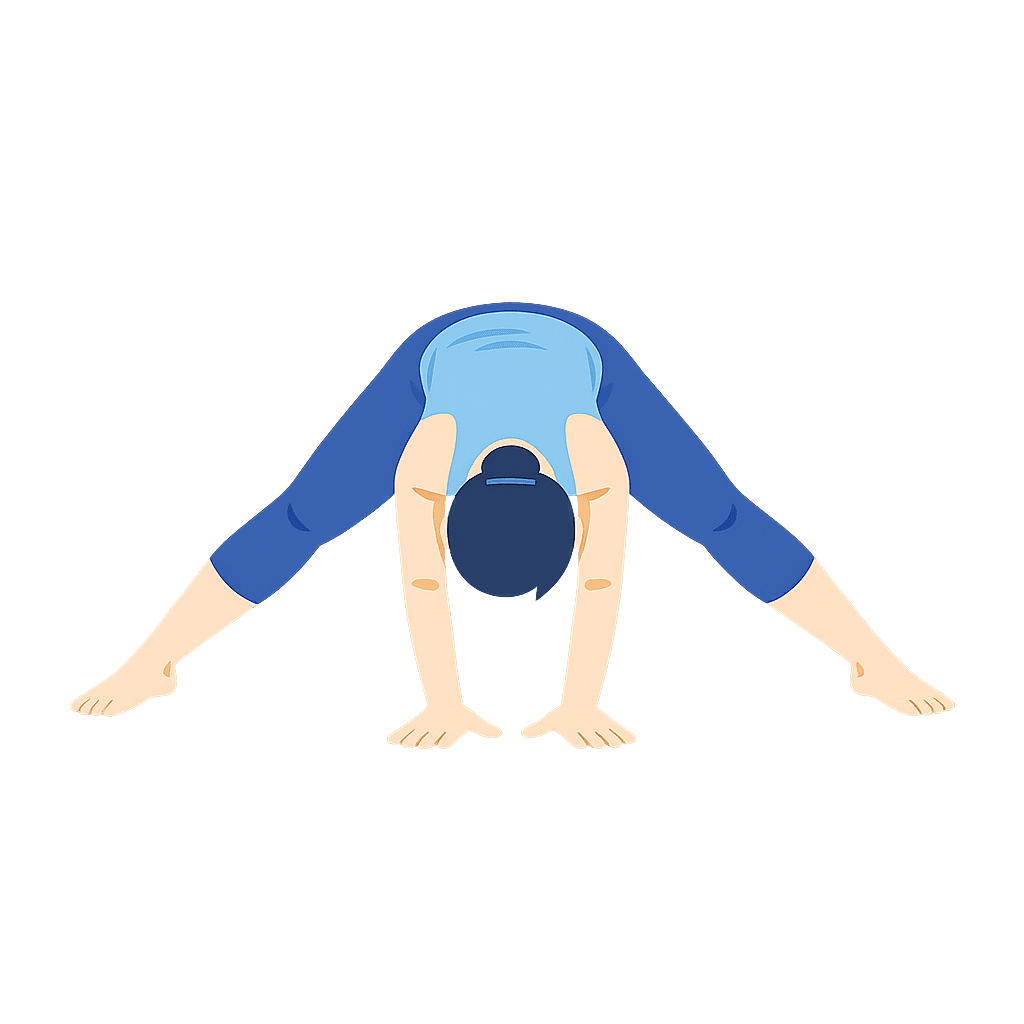
Wide-Legged Forward Fold
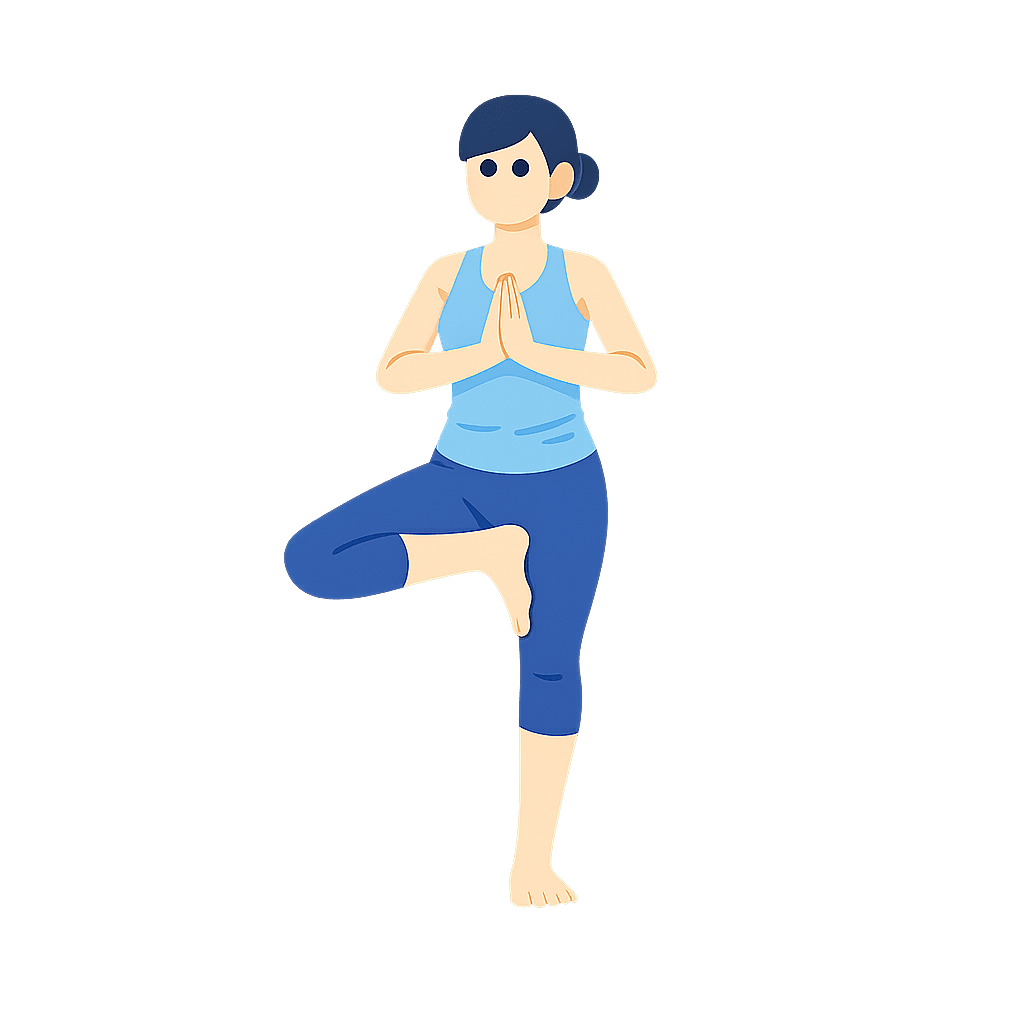
Tree Pose
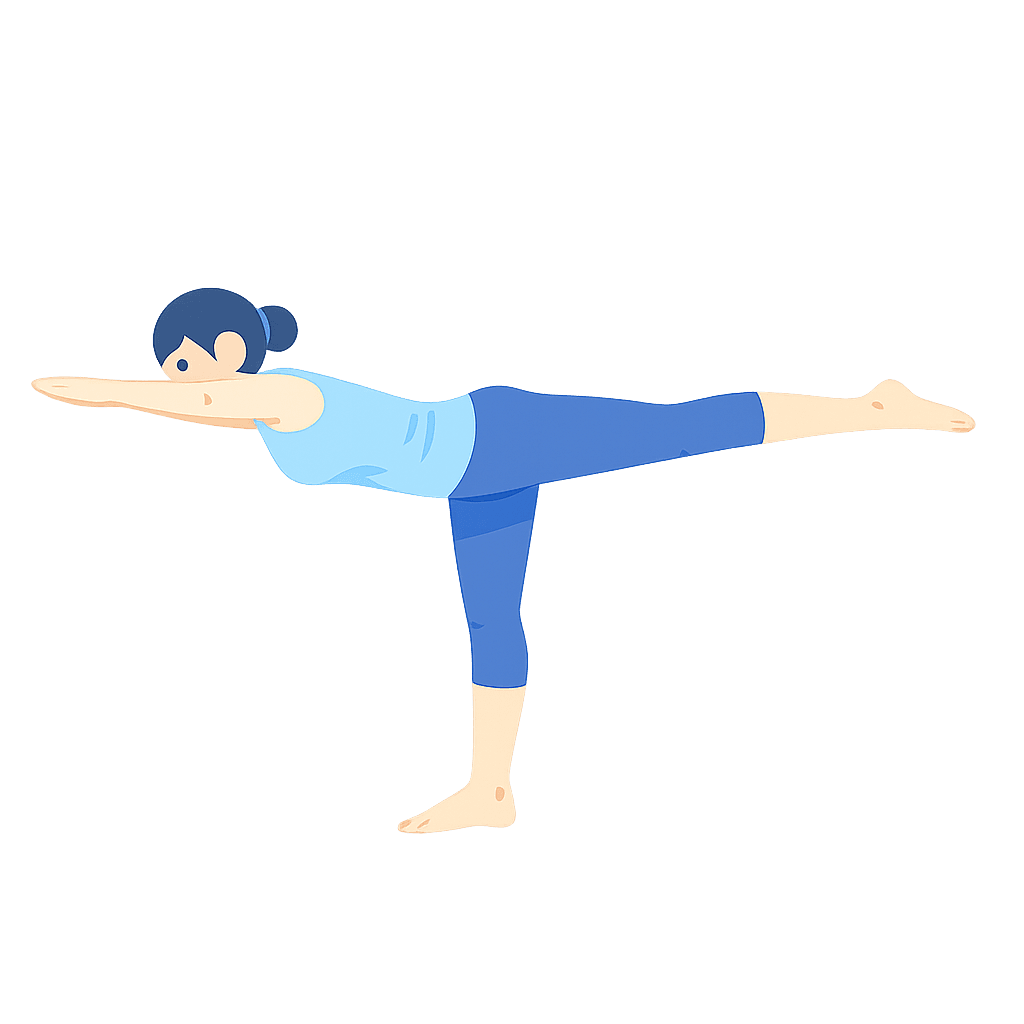
Warrior III
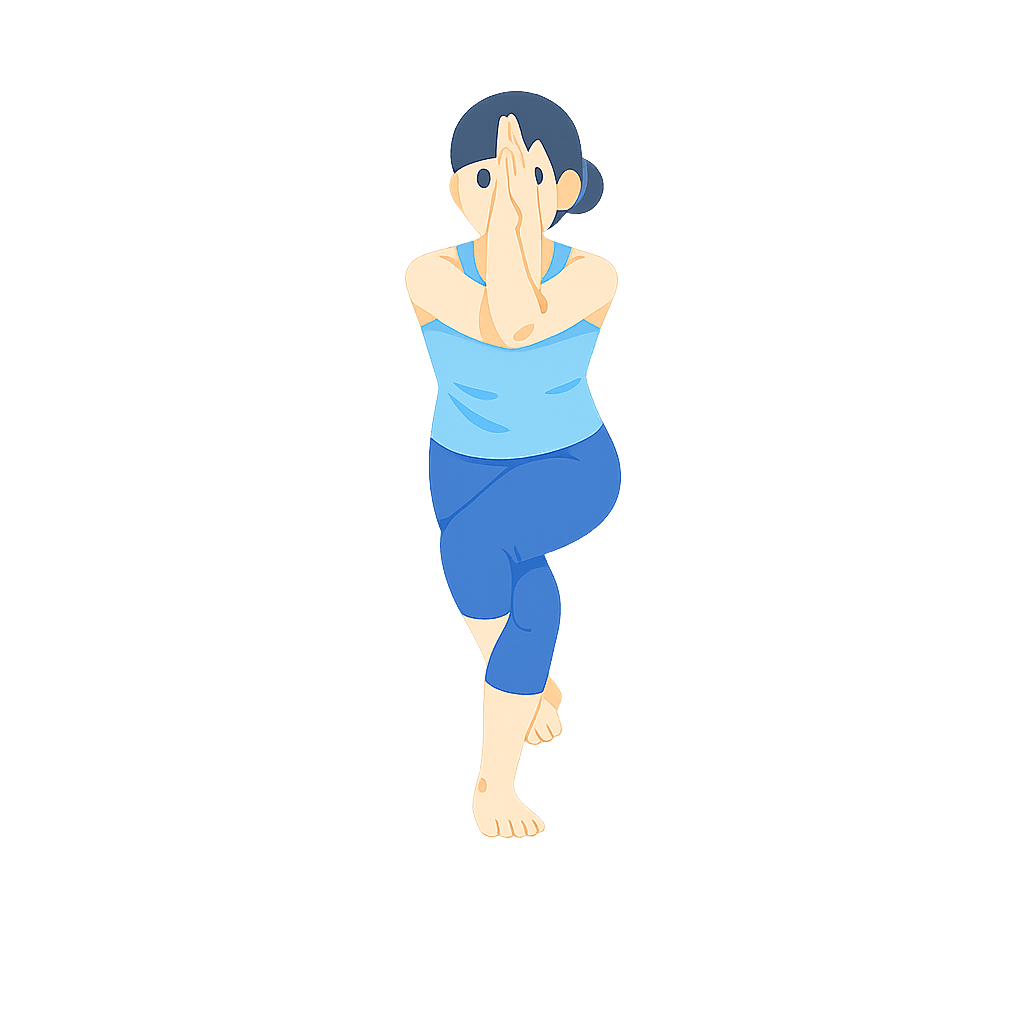
Eagle Pose
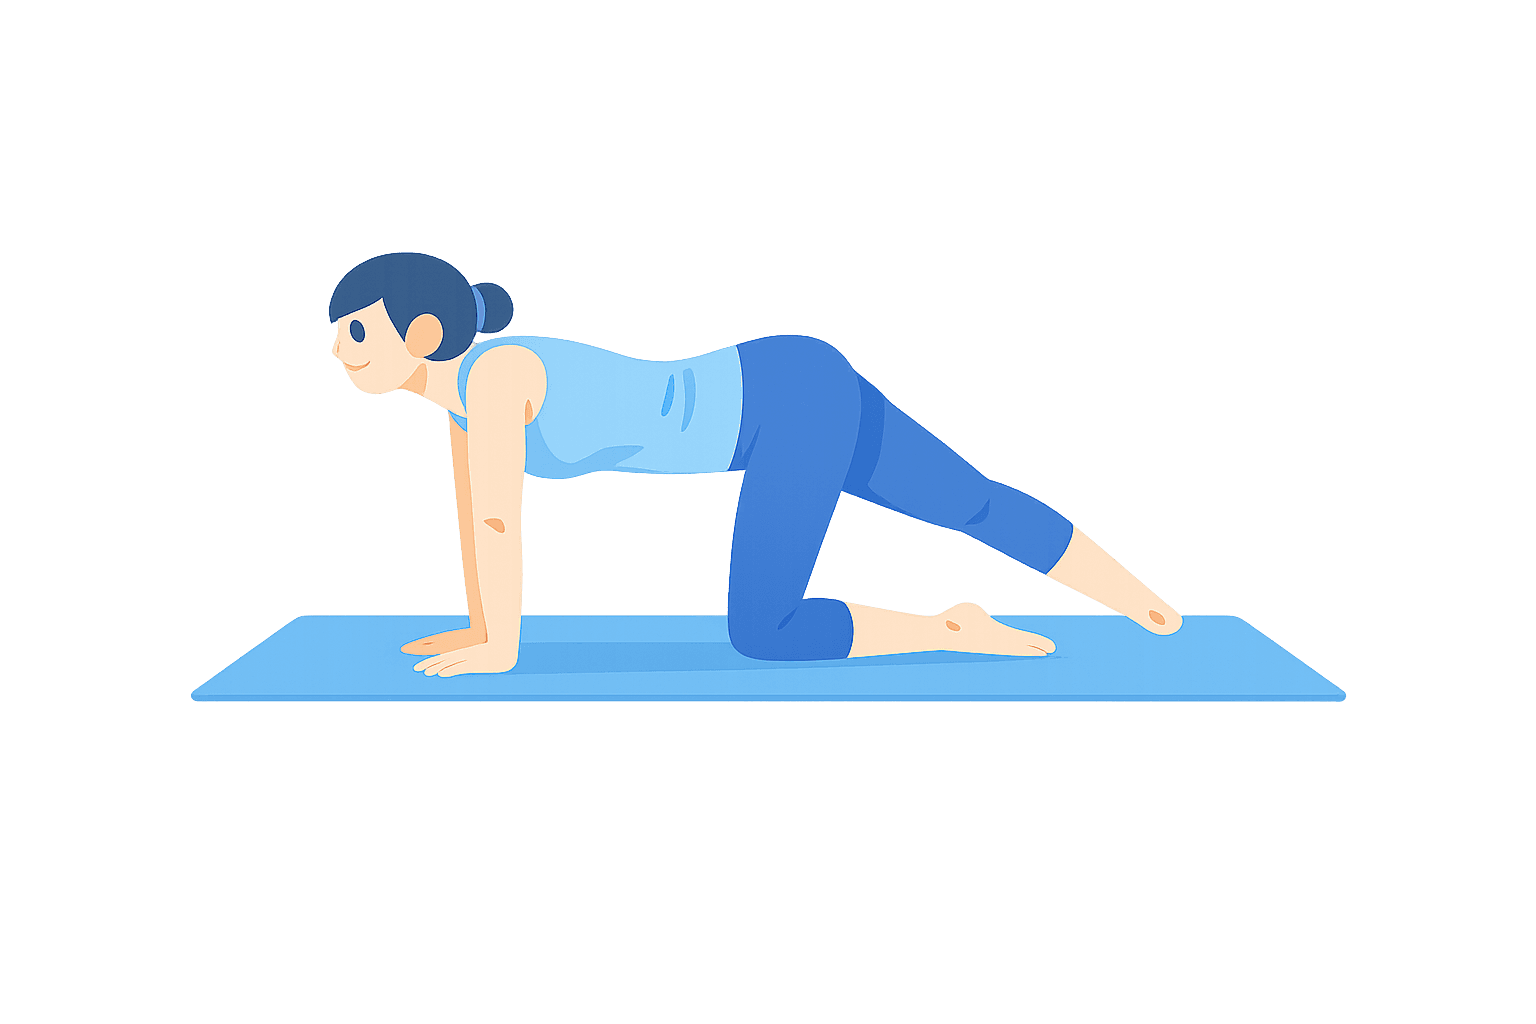
Cat-Cow
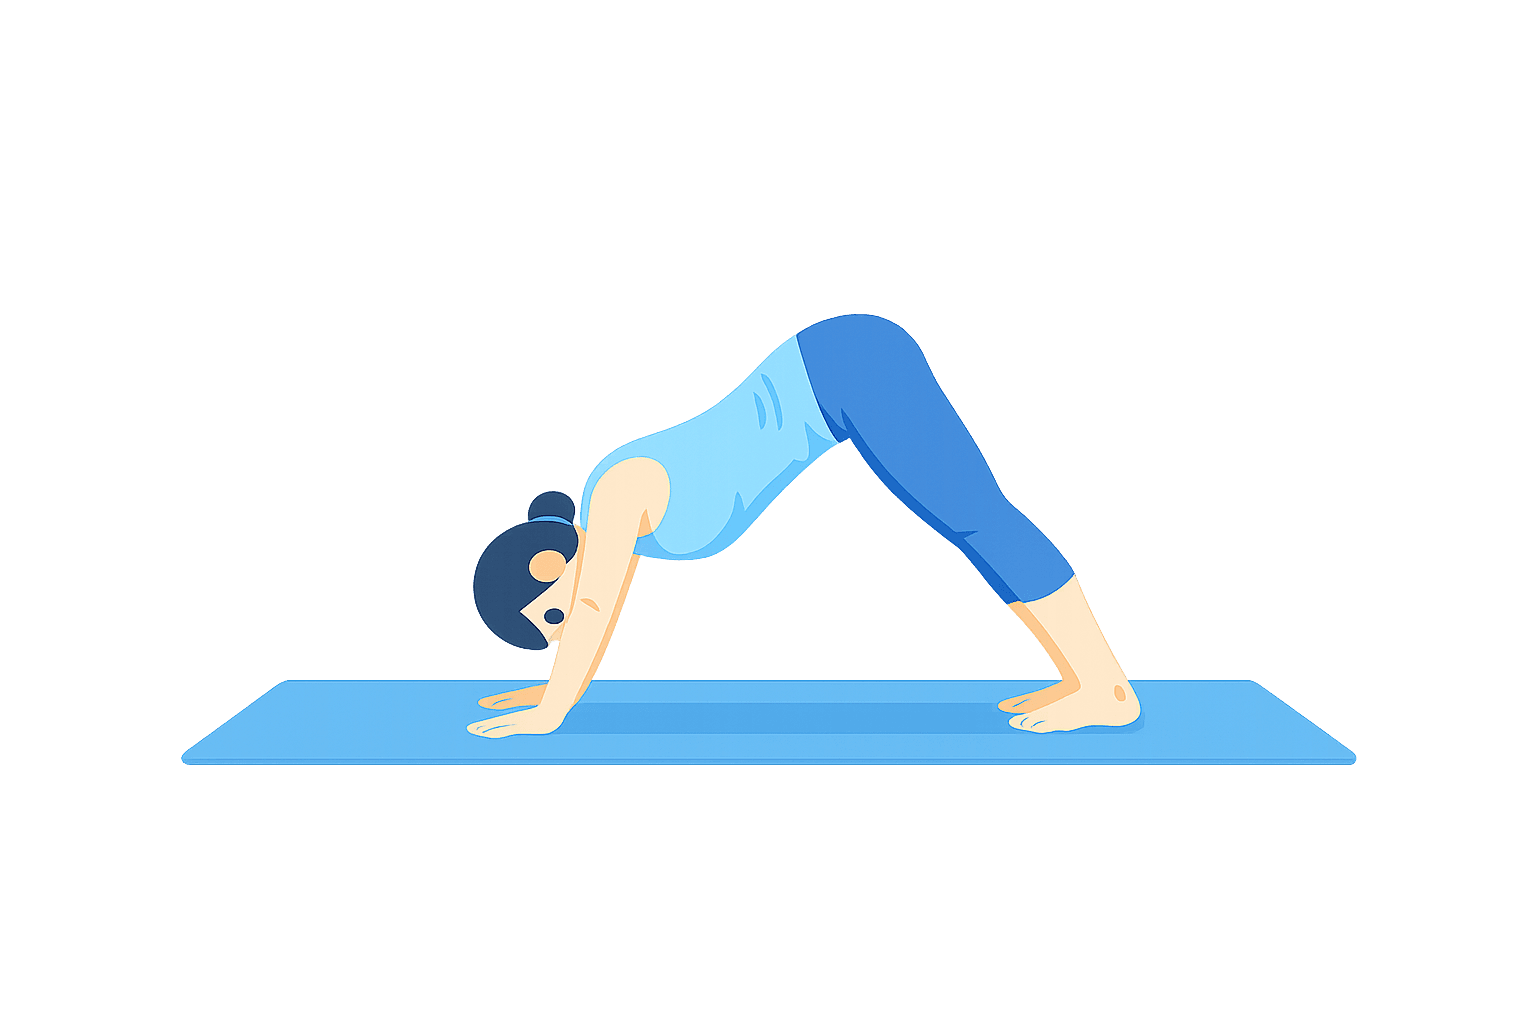
Downward-Facing Dog
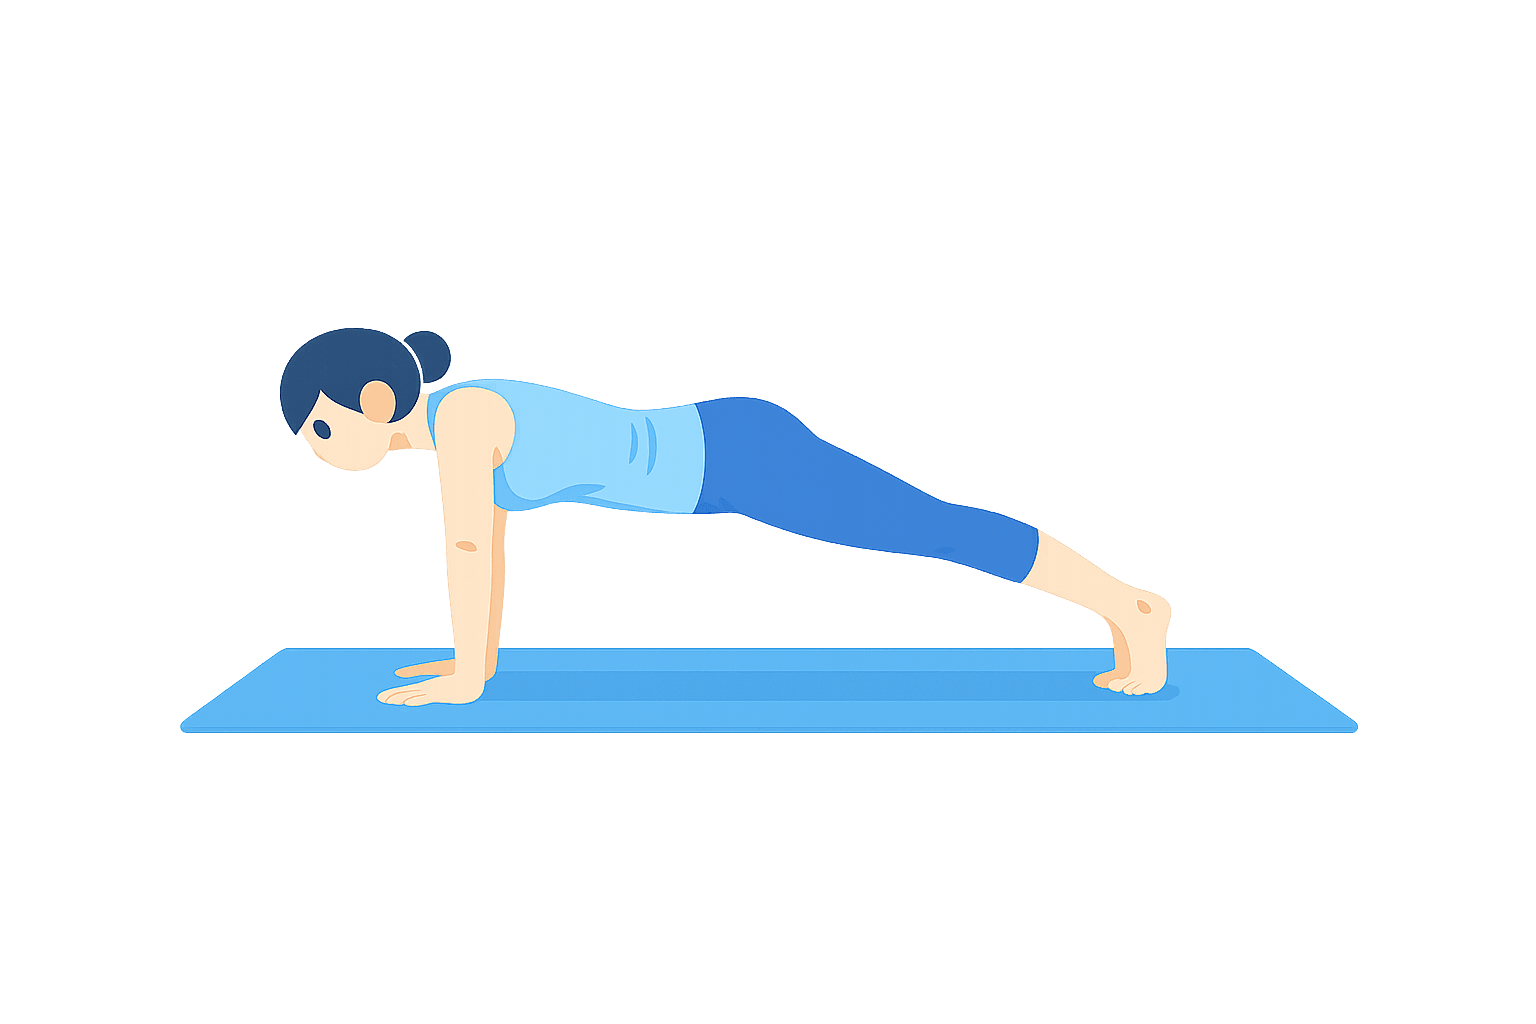
Plank Pose
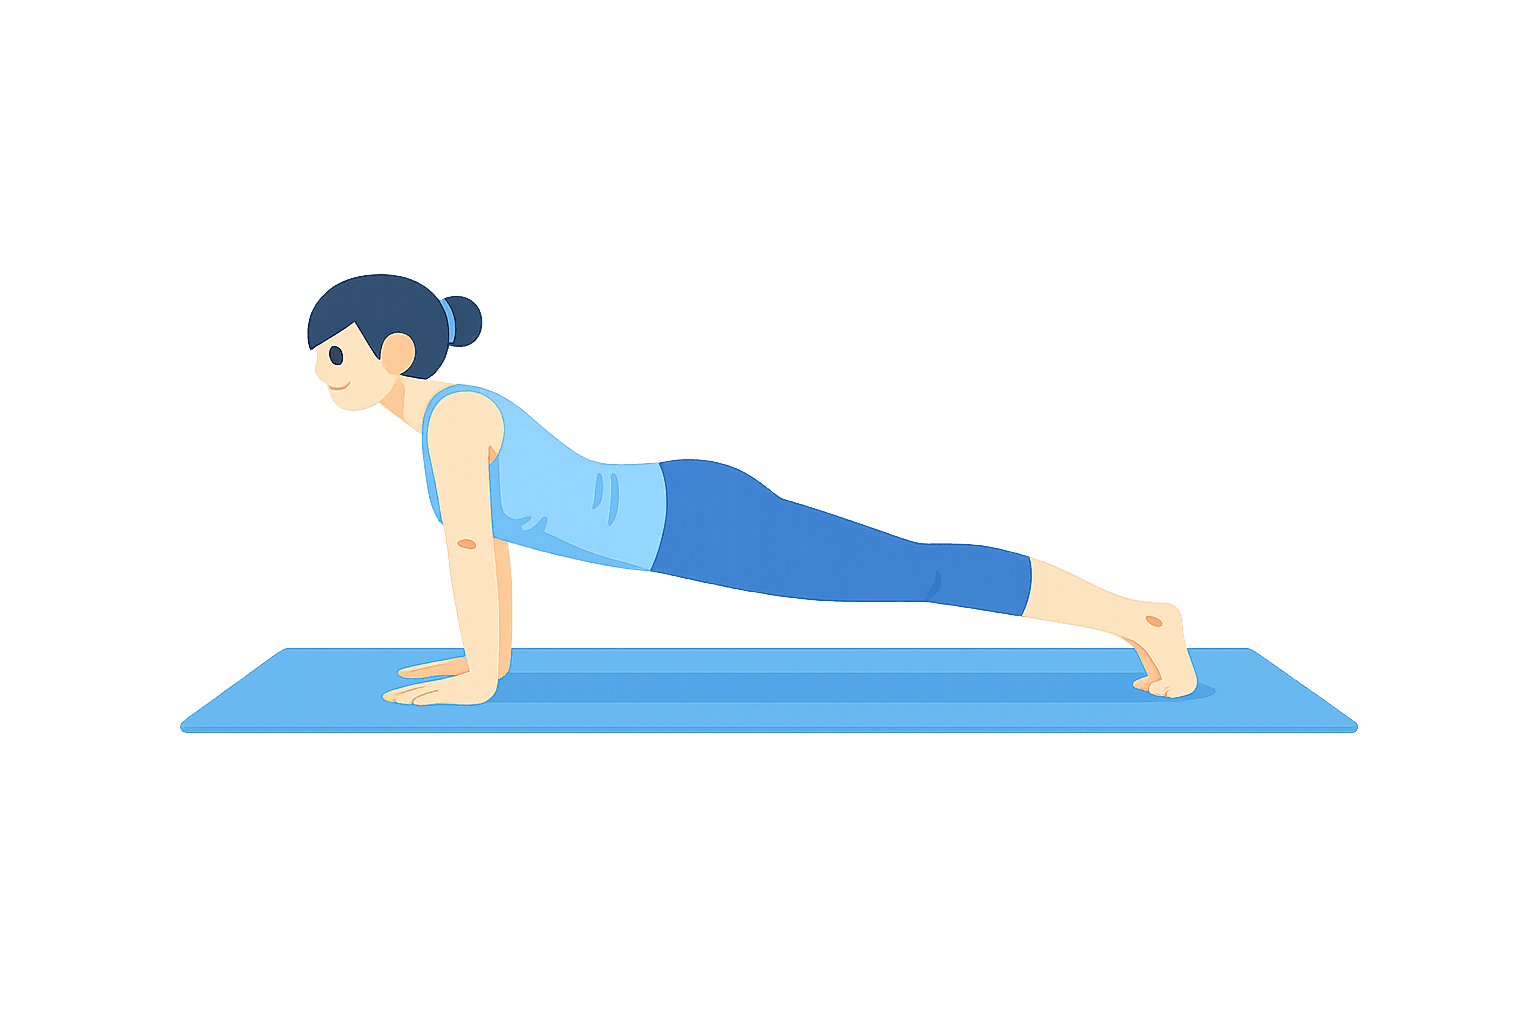
Cobra Pose
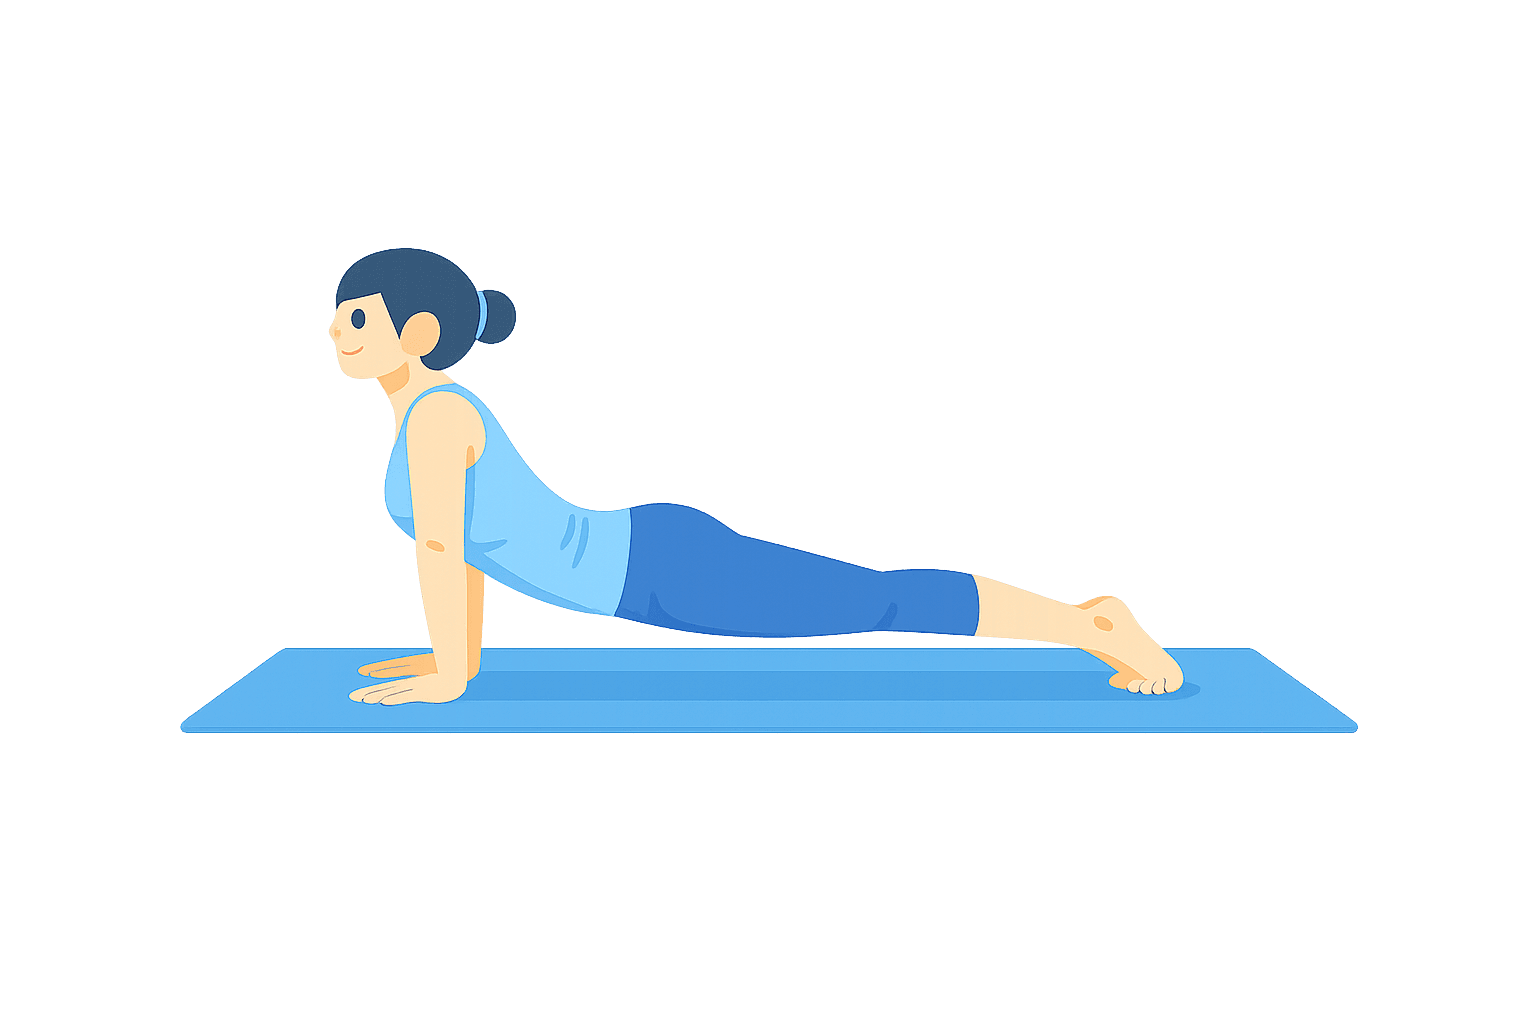
Upward-Facing Dog
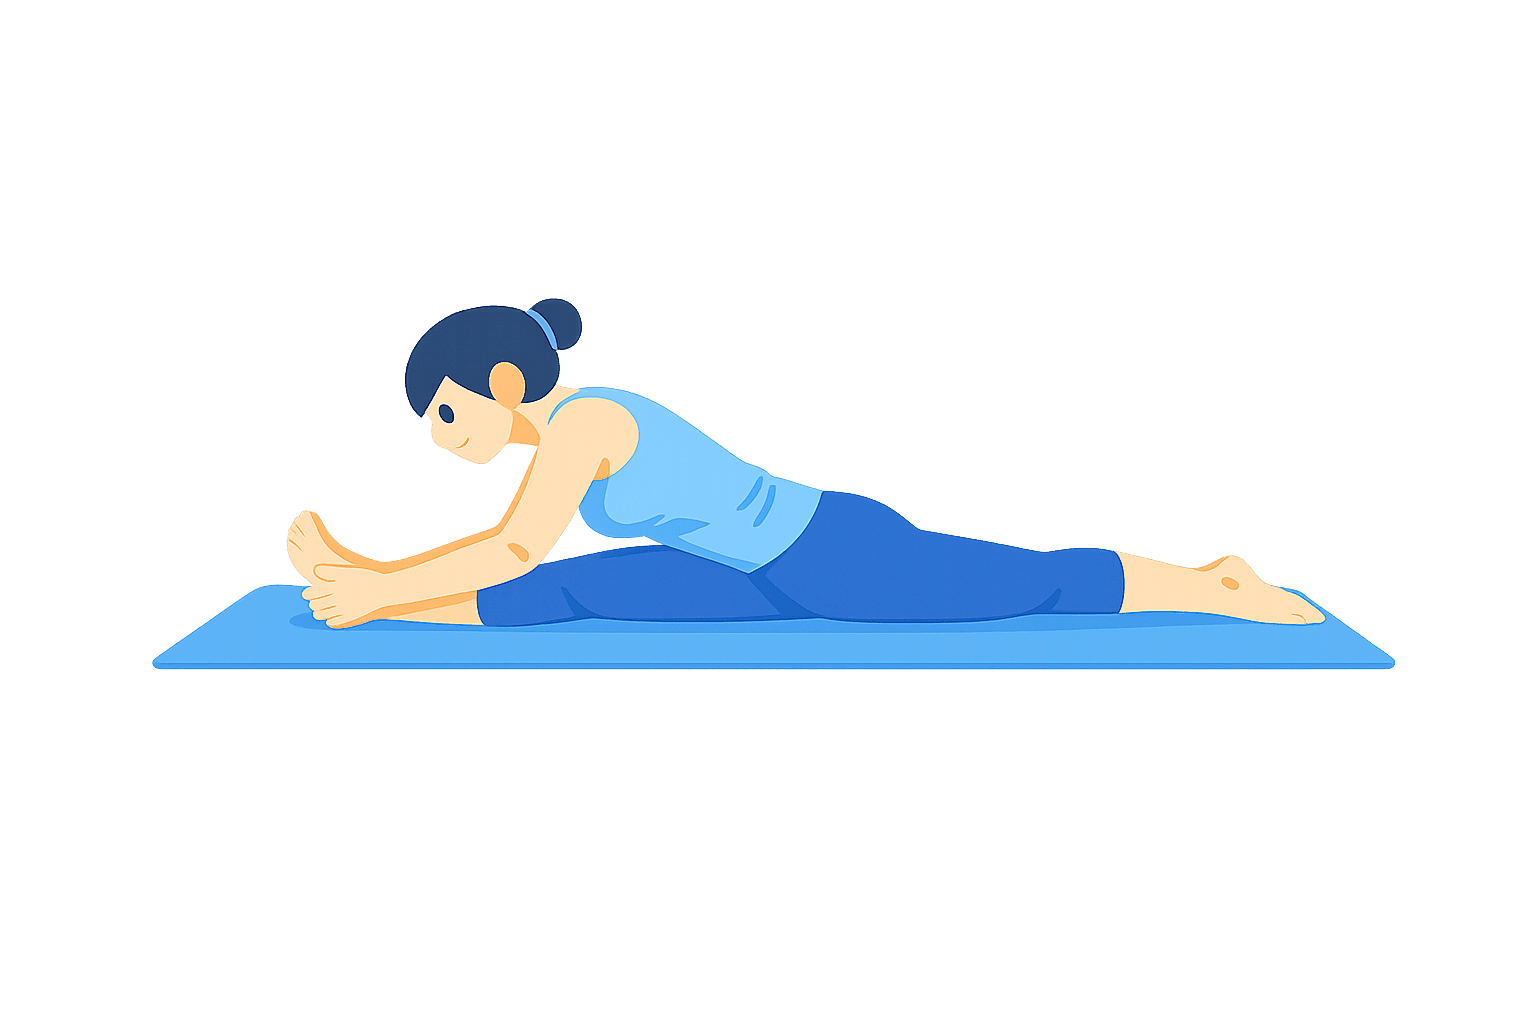
Seated Forward Fold
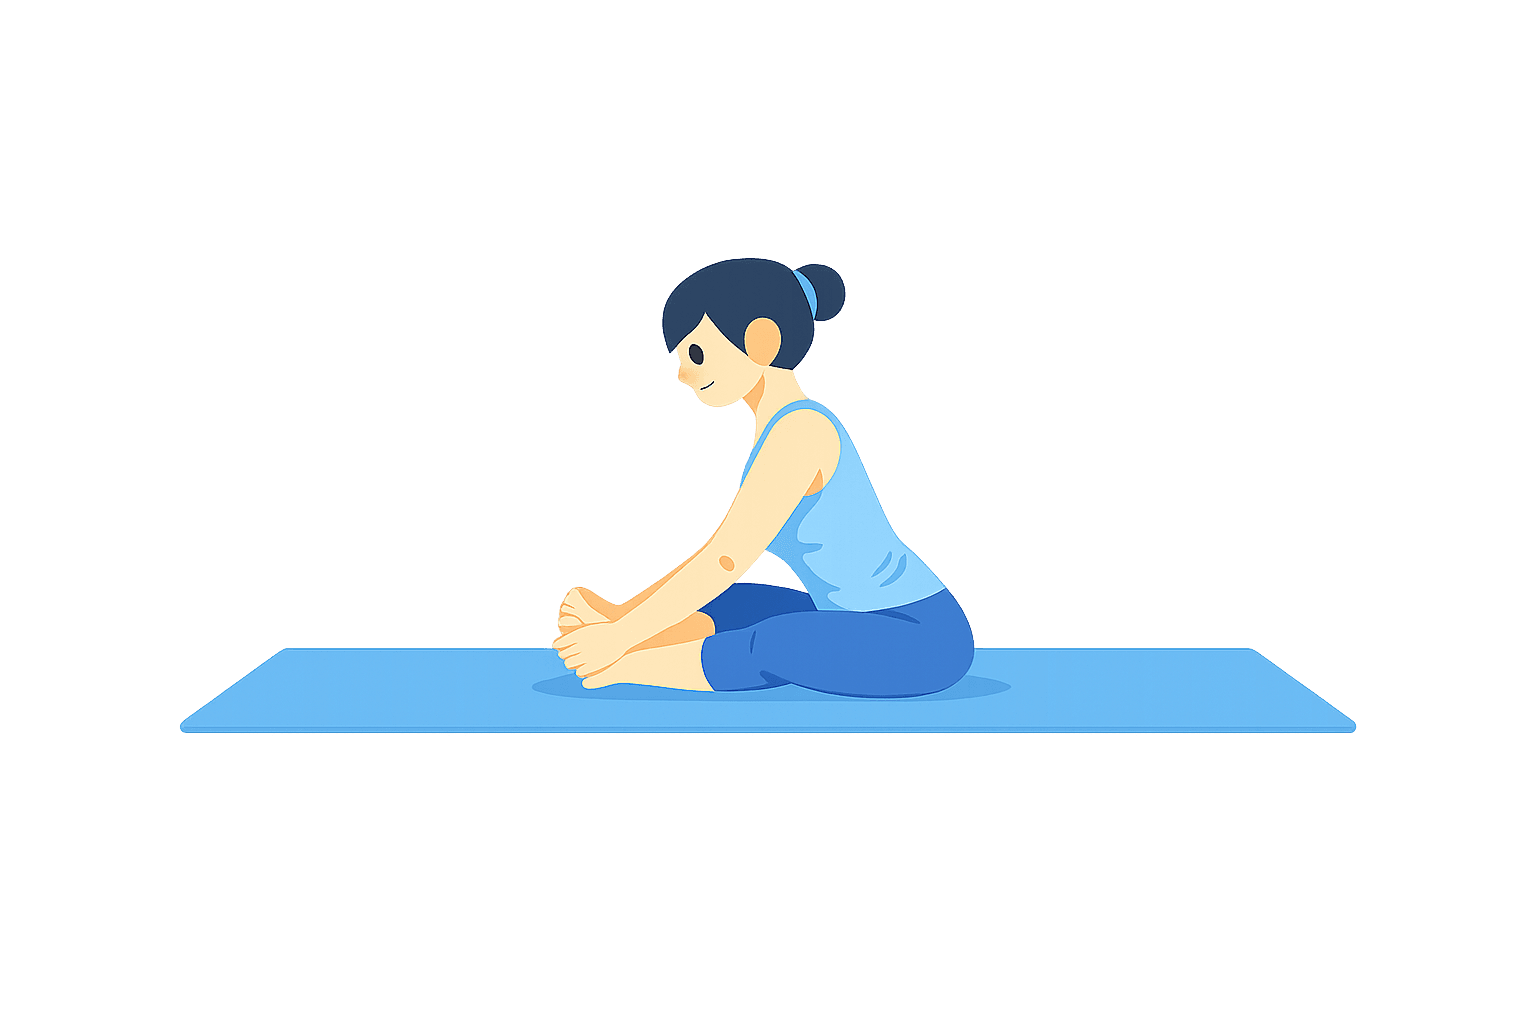
Butterfly Pose
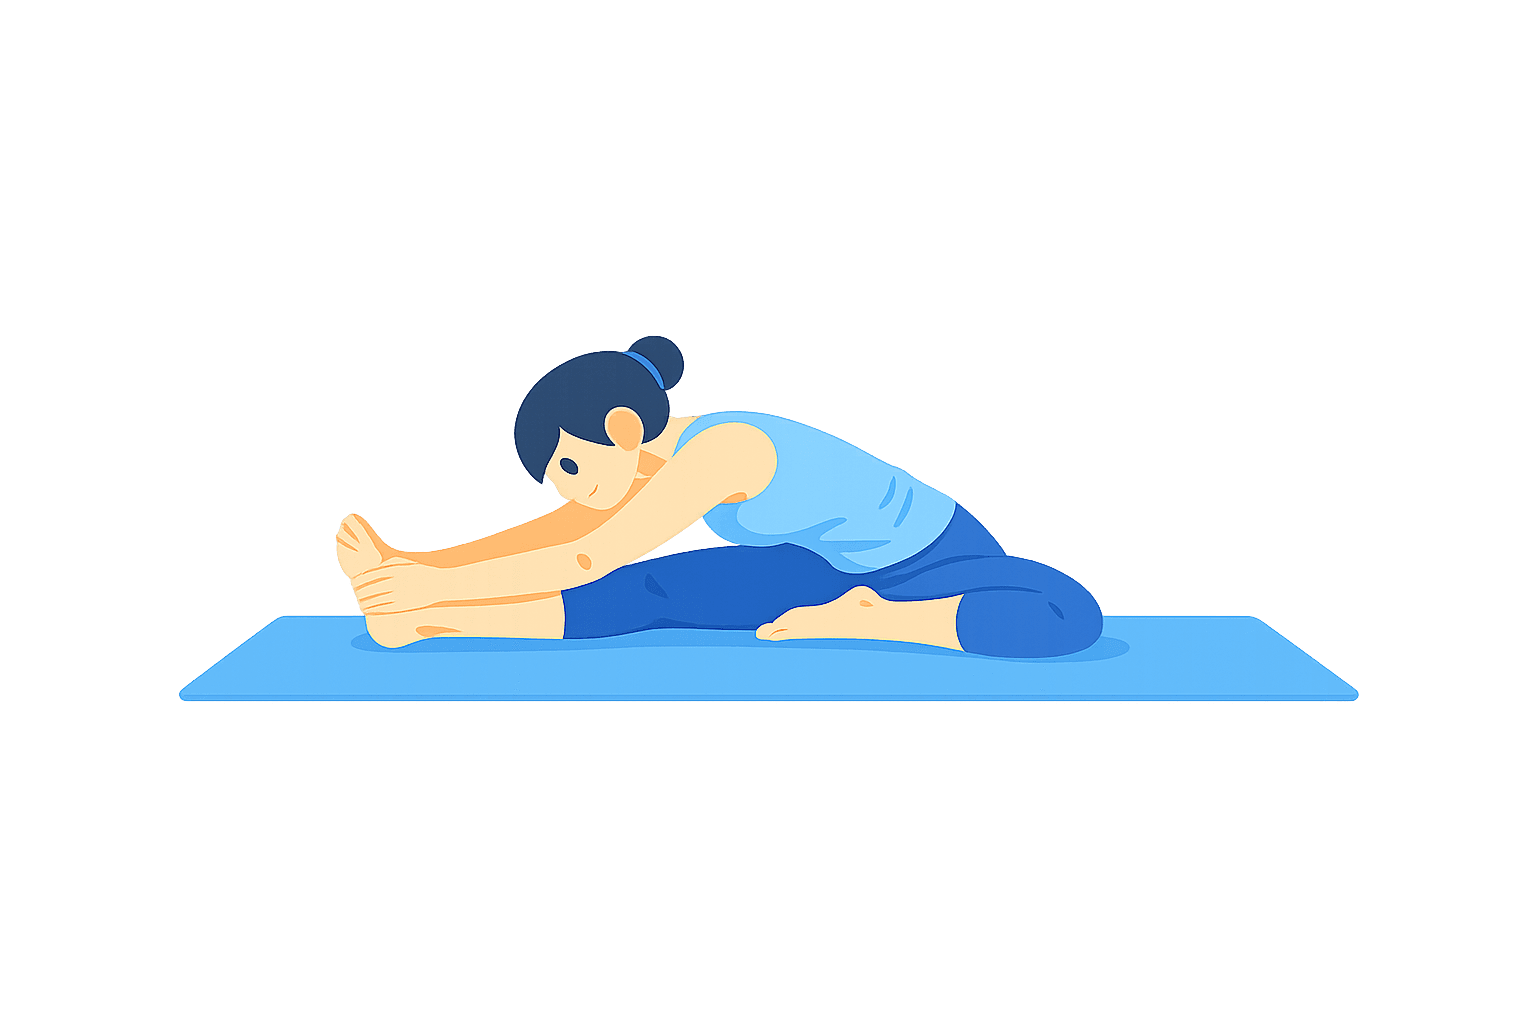
Head-to-Knee Pose
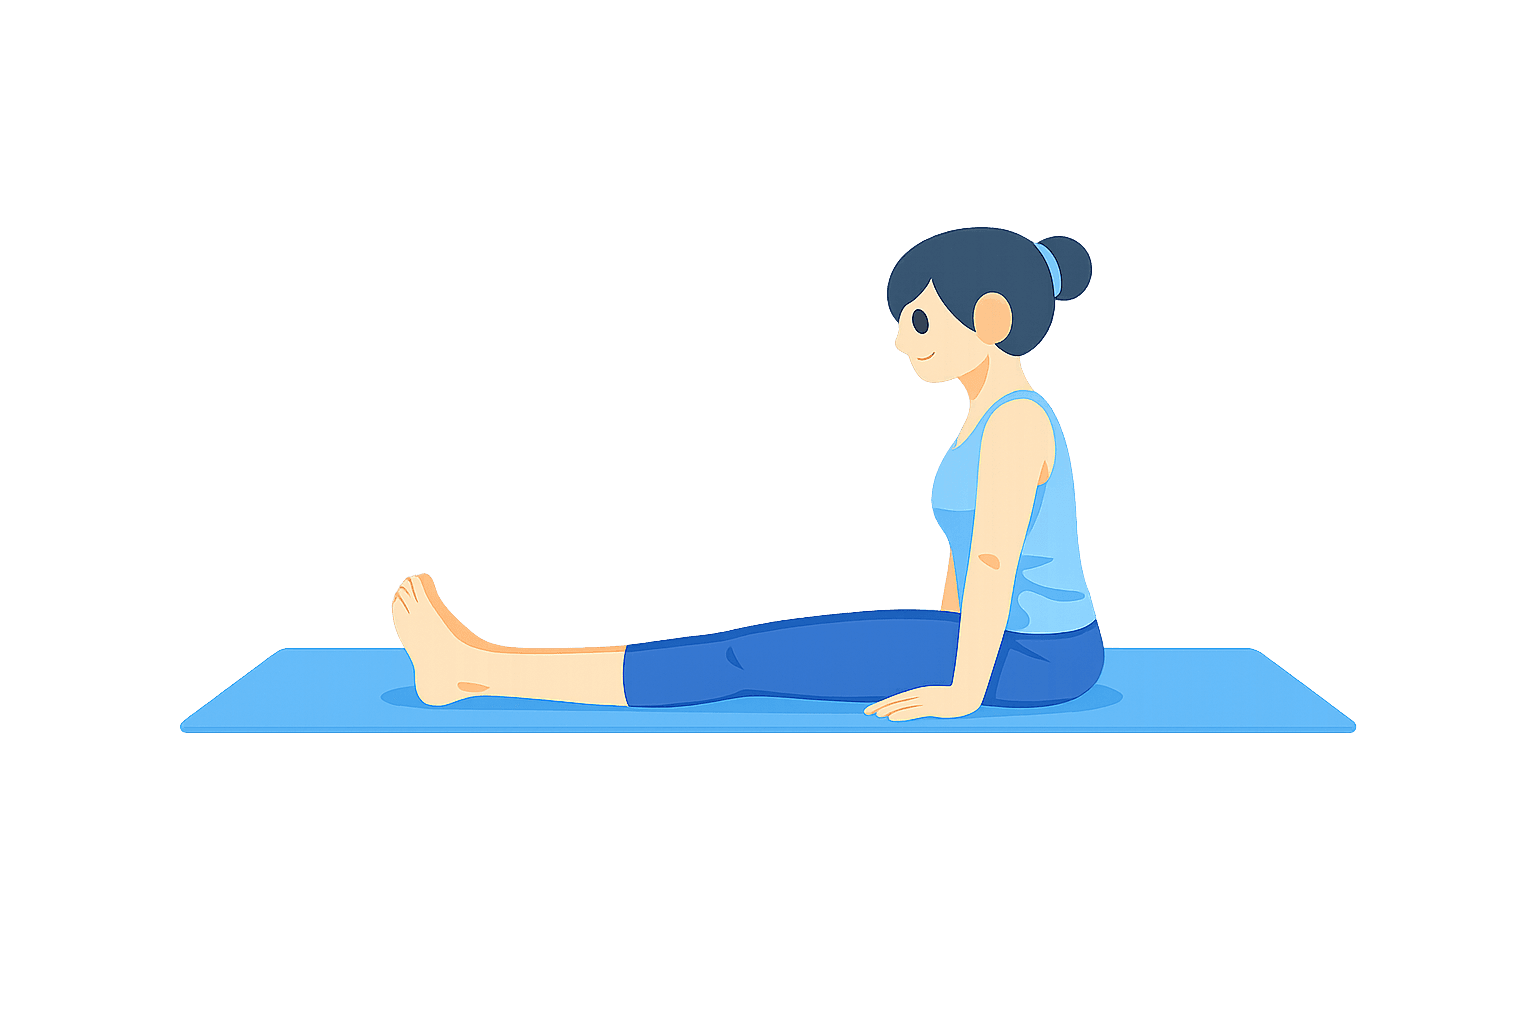
Staff Pose
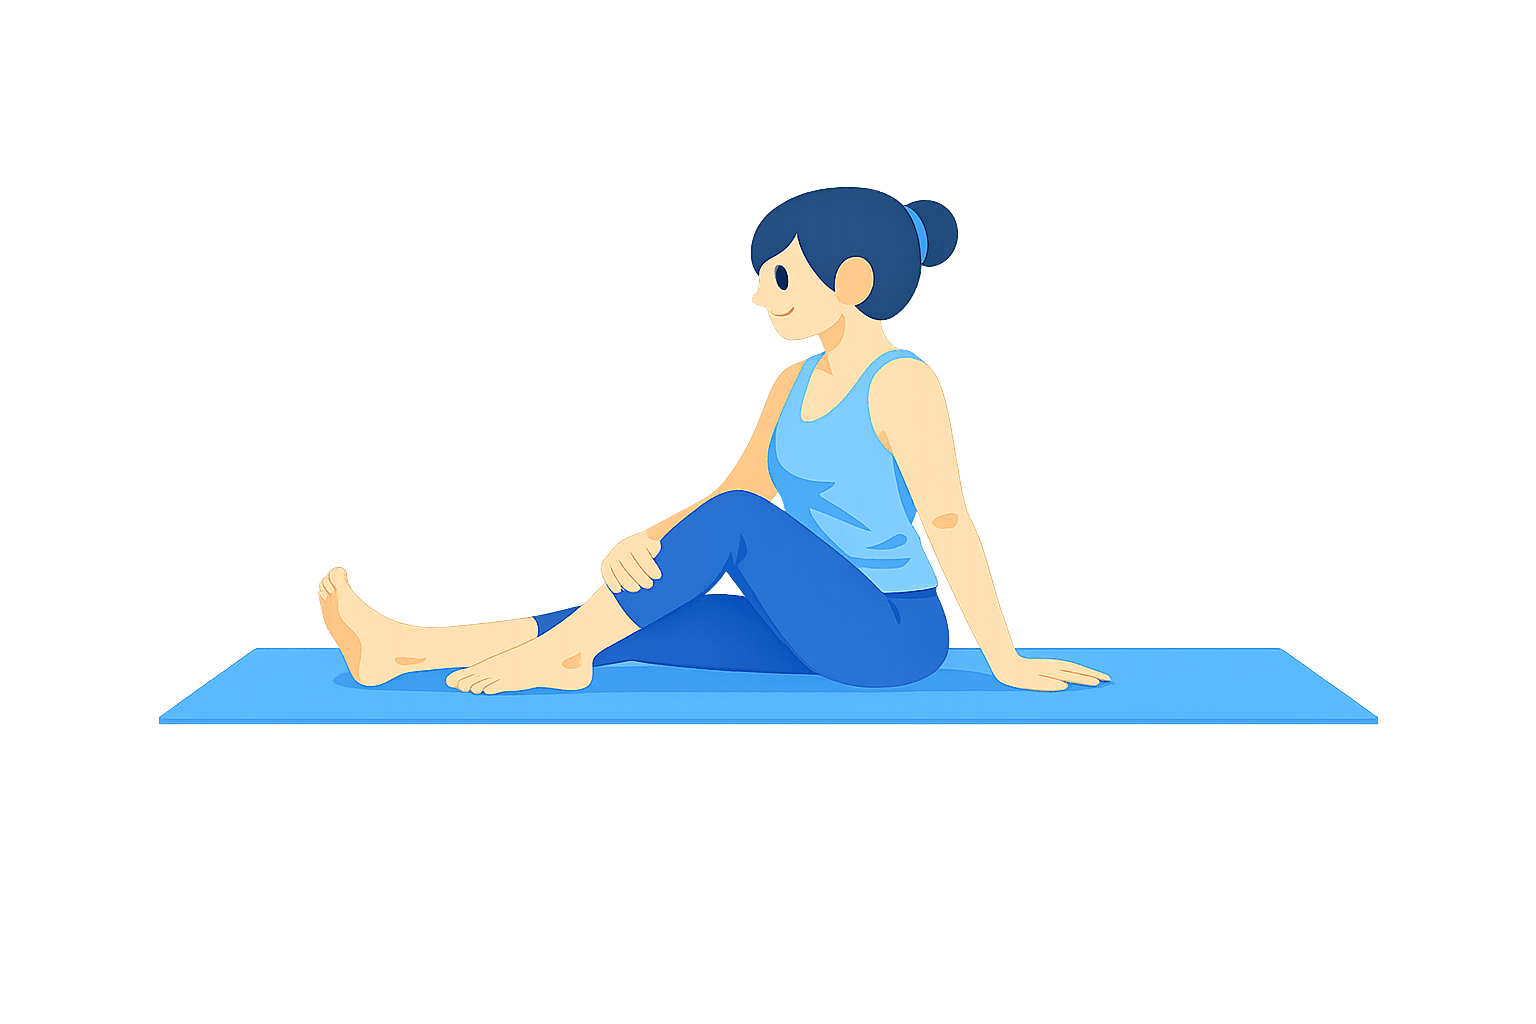
Seated Twist
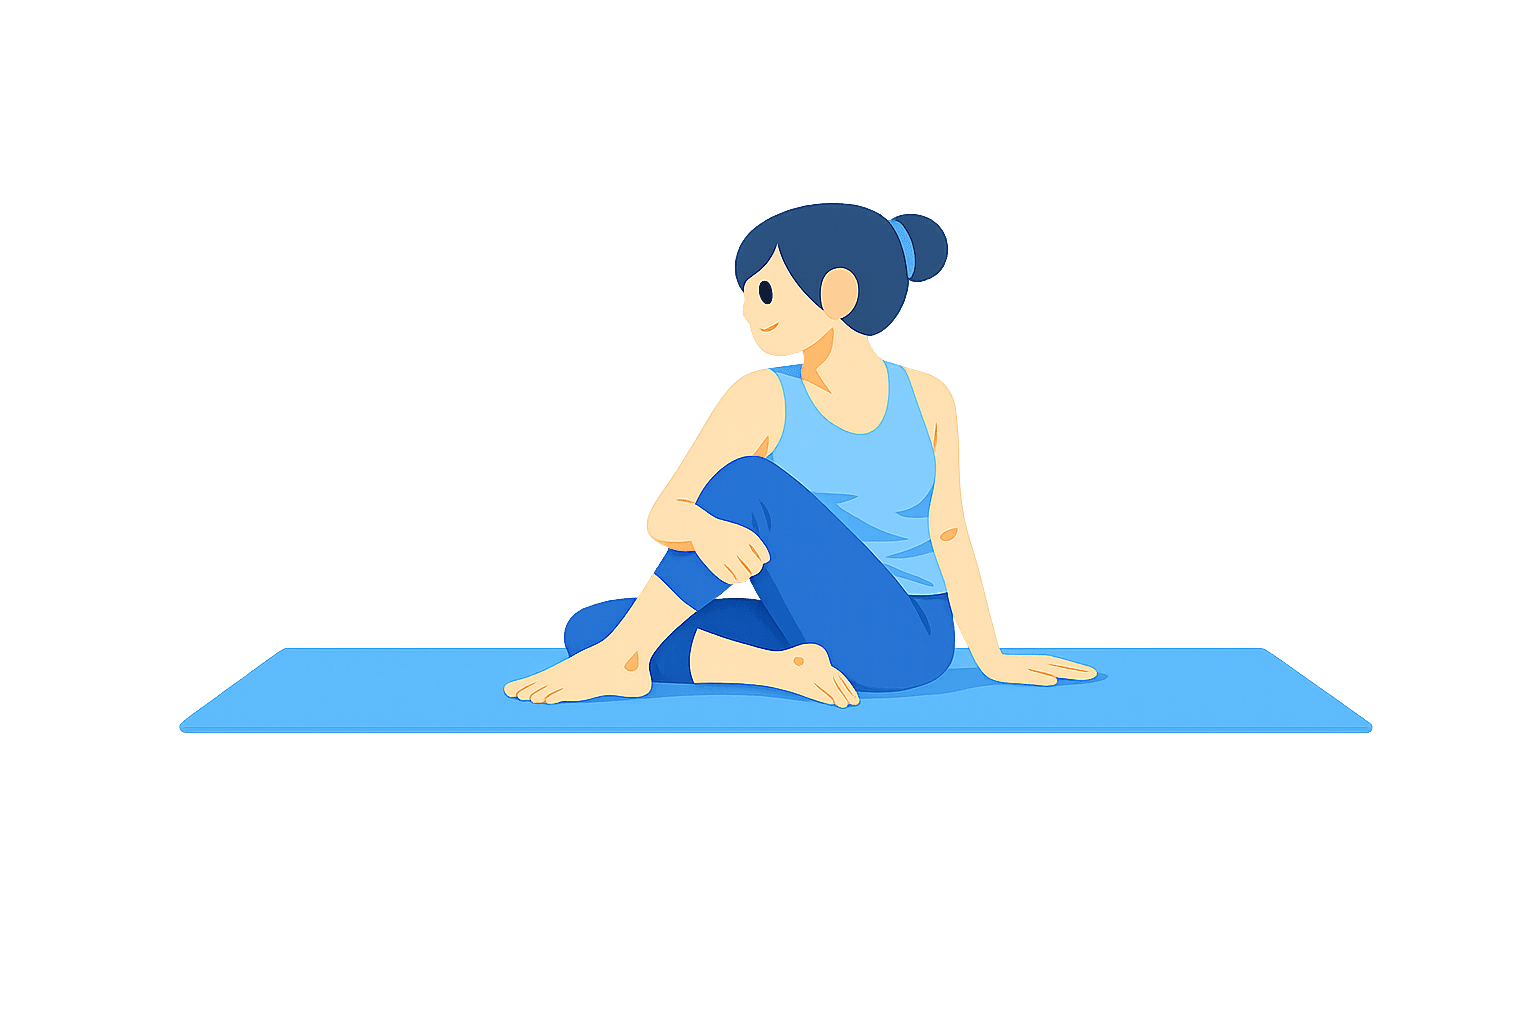
Half Lord of the Fishes
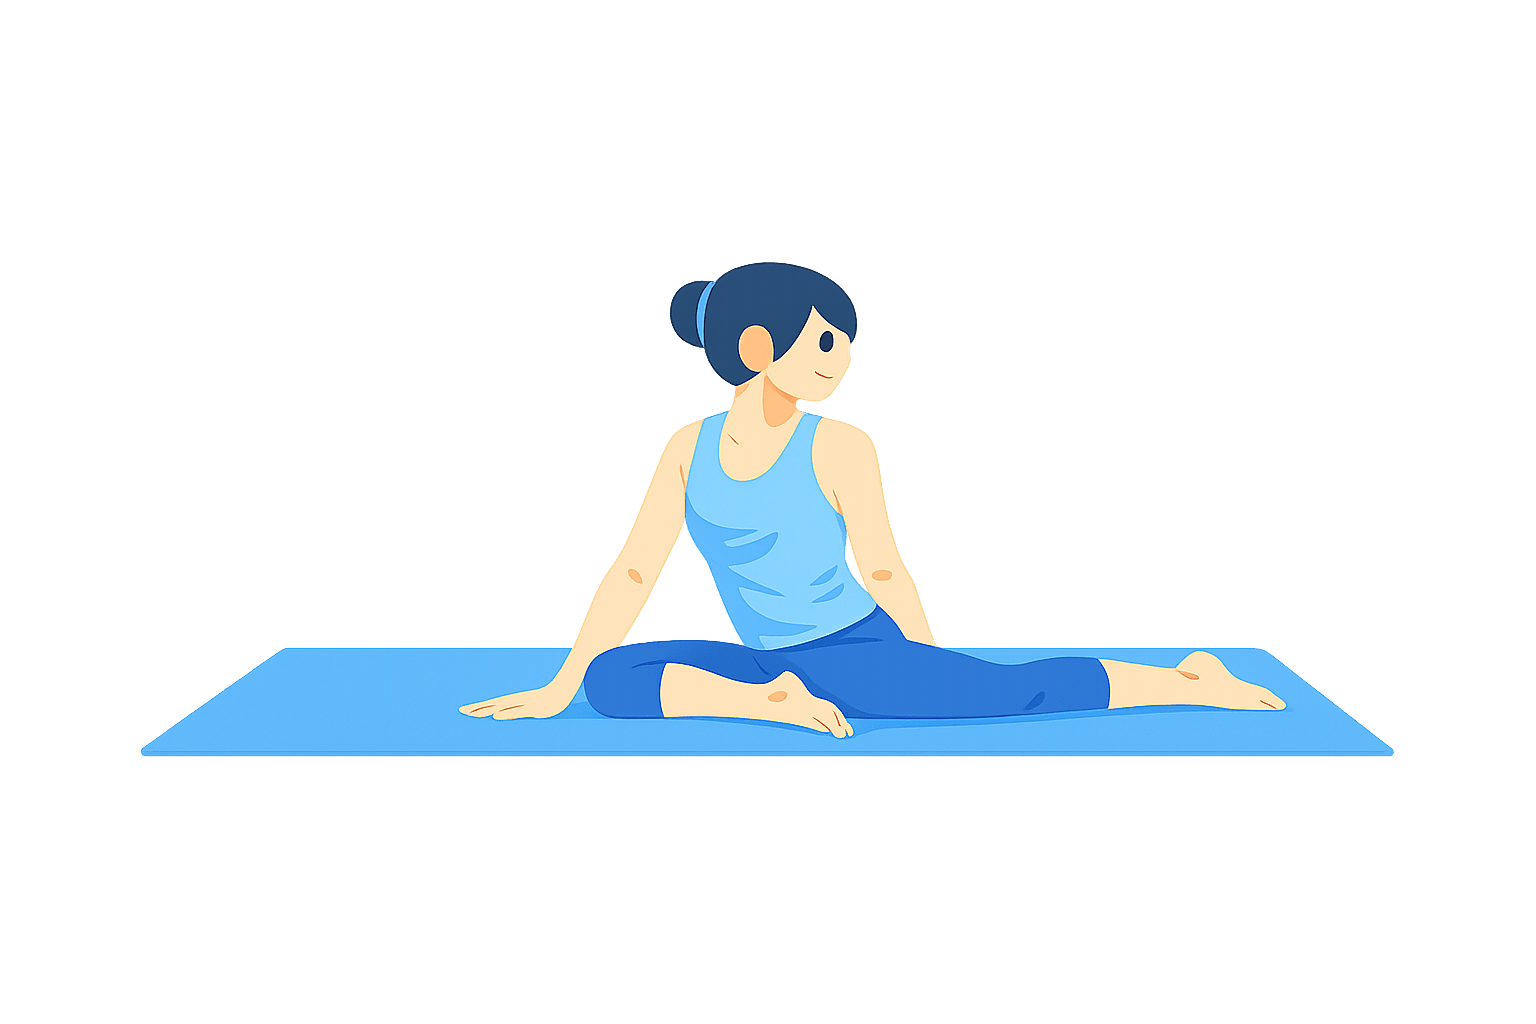
Pigeon Pose
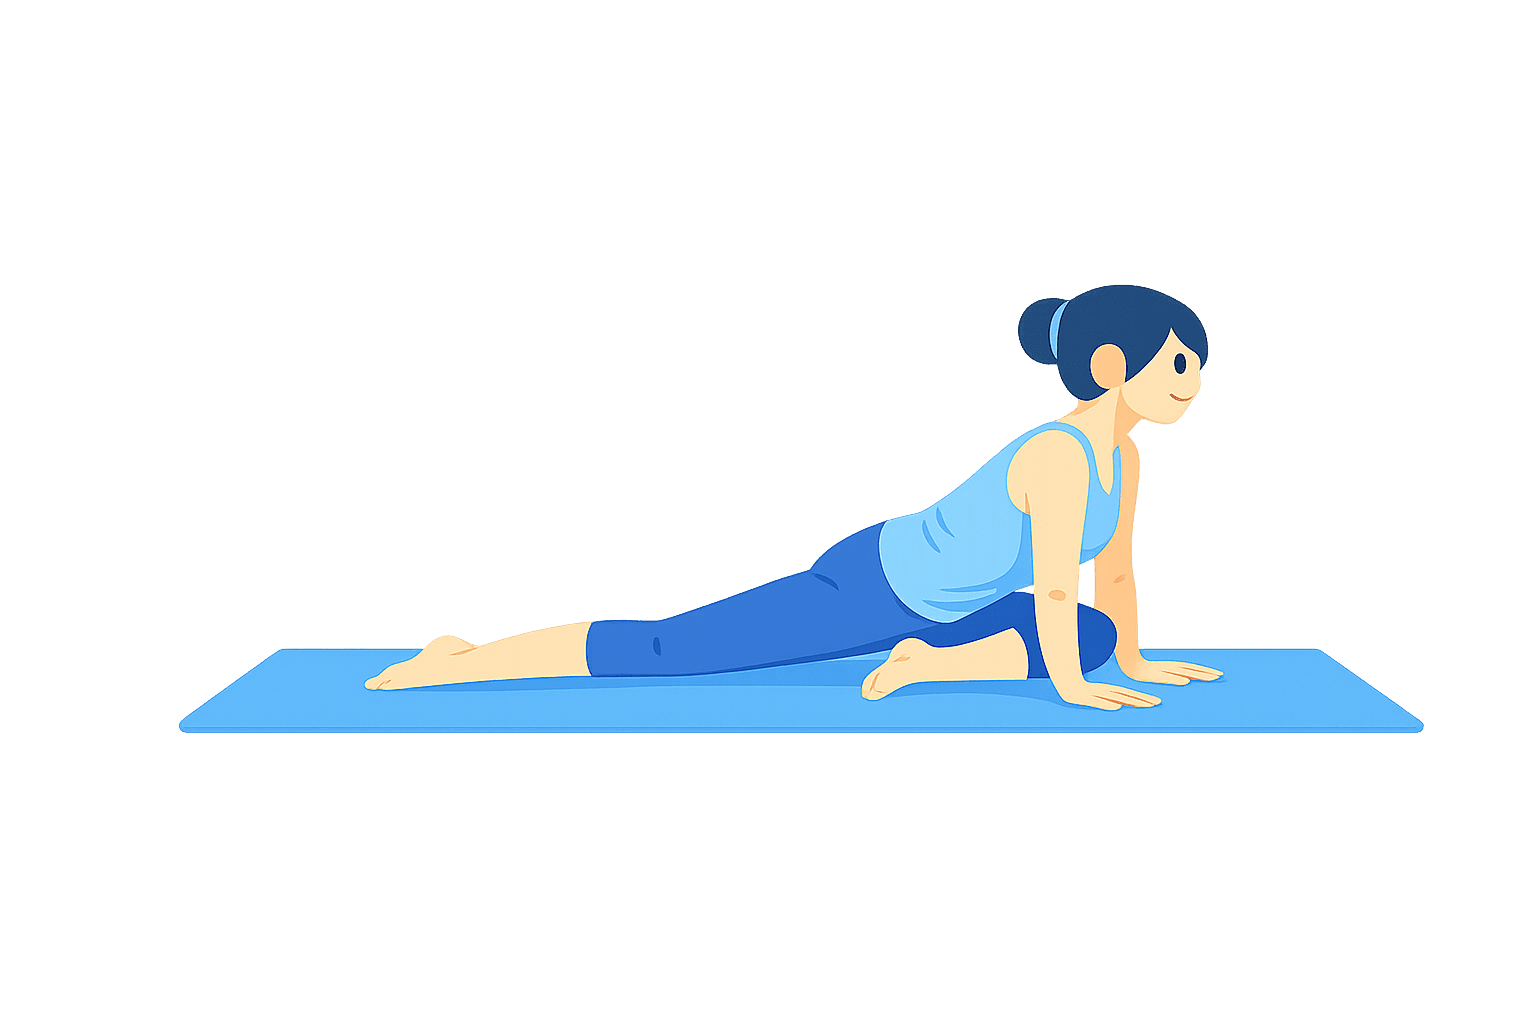
Lizard Pose
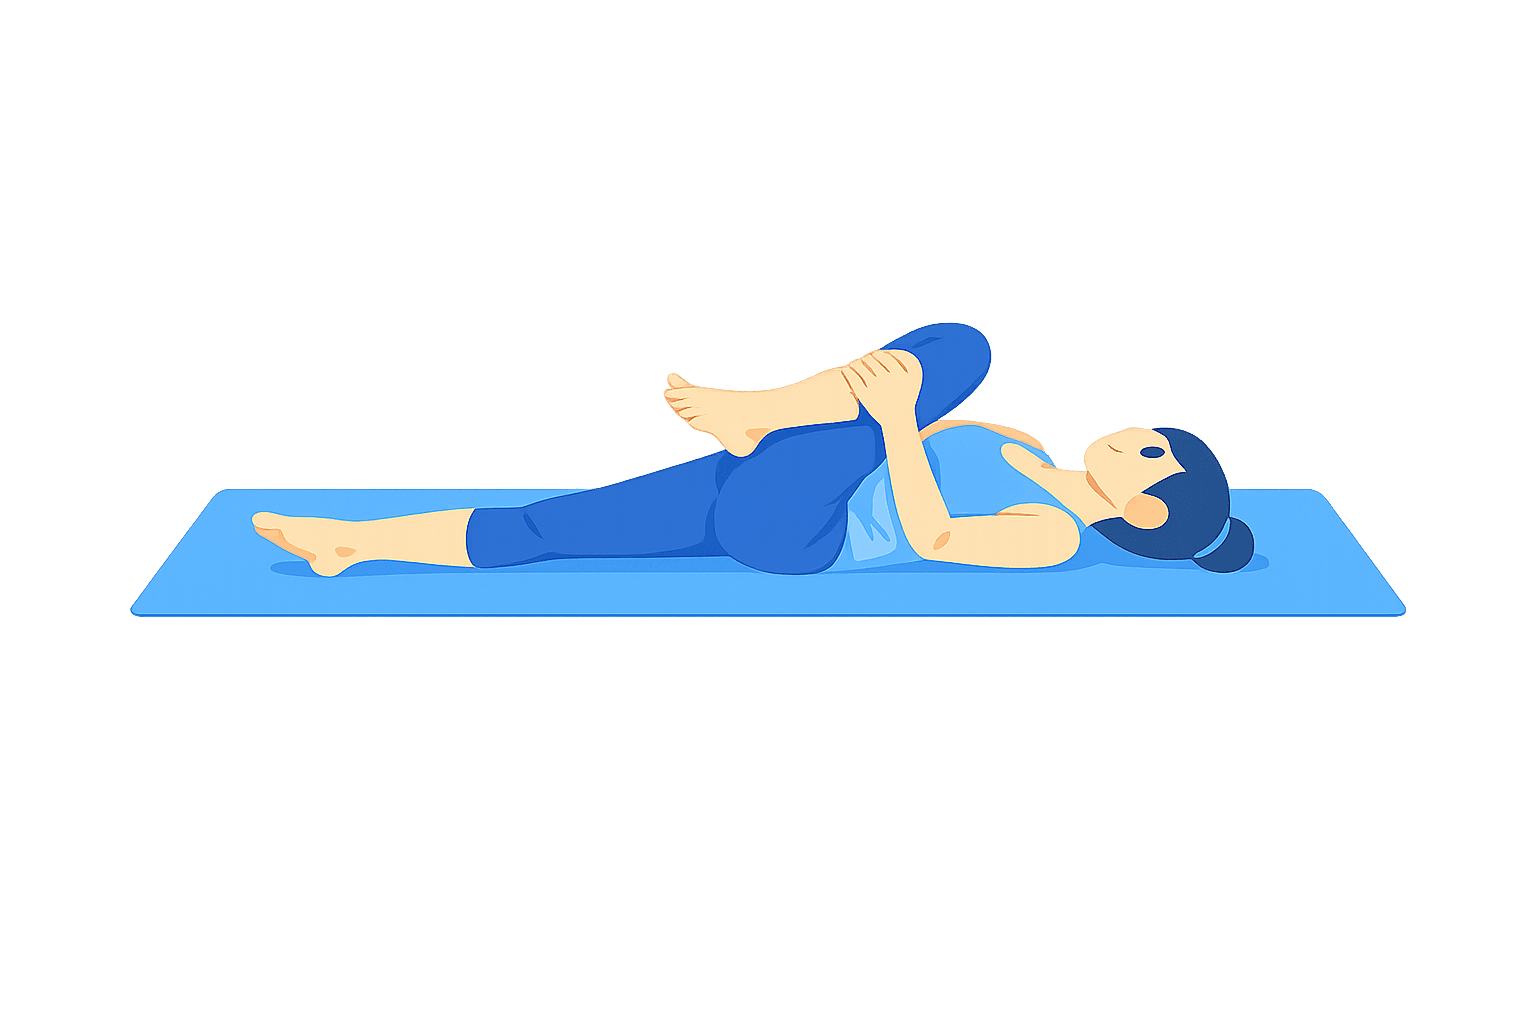
Reclined Figure Four
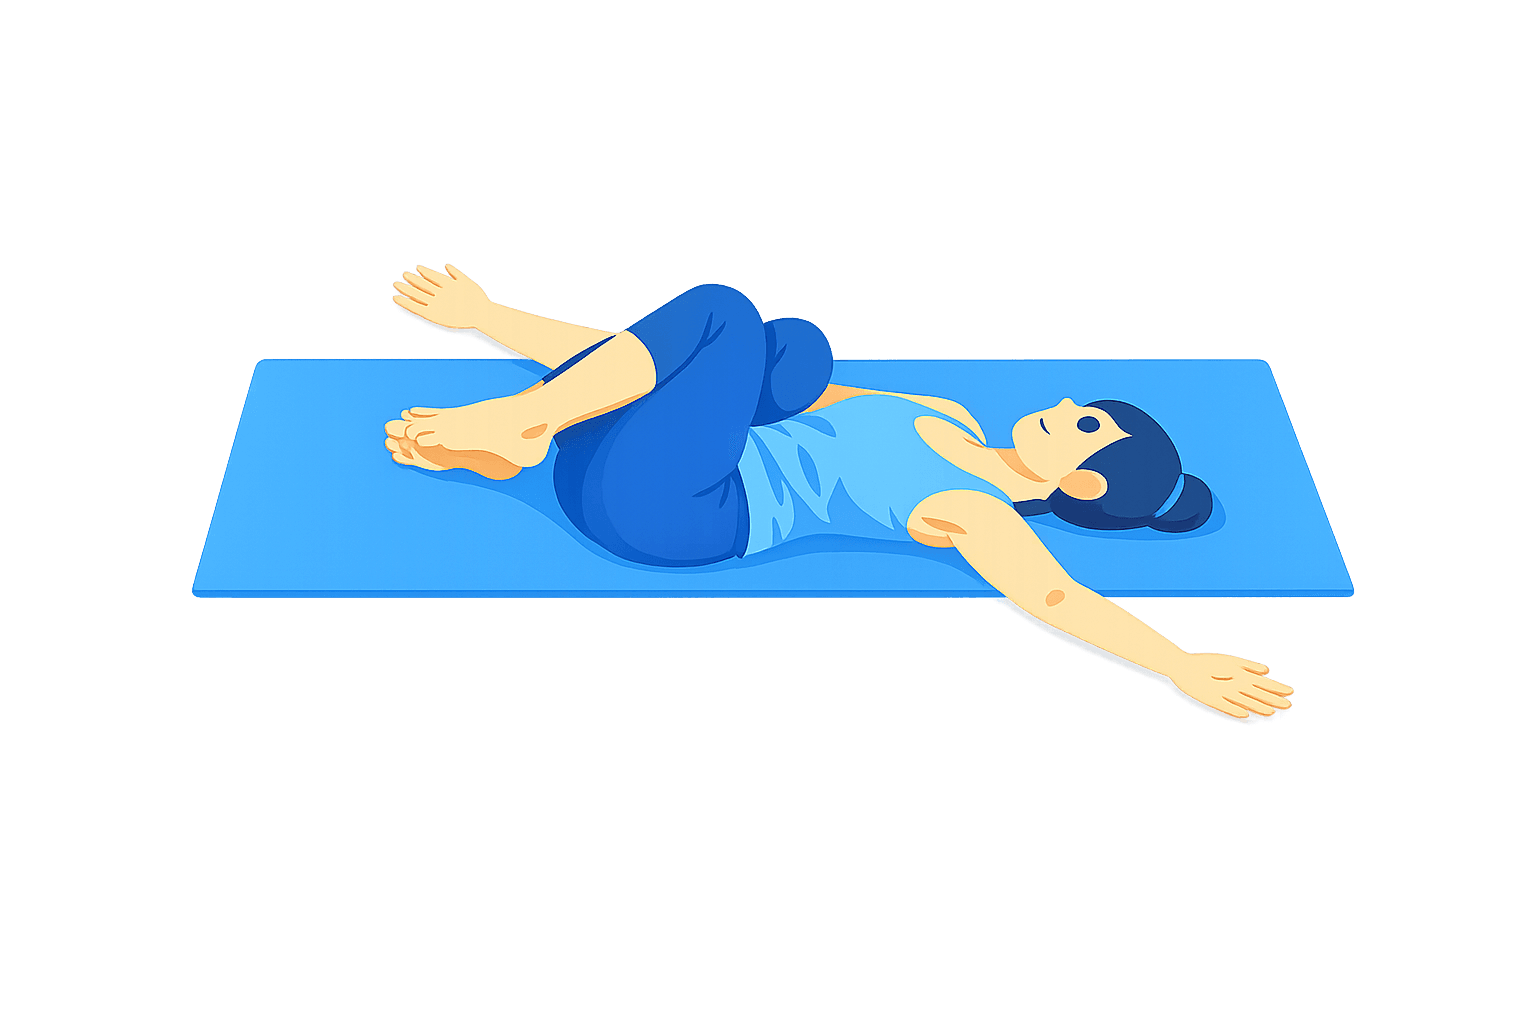
Supine Twist
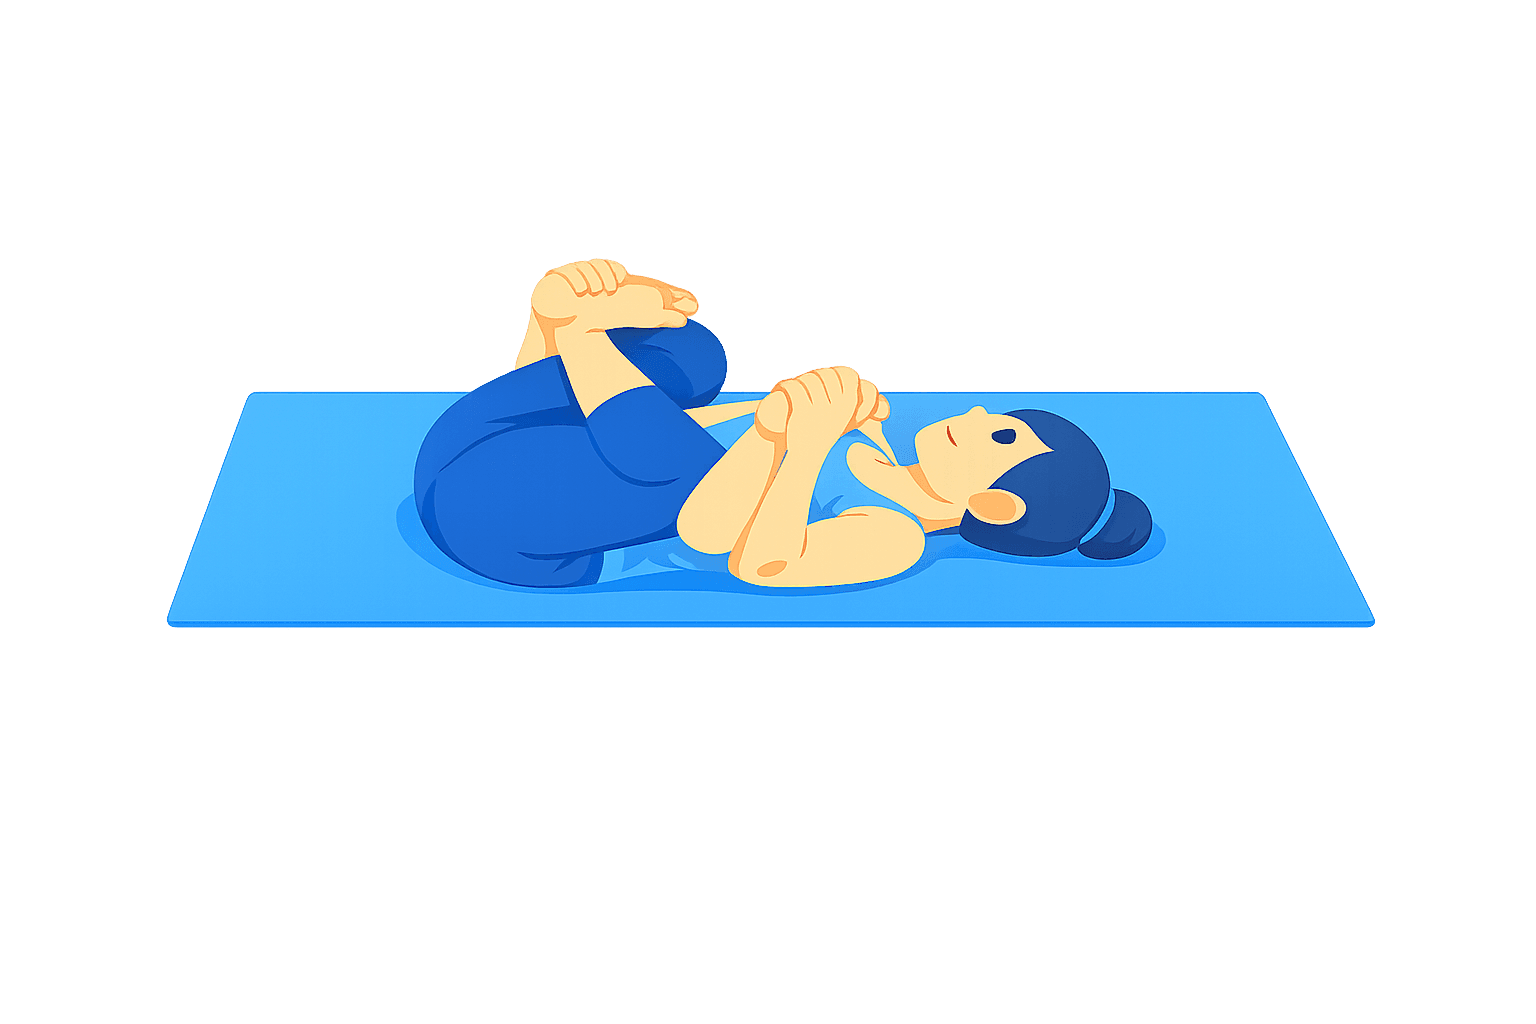
Happy Baby
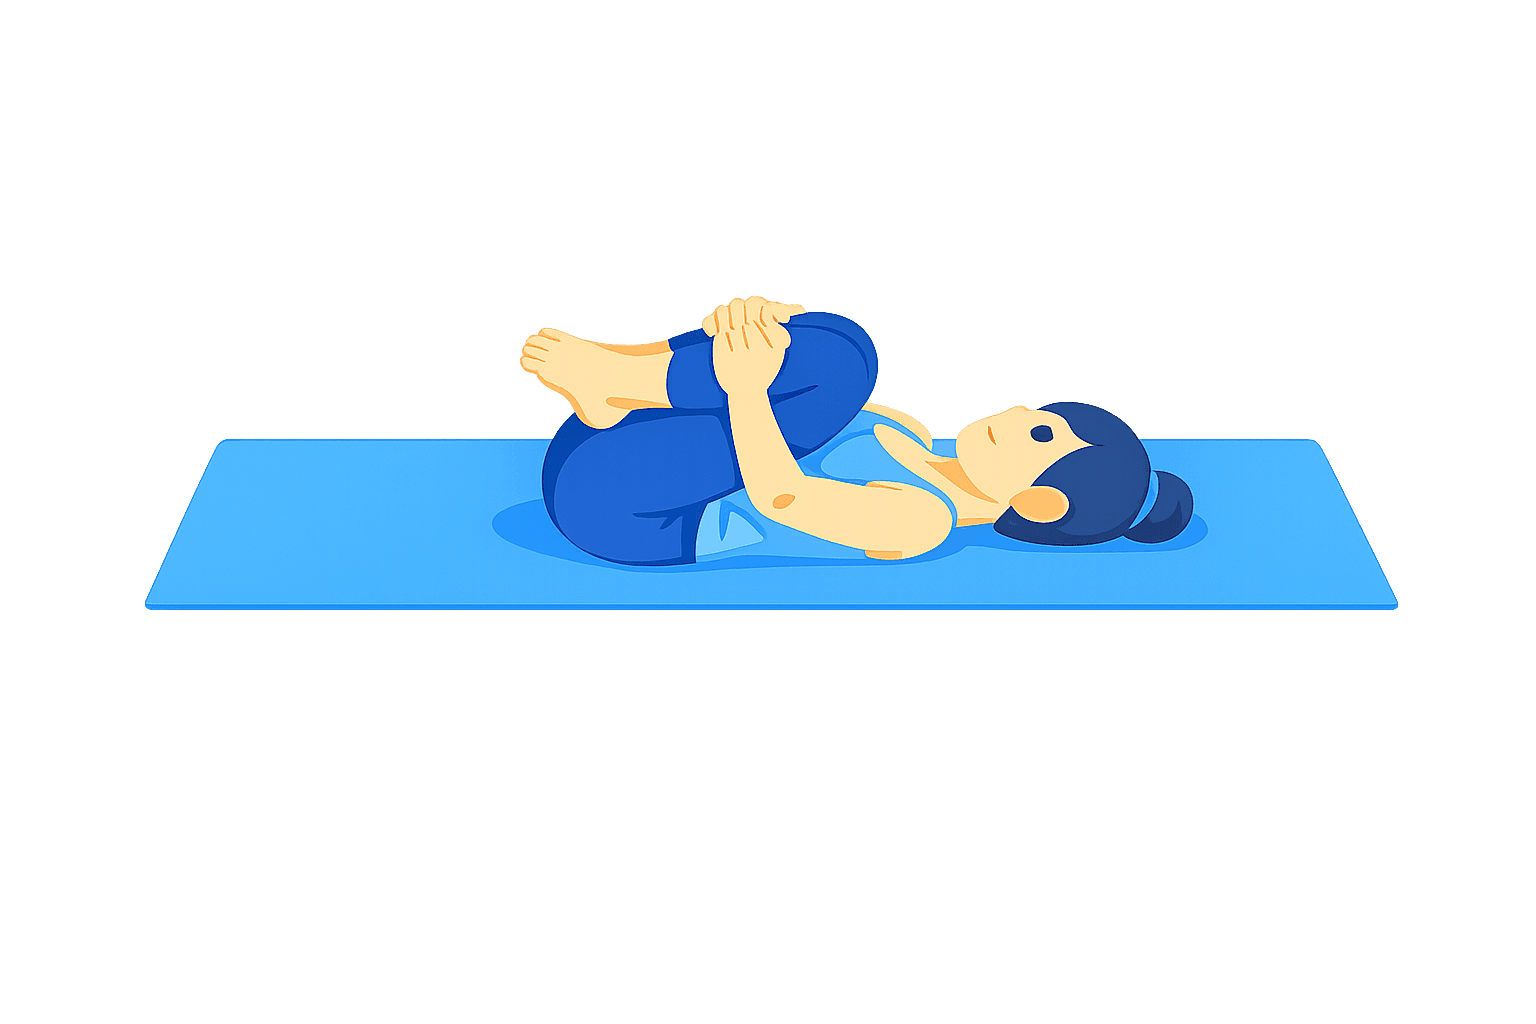
Knees to Chest
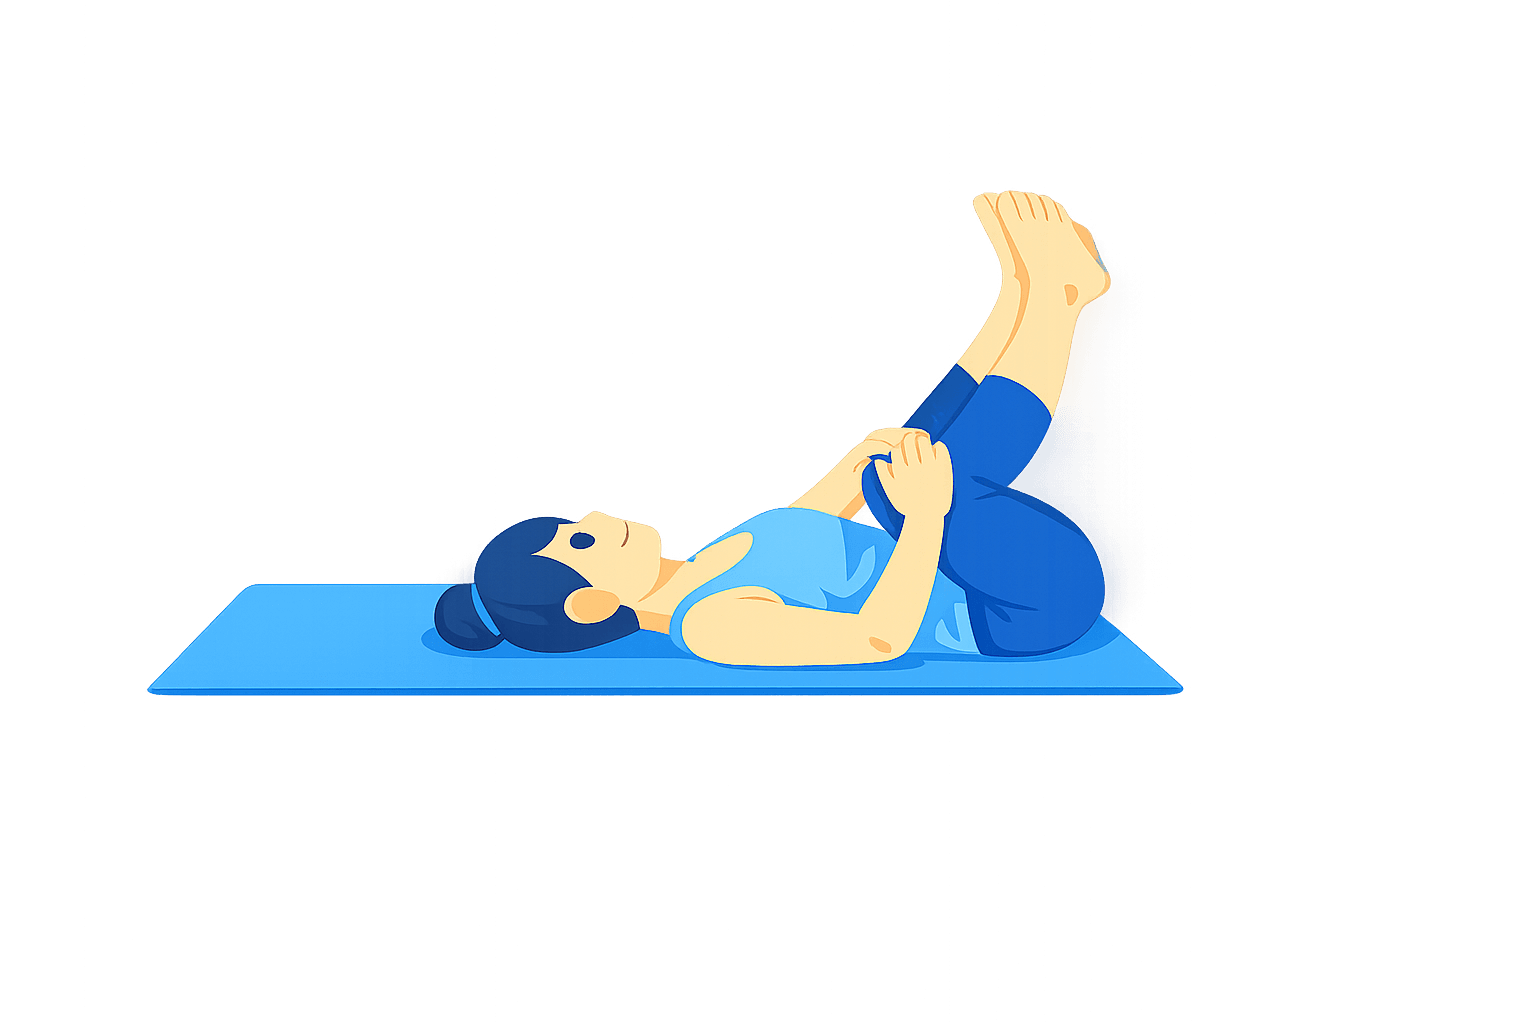
Legs Up the Wall
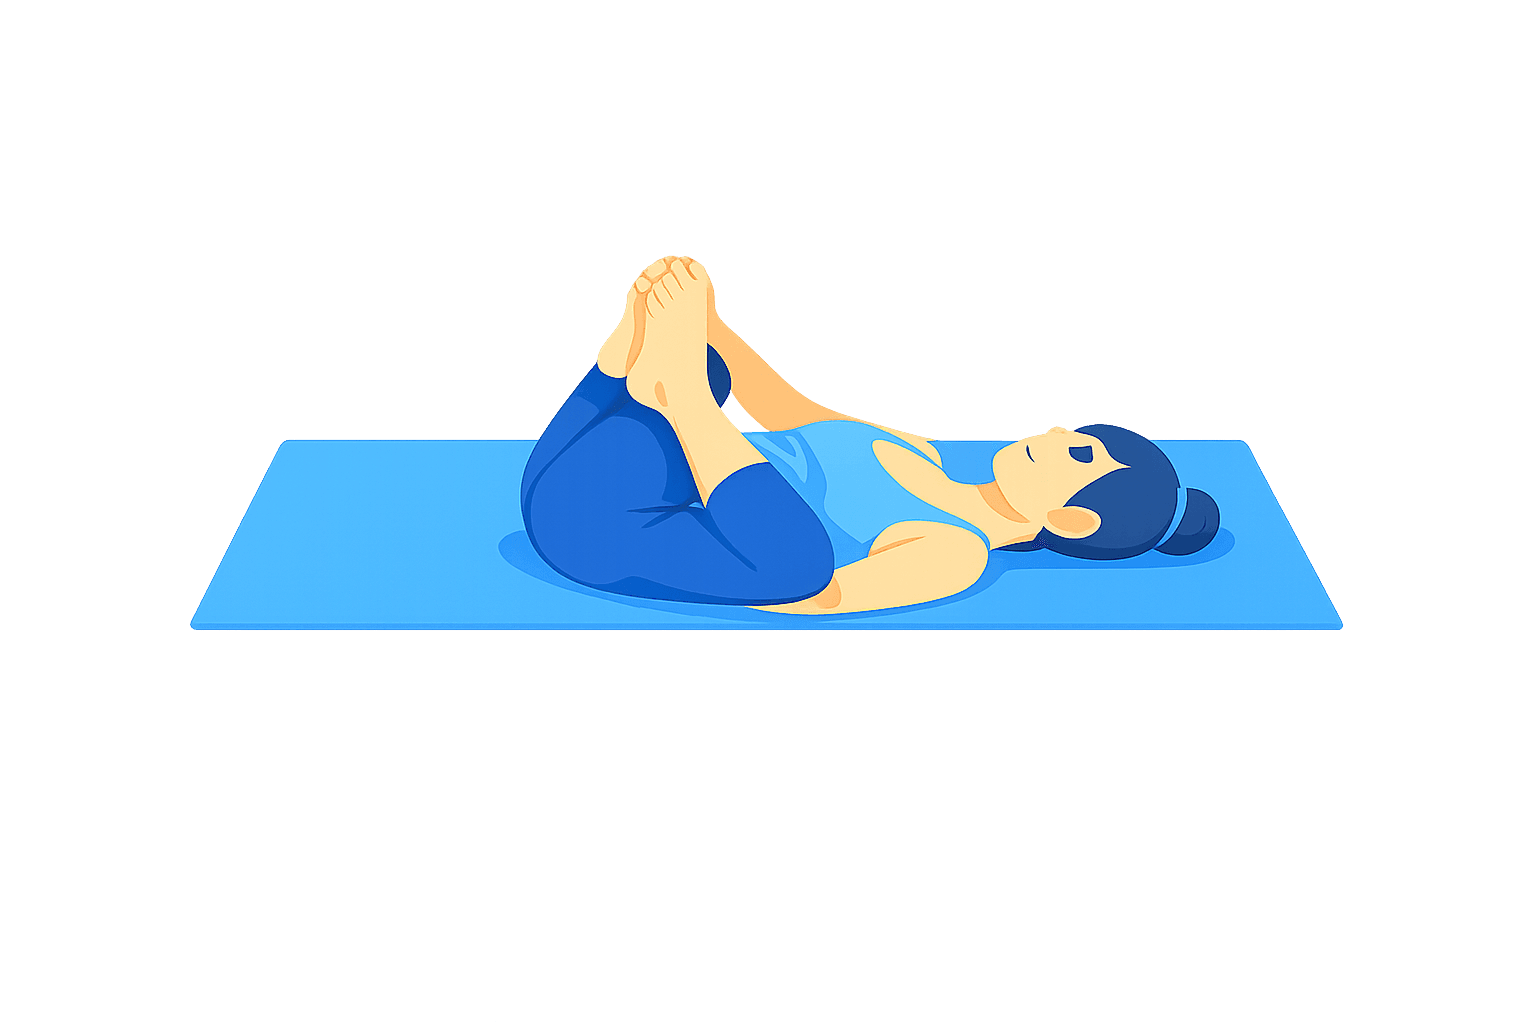
Reclined Bound Angle
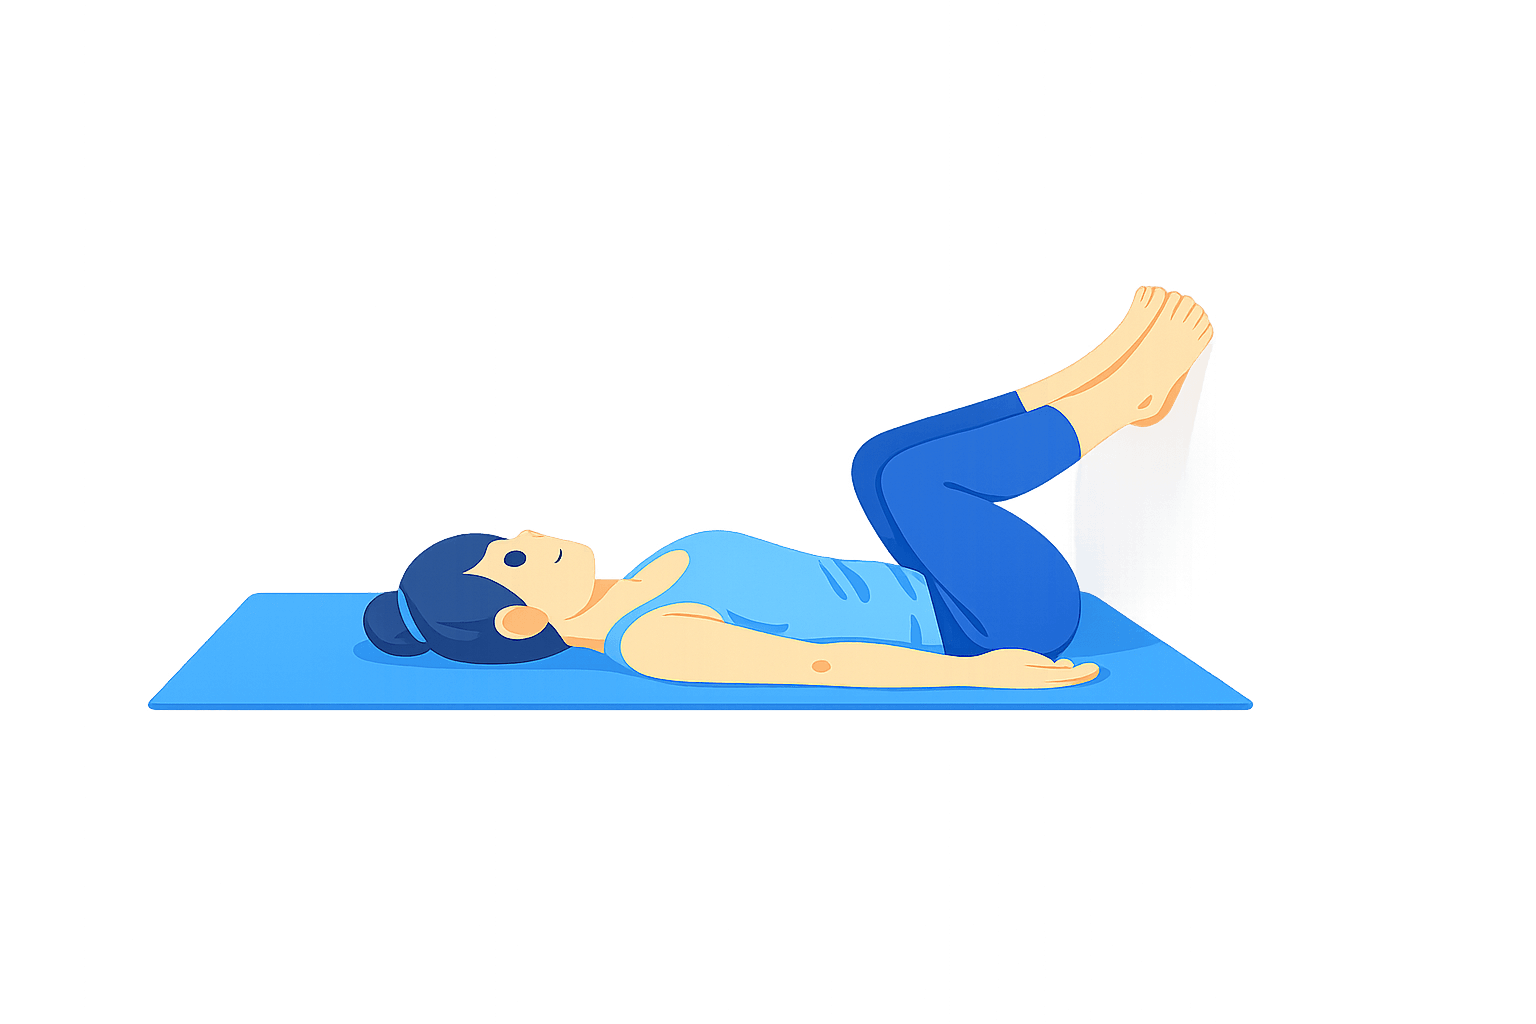
Boat Pose
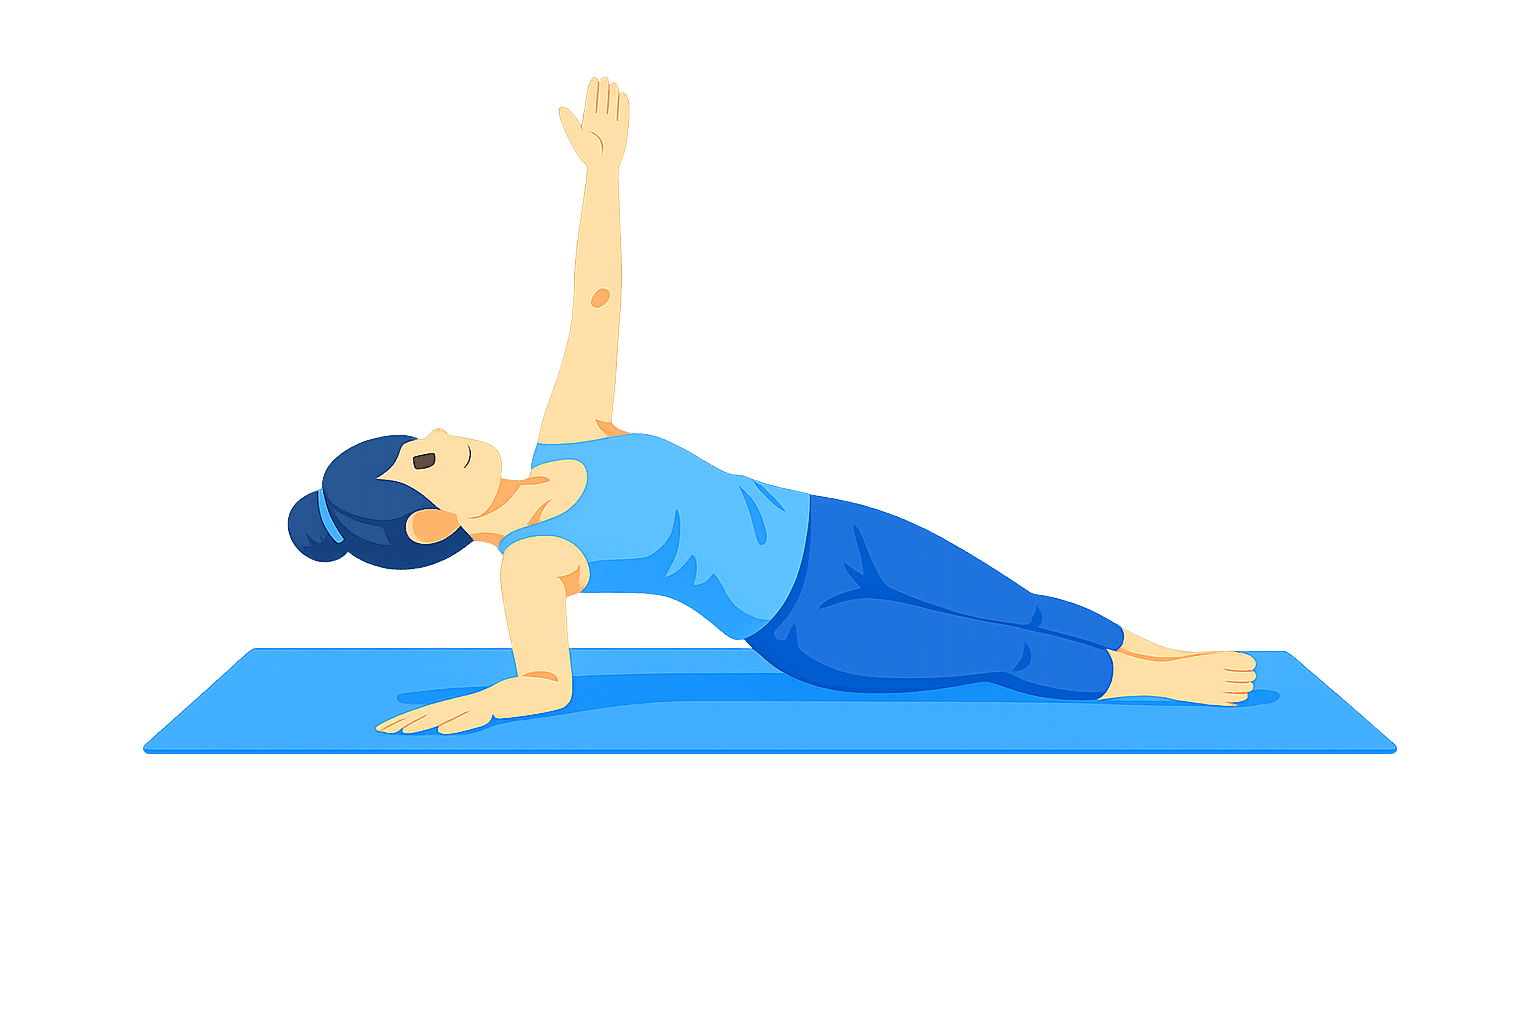
Side Plank
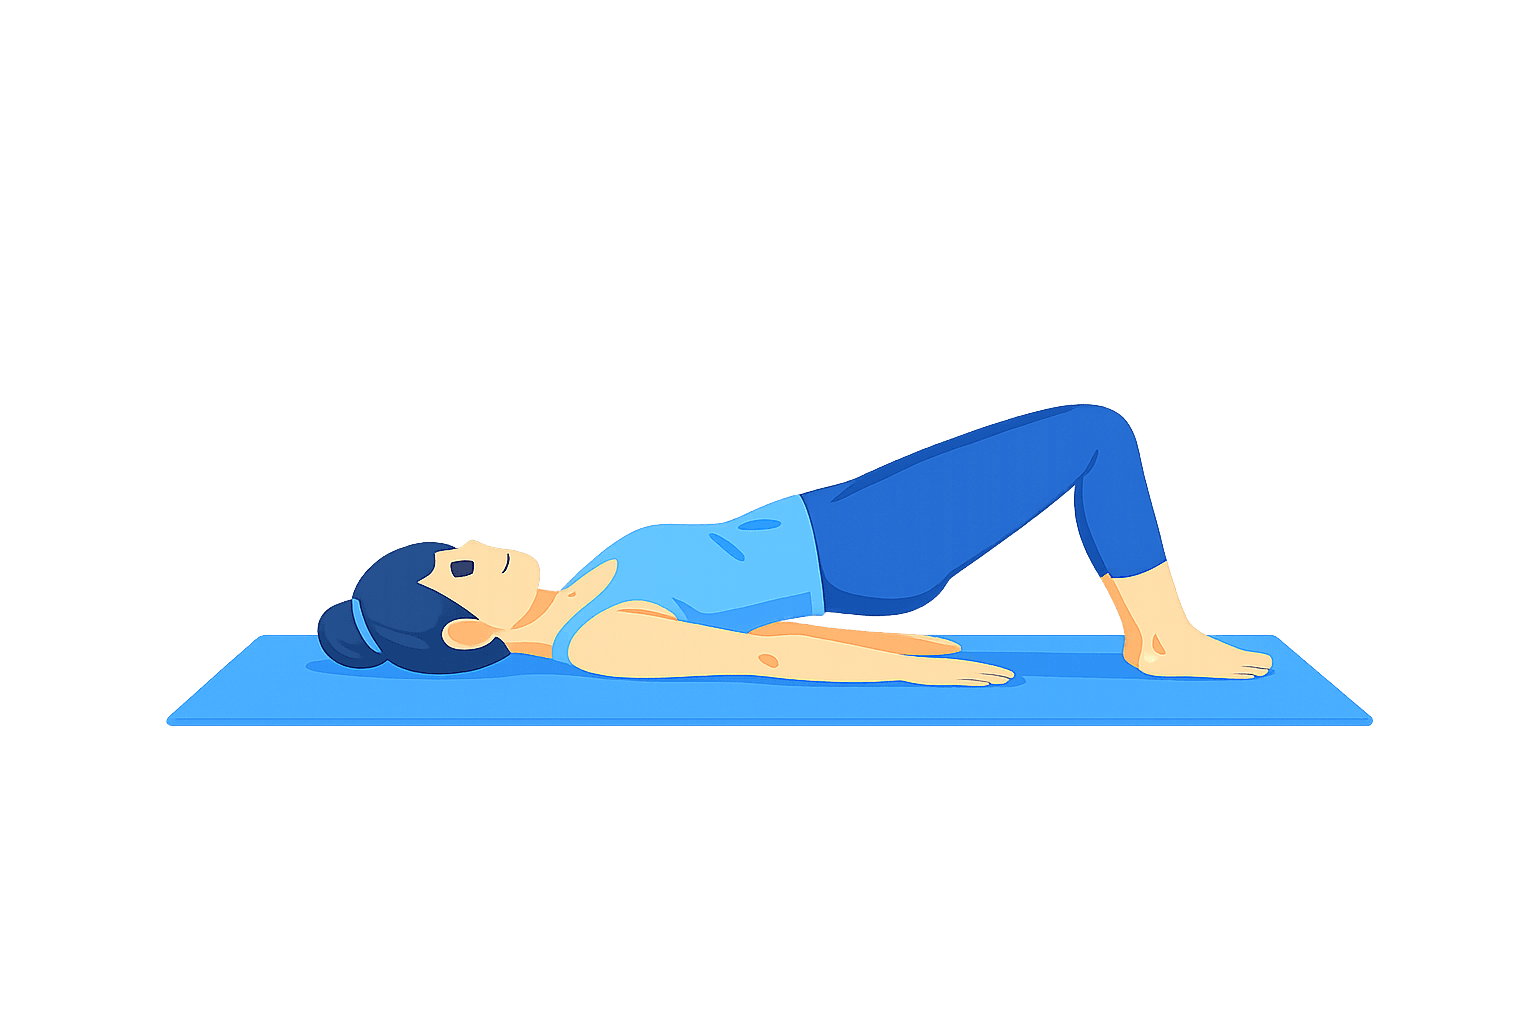
Bridge Pose
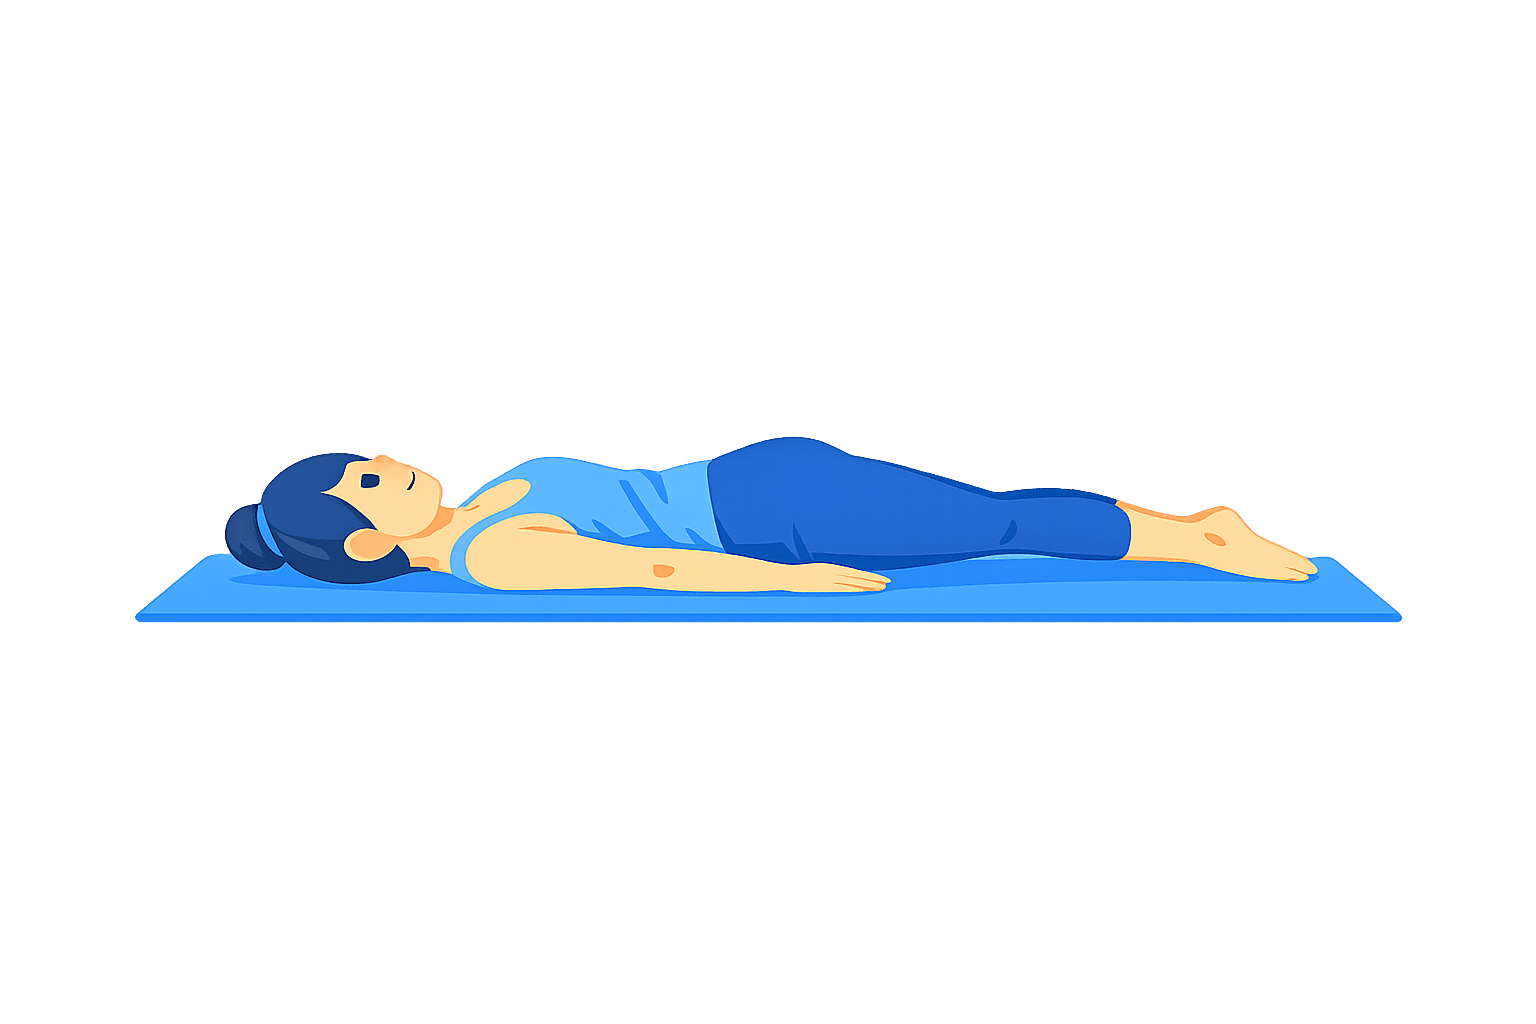
Locust Pose
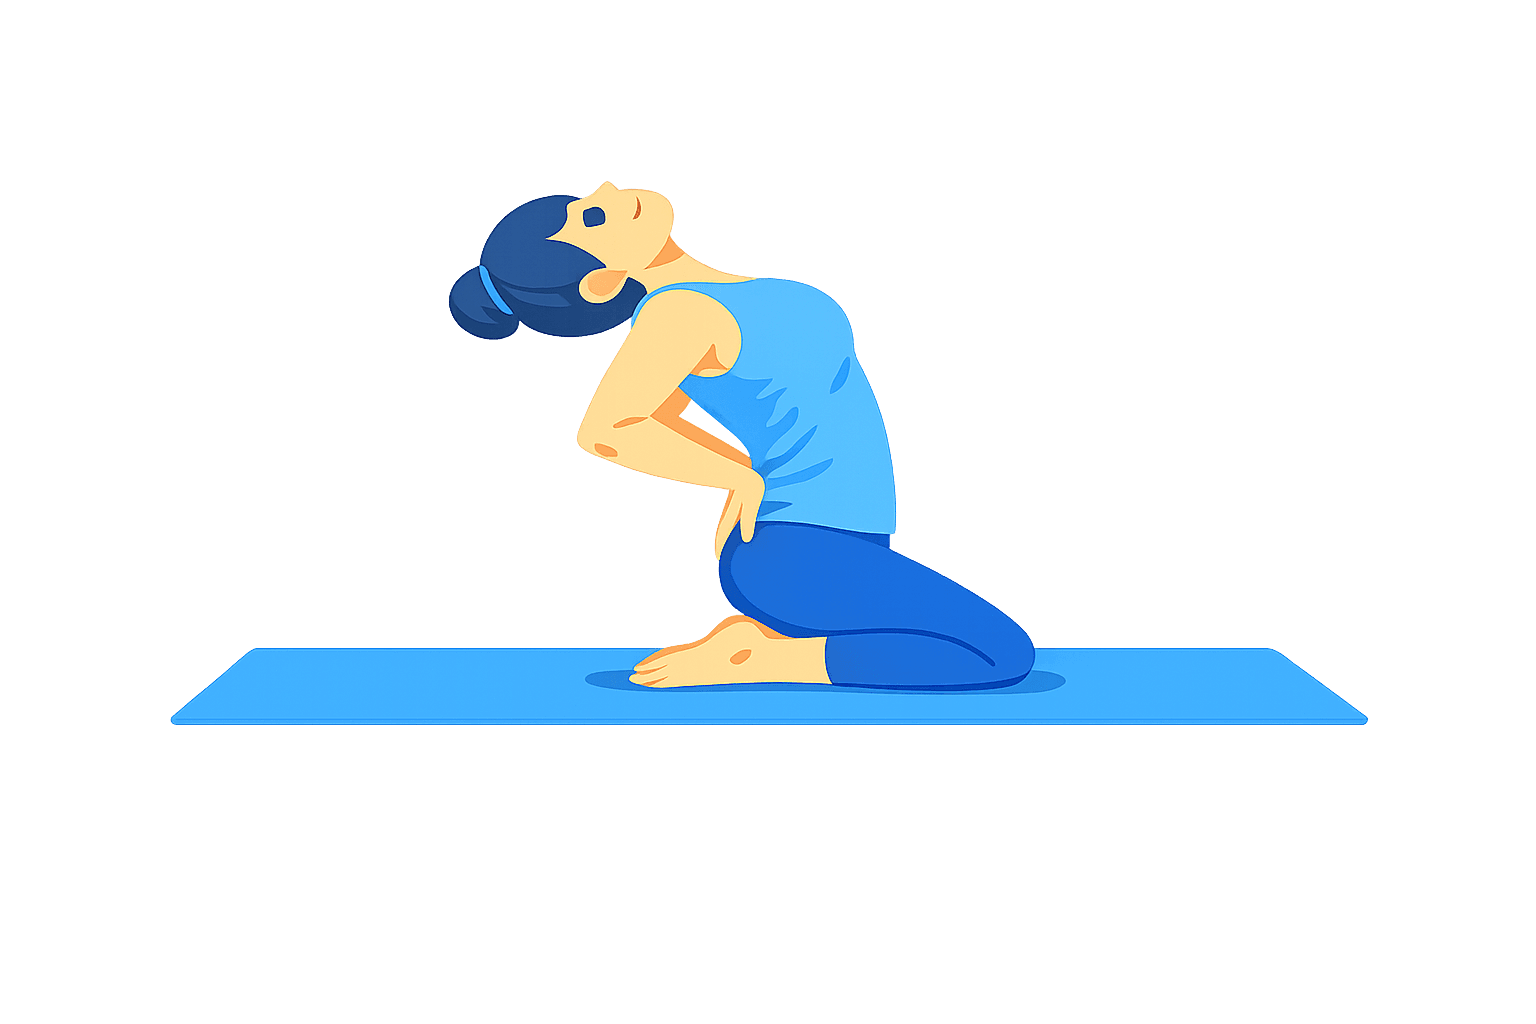
Camel Pose
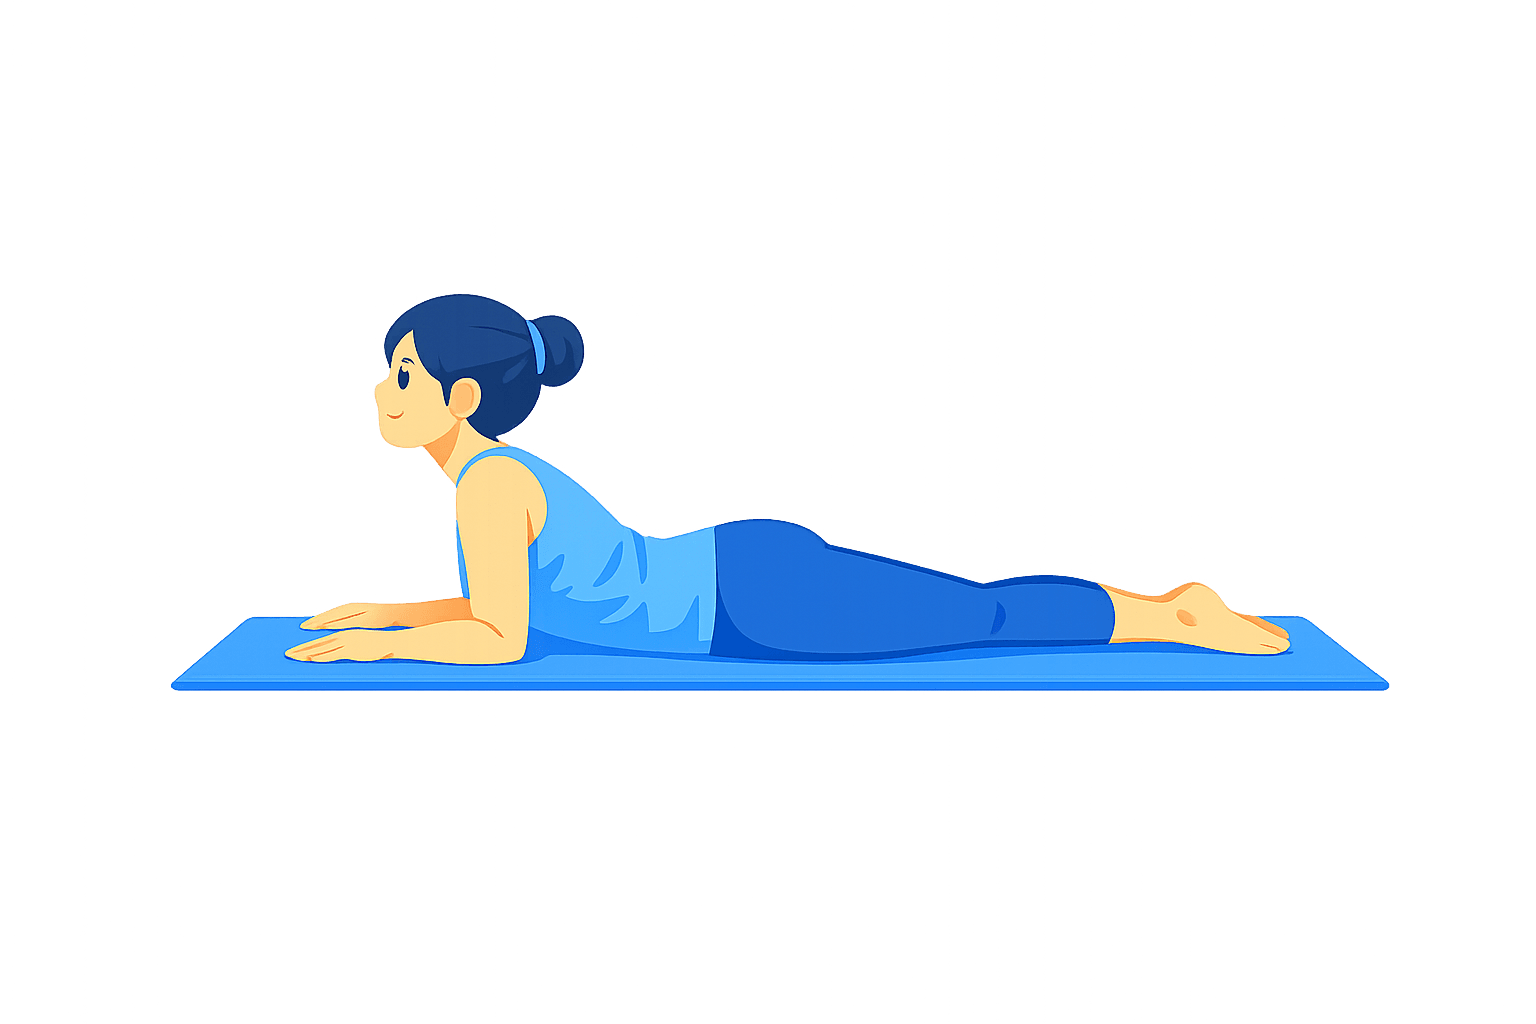
Sphinx Pose
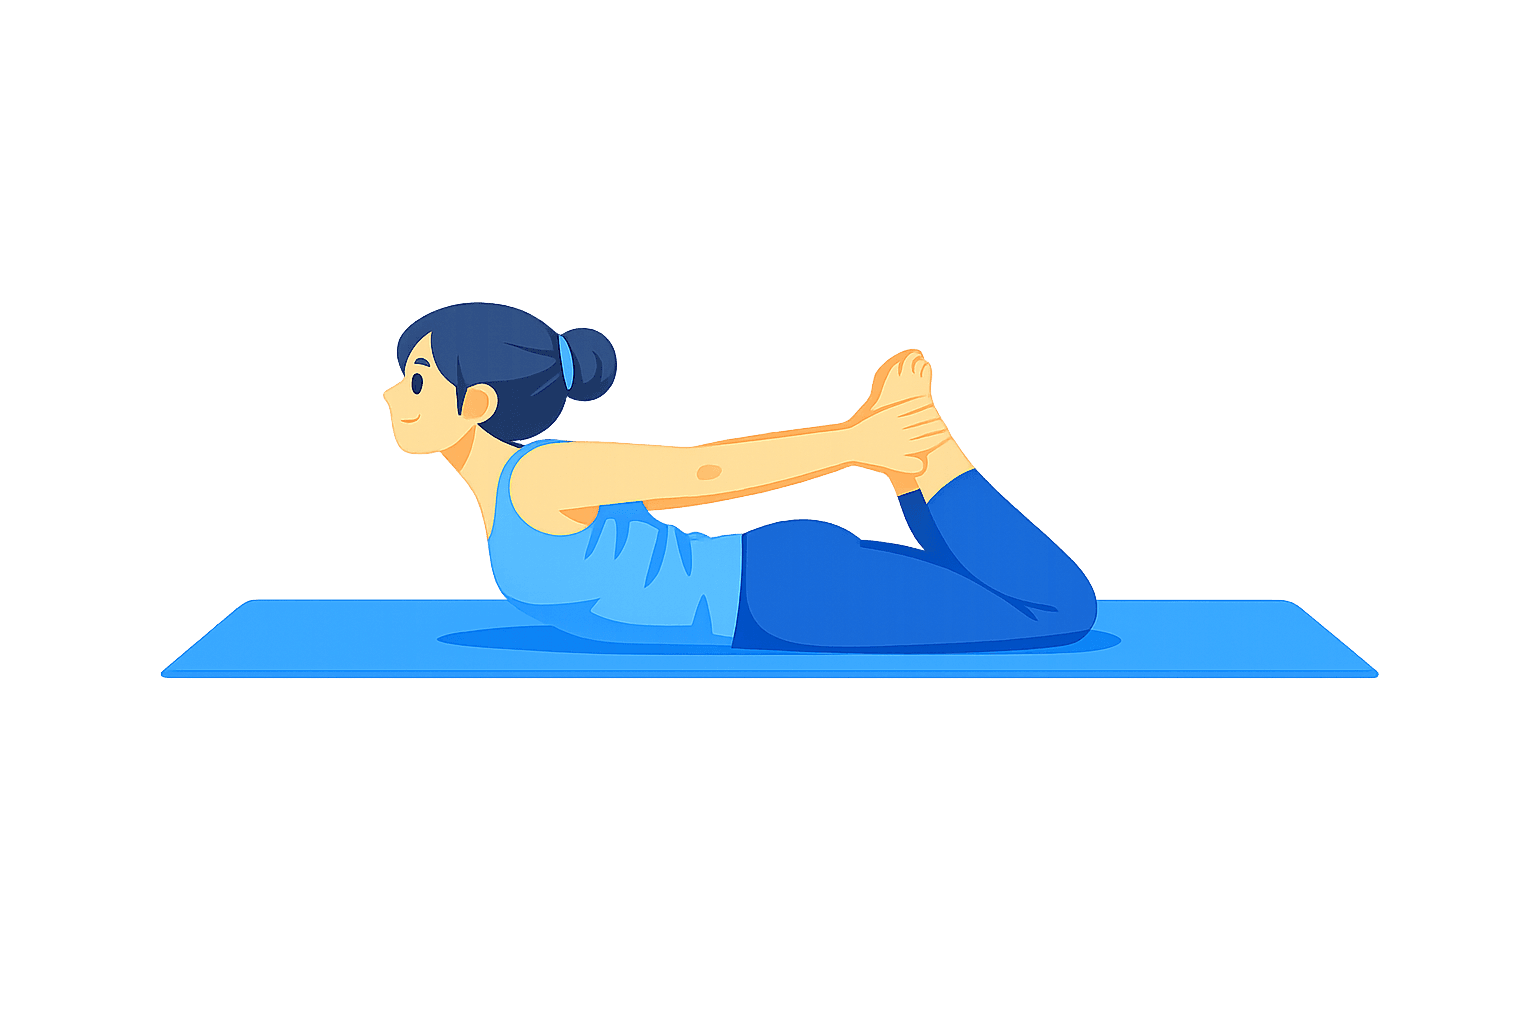
Bow Pose
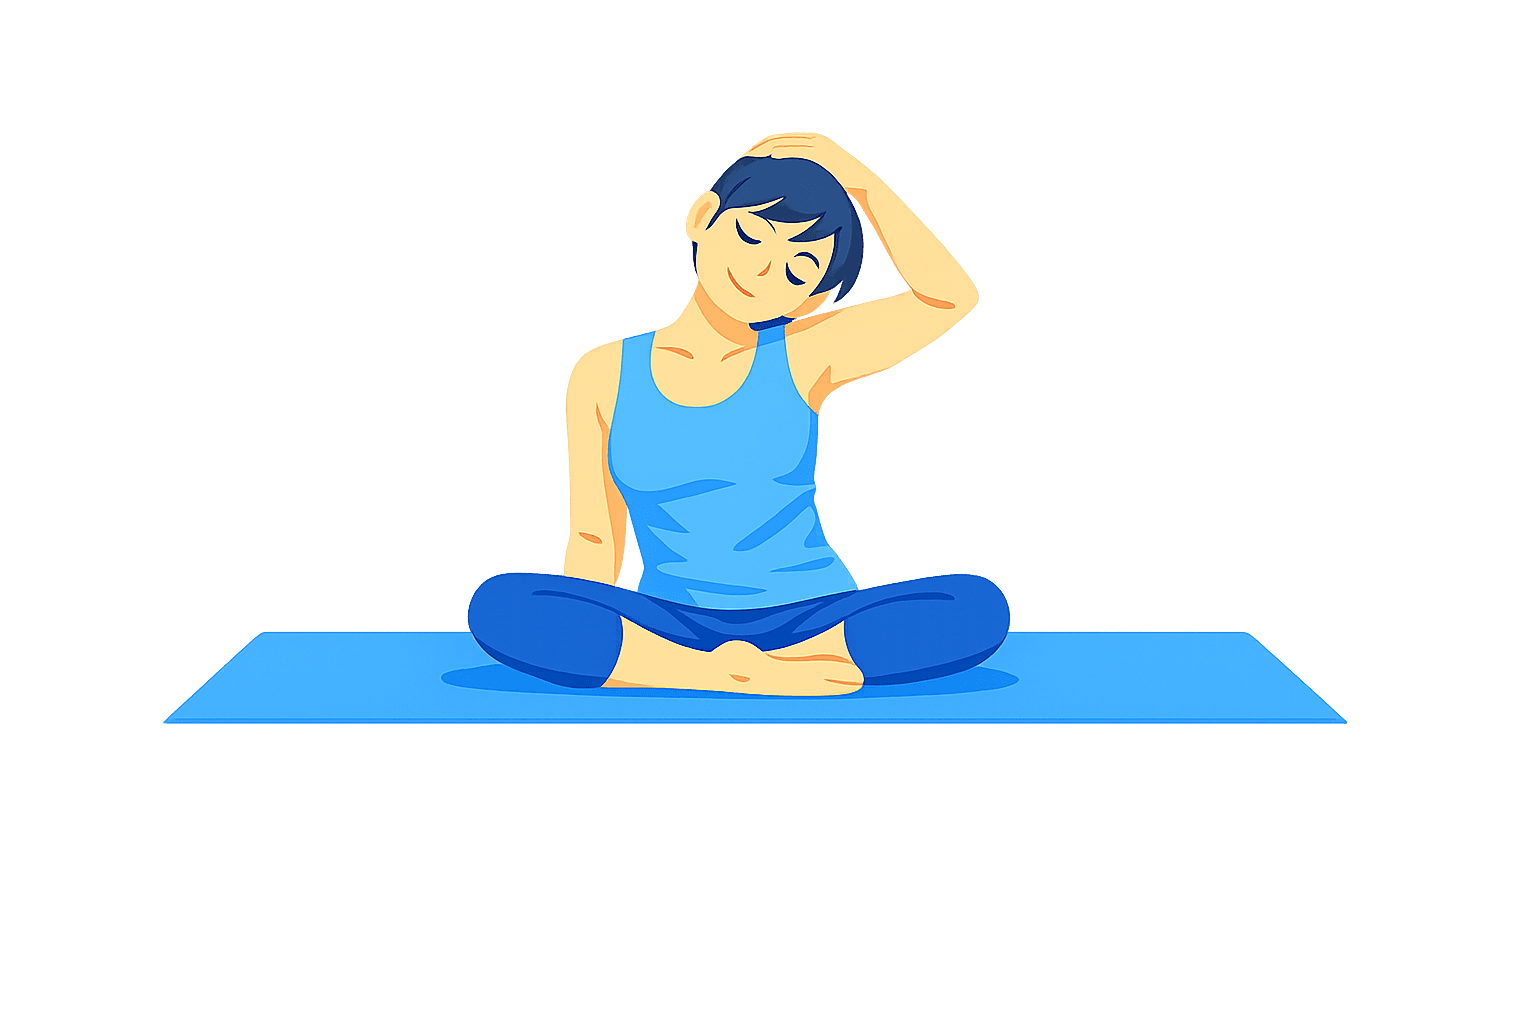
Seated Neck Stretch
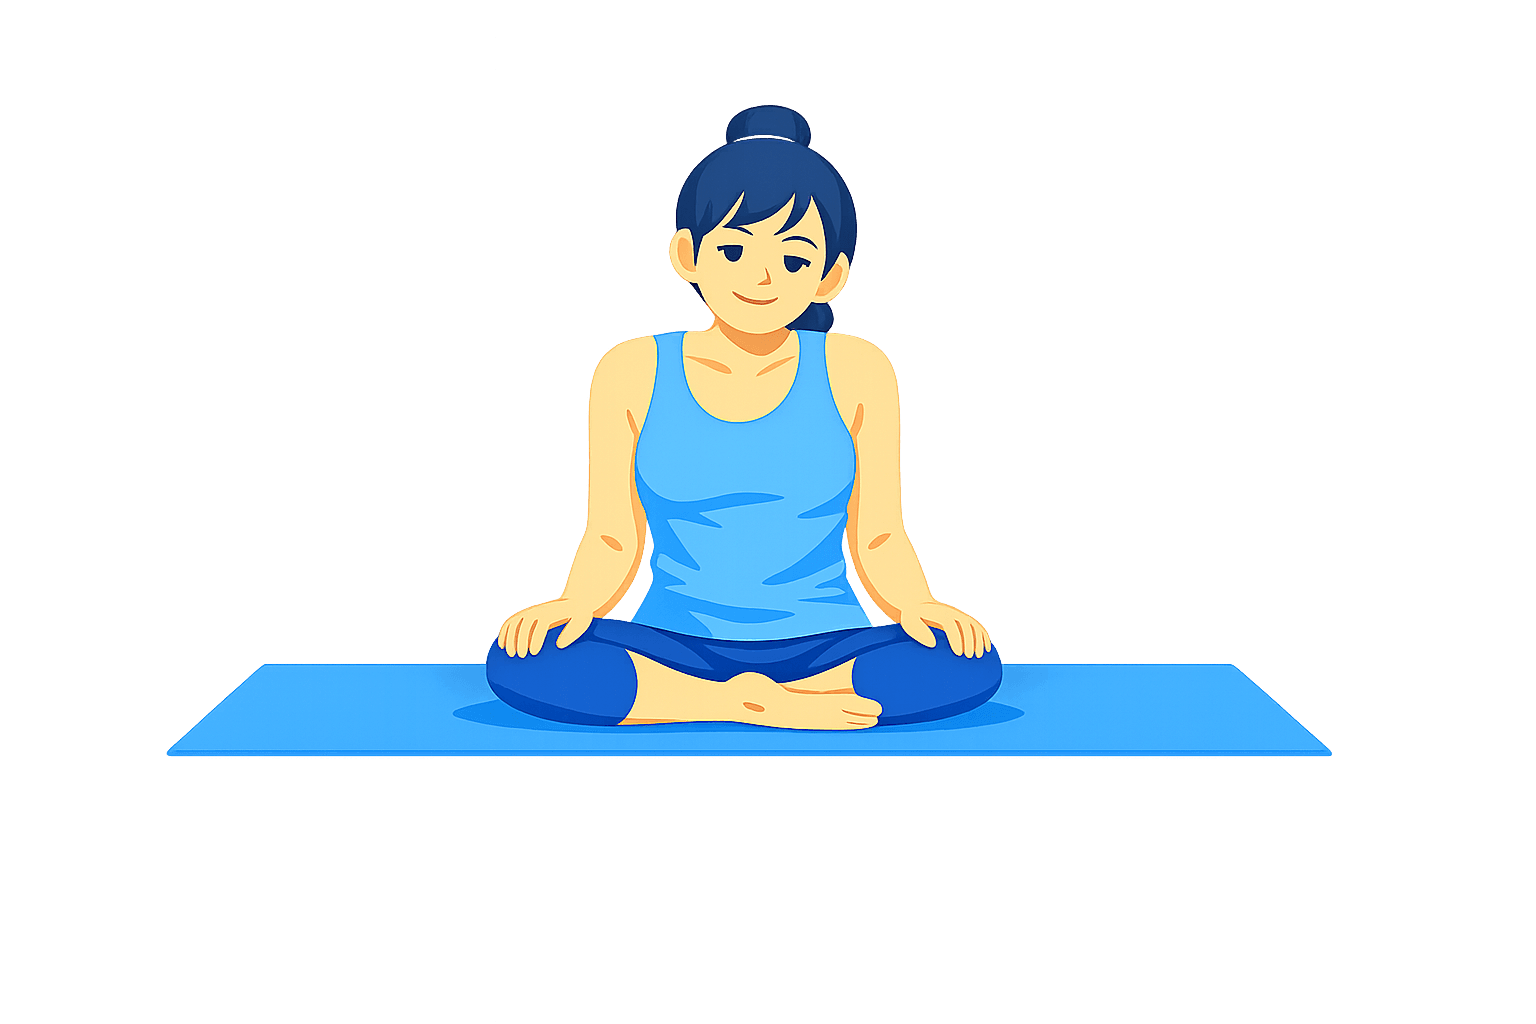
Seated Shoulder Rolls
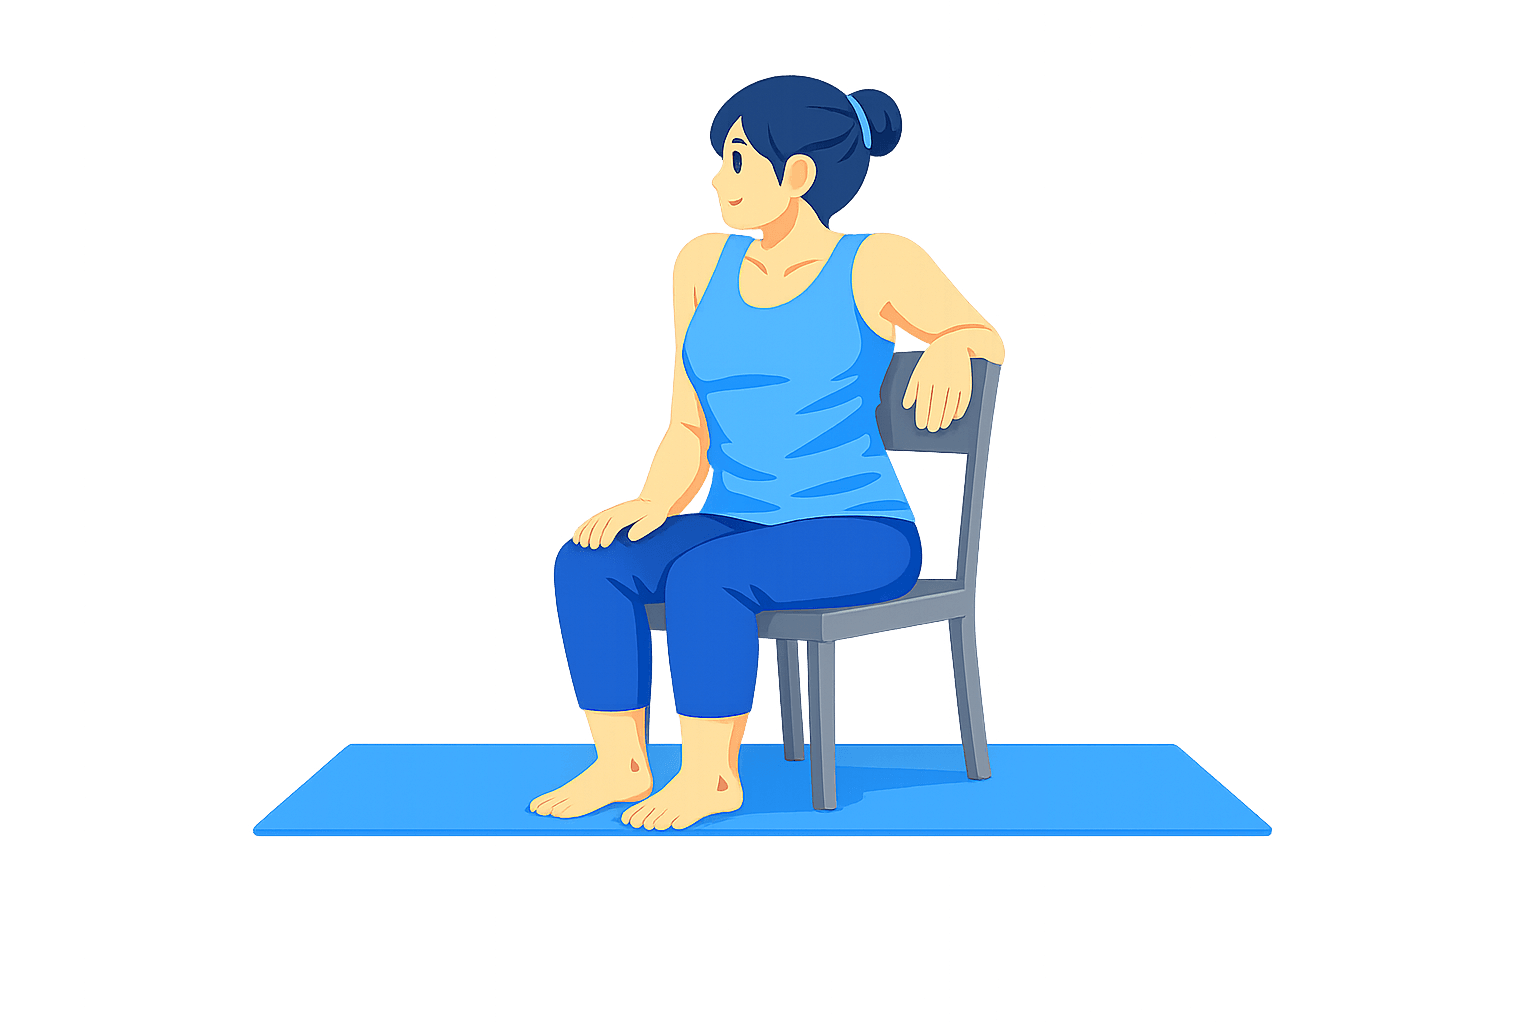
Seated Spinal Twist
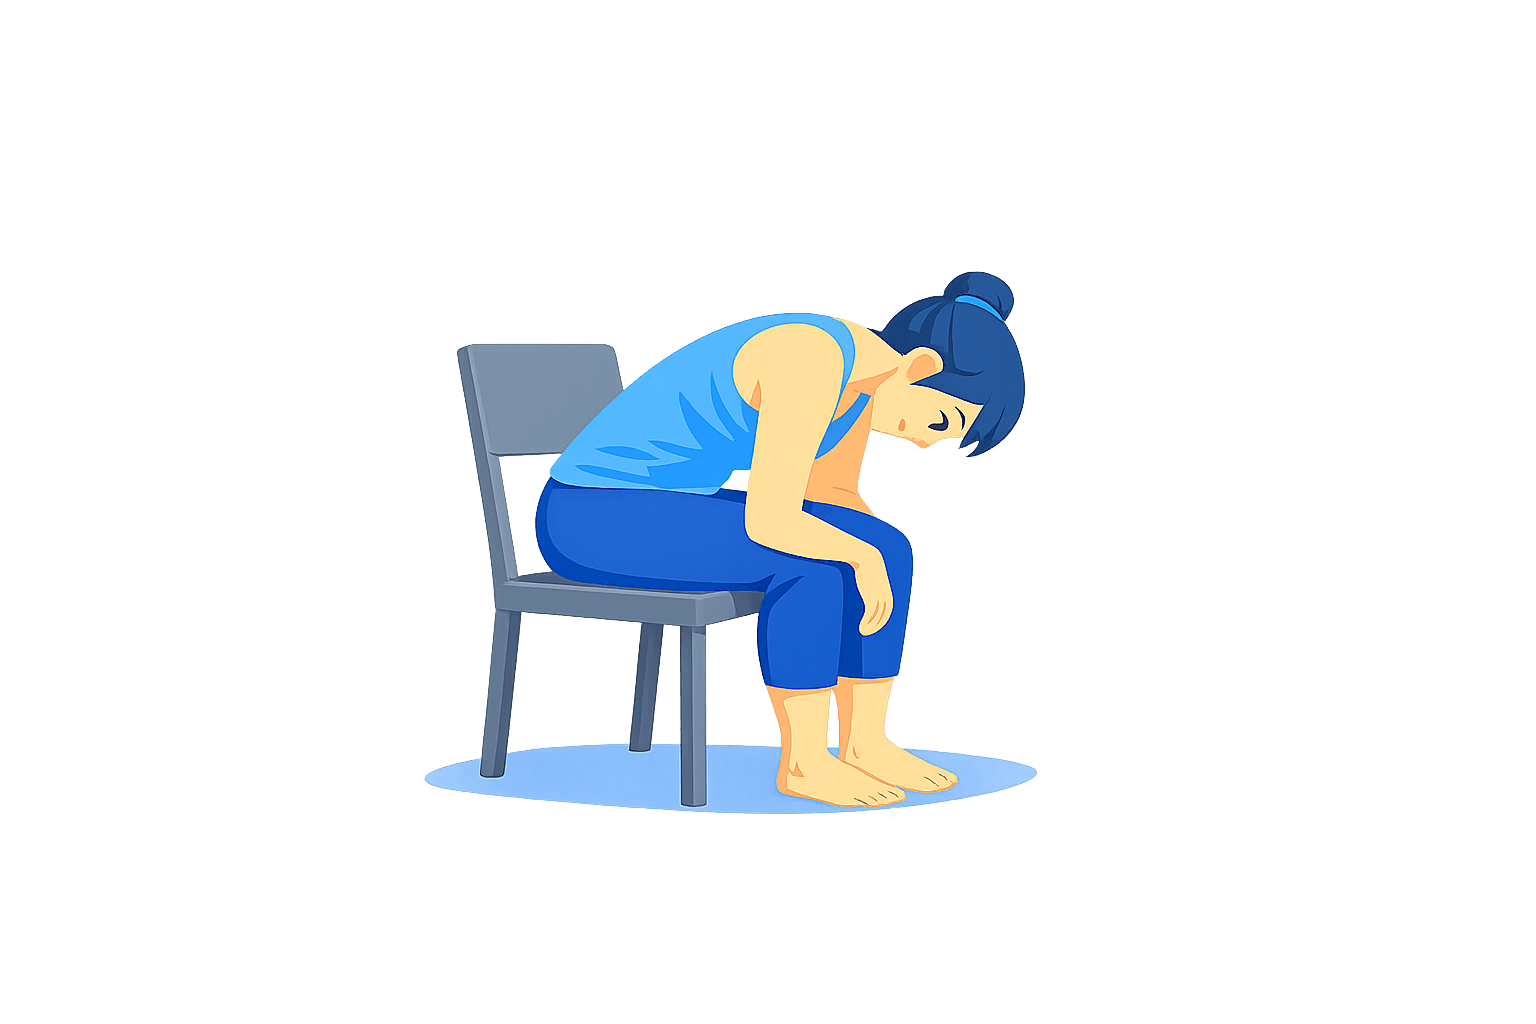
Chair Forward Fold
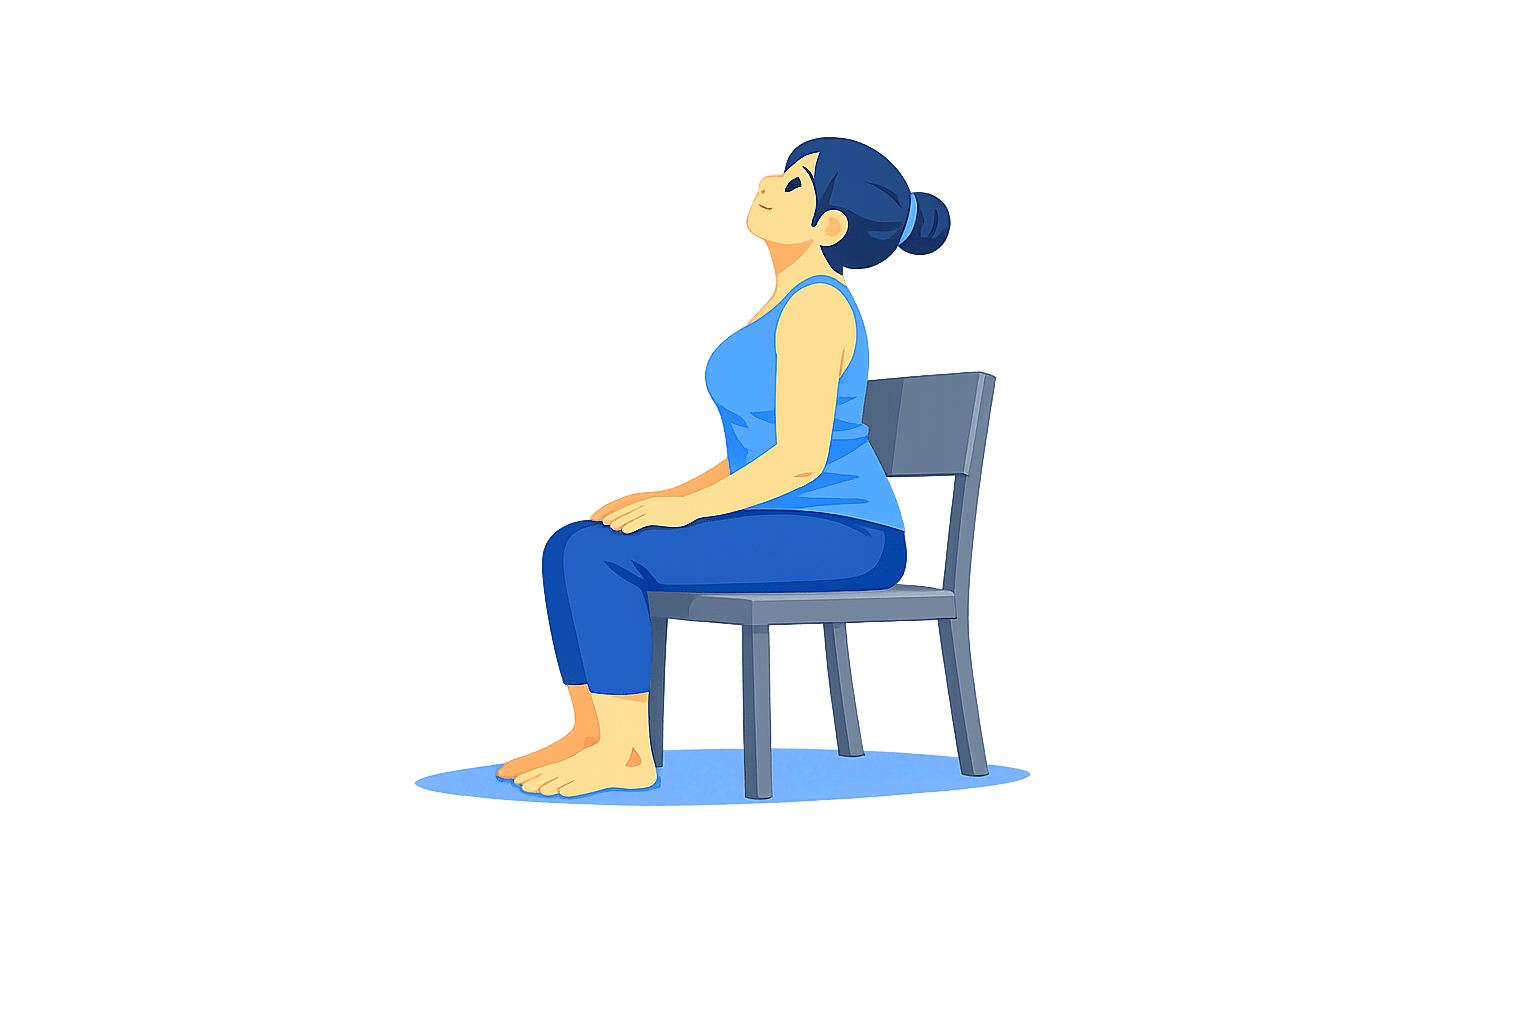
Chair Cat-Cow
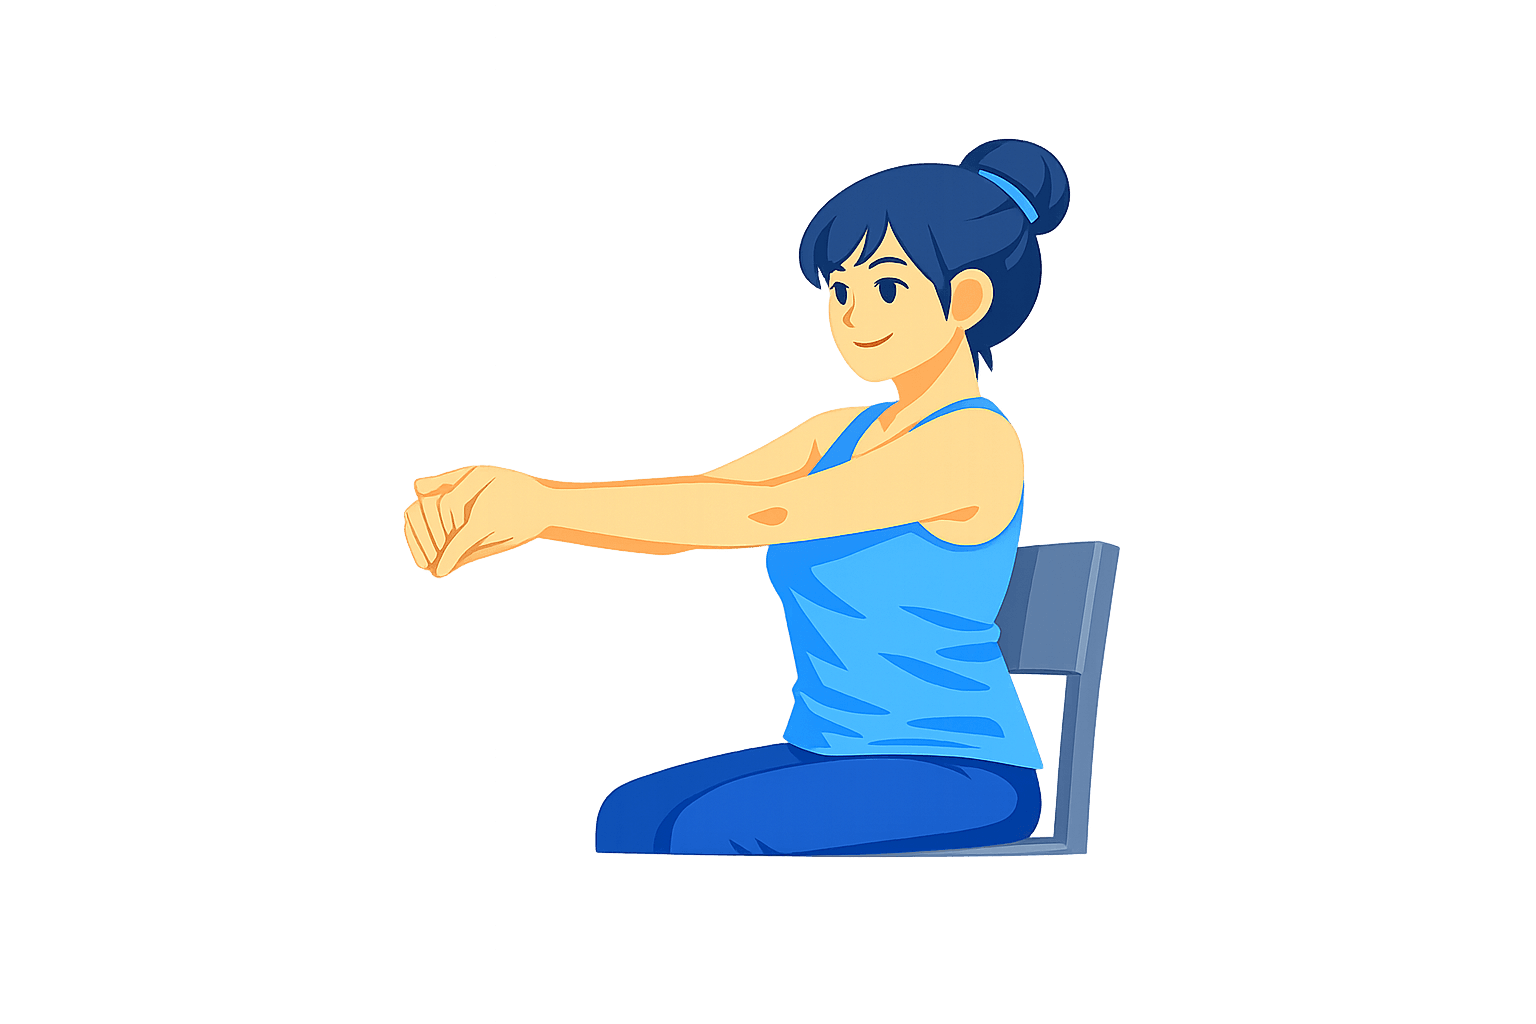
Wrist Stretch
Yoga App pose instructions
Easy Pose Breathing
How to do it
- Sit cross-legged, on a folded blanket, or with your legs extended.
- Rest your hands on your thighs and let your shoulders drop.
- Lengthen your spine without pushing your ribs forward.
- Breathe slowly through your nose for the planned time.
What to focus on
- Keep the breath smooth and quiet.
- Let your jaw, eyes, and hands soften.
- Stay tall without making the posture stiff.
Make it easier
- Sit against a wall.
- Place a cushion under your hips.
- Change leg position whenever needed.
Avoid this
- Forcing a deep breath.
- Rounding heavily through the lower back.
- Tensing your shoulders to “sit straight”.
Box Breathing
How to do it
- Sit comfortably and place both feet or legs in a stable position.
- Inhale for an even count, pause, exhale for the same count, then pause again.
- Keep the rhythm simple, such as 3-3-3-3 or 4-4-4-4.
- Continue for the planned time.
What to focus on
- Make every part of the count easy to repeat.
- Keep your neck, face, and shoulders relaxed.
- Let the pauses feel calm rather than held by force.
Make it easier
- Use a shorter count.
- Remove the pauses and simply slow the breath.
- Keep your eyes open with a soft gaze.
Avoid this
- Chasing a long count.
- Tightening your throat during the pauses.
- Continuing a pattern that makes you feel lightheaded.
Child’s Pose
How to do it
- Kneel on the mat and bring your hips back toward your heels.
- Fold your torso forward between or over your thighs.
- Rest your forehead on the mat, hands, or a support.
- Reach your arms forward or place them beside your body.
What to focus on
- Let your back widen with each breath.
- Keep your neck relaxed.
- Let the hips settle only as far as they comfortably go.
Make it easier
- Widen your knees.
- Place a blanket between hips and heels.
- Support your forehead with a block, pillow, or stacked hands.
Avoid this
- Forcing your hips onto your heels.
- Pressing your forehead hard into the floor.
- Ignoring knee pressure when a support would help.
Corpse Pose
How to do it
- Lie on your back with your legs extended or knees supported.
- Let your feet fall naturally outward.
- Rest your arms slightly away from your sides.
- Stay still for the planned time and breathe normally.
What to focus on
- Release effort from your face, shoulders, hands, and legs.
- Let the floor carry your weight.
- Keep the breath natural, not controlled.
Make it easier
- Put a blanket under your knees.
- Support your head with a thin folded towel.
- Bend your knees with feet on the floor.
Avoid this
- Holding your body rigid.
- Checking your phone during the pose.
- Rushing up immediately after the timer ends.
Mountain Pose
How to do it
- Stand with feet hip-width apart or gently together.
- Spread weight evenly through your heels, toes, and the balls of your feet.
- Let your arms rest by your sides.
- Stand tall and breathe steadily.
What to focus on
- Stack ribs over pelvis.
- Soften your knees instead of locking them.
- Keep shoulders relaxed and broad.
Make it easier
- Stand with feet wider apart.
- Practice near a wall.
- Keep your gaze fixed on one point.
Avoid this
- Leaning into your heels or toes.
- Pushing your chest forward.
- Clenching your knees or glutes.
Standing Forward Fold
How to do it
- Stand tall, then fold forward from your hips.
- Bend your knees as much as needed.
- Let your head, neck, and arms hang.
- Hold for the planned time with slow breathing.
What to focus on
- Release the weight of your head.
- Keep the stretch broad through the backs of your legs.
- Let the fold be comfortable rather than deep.
Make it easier
- Bend your knees deeply.
- Rest hands on thighs, shins, blocks, or a chair.
- Keep your feet hip-width apart.
Avoid this
- Locking your knees.
- Pulling yourself down by the legs.
- Forcing the pose if you feel dizzy.
Half Forward Fold
How to do it
- From a forward fold, place hands on thighs, shins, blocks, or the floor.
- Lengthen your spine forward.
- Keep your neck in line with your back.
- Hold briefly or use it between standing poses.
What to focus on
- Reach the crown of your head forward.
- Keep your belly lightly active.
- Create length before moving deeper.
Make it easier
- Place hands higher on your thighs.
- Bend your knees more.
- Use blocks under your hands.
Avoid this
- Cranking your chin upward.
- Rounding hard through the back.
- Straightening your legs at the expense of control.
Chair Pose
How to do it
- Stand with feet hip-width apart.
- Bend your knees and send your hips back.
- Reach arms forward, overhead, or keep hands at your chest.
- Hold for the planned time.
What to focus on
- Keep weight balanced through both feet.
- Let knees point in the same direction as toes.
- Keep your ribs from flaring forward.
Make it easier
- Make the bend smaller.
- Keep hands on hips or at your chest.
- Use a wall behind you for reference.
Avoid this
- Letting knees collapse inward.
- Overarching your lower back.
- Holding your breath while your legs work.
Warrior I
How to do it
- Step one foot forward and the other foot back.
- Turn the back foot slightly out.
- Bend the front knee and lift your torso.
- Reach arms up or keep hands on hips, then switch sides.
What to focus on
- Keep the front knee over the front ankle.
- Press through the outer edge of the back foot.
- Face your chest forward without forcing the hips square.
Make it easier
- Shorten the stance.
- Widen your feet side to side.
- Keep hands on hips.
Avoid this
- Twisting the back knee.
- Letting the front knee fall inward.
- Compressing your lower back as the arms lift.
Warrior II
How to do it
- Step your feet wide and turn one foot out.
- Bend the front knee.
- Extend arms at shoulder height.
- Look over the front hand, then switch sides.
What to focus on
- Keep the front knee tracking over the toes.
- Press evenly through both feet.
- Keep shoulders relaxed even while arms stay active.
Make it easier
- Reduce the bend in the front knee.
- Shorten the stance.
- Rest hands on hips for a few breaths.
Avoid this
- Leaning your torso forward.
- Letting the back foot collapse inward.
- Shrugging your shoulders.
Reverse Warrior
How to do it
- Start in Warrior II.
- Turn your front palm up.
- Reach the front arm overhead while the back hand rests lightly on the back leg.
- Keep the front knee bent, then switch sides.
What to focus on
- Reach up before leaning back.
- Keep the front leg steady.
- Lengthen the side body without collapsing.
Make it easier
- Keep the top hand on your hip.
- Make the side bend smaller.
- Use a shorter Warrior II stance.
Avoid this
- Dumping weight into the back hand.
- Straightening the front leg unintentionally.
- Bending from the lower back instead of lengthening upward.
Triangle Pose
How to do it
- Stand with feet wide and turn one foot out.
- Reach forward over the front leg.
- Lower your hand to your shin, a block, or the floor.
- Reach the other arm up or place it on your hip, then switch sides.
What to focus on
- Lengthen both sides of your waist.
- Keep the front knee soft.
- Open the chest only as far as you can control.
Make it easier
- Use a block under the lower hand.
- Rest your lower hand on your shin.
- Look down instead of upward.
Avoid this
- Locking the front knee.
- Dropping all your weight into the lower hand.
- Twisting your neck to force the gaze upward.
Extended Side Angle
How to do it
- Start in Warrior II.
- Bring your front forearm to your thigh or your hand to a block.
- Reach the top arm upward or overhead.
- Hold, then switch sides.
What to focus on
- Keep the front knee aligned with the toes.
- Lengthen from the back foot through the top arm.
- Keep the chest open without twisting forcefully.
Make it easier
- Keep forearm on the front thigh.
- Place the top hand on your hip.
- Shorten the stance.
Avoid this
- Collapsing into the front shoulder.
- Letting the front knee drift inward.
- Forcing your lower hand to the floor.
High Lunge
How to do it
- Step one foot forward and the other foot back.
- Keep the back heel lifted.
- Bend the front knee.
- Reach arms up or keep hands on hips, then switch sides.
What to focus on
- Stack the front knee over the ankle.
- Press back through the rear heel.
- Keep your torso lifted and steady.
Make it easier
- Lower the back knee.
- Shorten the stance.
- Keep hands on hips or blocks.
Avoid this
- Letting the front knee collapse inward.
- Arching your lower back to lift your chest.
- Holding a stance that feels too unstable.
Low Lunge
How to do it
- Step one foot forward and lower the back knee.
- Place hands on the floor, blocks, or front thigh.
- Let the hips move forward gently.
- Hold, then switch sides.
What to focus on
- Keep the front foot grounded.
- Feel a mild stretch through the front of the back hip.
- Keep your chest long rather than sinking heavily.
Make it easier
- Put a folded blanket under the back knee.
- Keep hands on blocks.
- Stay more upright.
Avoid this
- Pushing the hips forward aggressively.
- Letting the front knee drift inward.
- Pressing directly into an uncomfortable back knee.
Garland Pose
How to do it
- Stand with feet a little wider than hip-width.
- Turn toes slightly out.
- Bend into a squat.
- Bring hands together at your chest.
What to focus on
- Keep your chest lifted.
- Let knees track in the same direction as toes.
- Keep both feet grounded as much as possible.
Make it easier
- Sit on a block or low support.
- Place a folded blanket under the heels.
- Stay in a higher squat.
Avoid this
- Forcing the heels down.
- Letting knees collapse inward.
- Rounding deeply through the back to stay low.
Wide-Legged Forward Fold
How to do it
- Stand with feet wide and toes pointing forward or slightly inward.
- Hinge from your hips.
- Place hands on the floor, blocks, or legs.
- Let your head and neck relax.
What to focus on
- Keep weight balanced across both feet.
- Lengthen your spine before folding deeper.
- Keep the stretch even through both legs.
Make it easier
- Bend your knees.
- Use blocks under your hands.
- Keep your torso higher.
Avoid this
- Shifting all weight into your heels.
- Pulling your head toward the floor.
- Locking your knees while folding.
Tree Pose
How to do it
- Stand tall and shift weight into one foot.
- Place the other foot on your ankle, calf, or inner thigh.
- Bring hands to your chest or reach them upward.
- Hold, then switch sides.
What to focus on
- Press the standing foot firmly into the floor.
- Keep your gaze steady.
- Let the lifted knee open only as far as comfortable.
Make it easier
- Keep toes of the lifted foot on the floor.
- Stand near a wall.
- Keep hands at your chest.
Avoid this
- Pressing the foot into the side of the knee.
- Forcing the hip open.
- Holding your breath when balancing.
Warrior III
How to do it
- Stand tall and shift weight into one foot.
- Hinge forward as the other leg lifts behind you.
- Reach arms forward, beside you, or keep hands on hips.
- Hold, then switch sides.
What to focus on
- Keep hips as level as possible.
- Lengthen from lifted heel through the crown of your head.
- Keep the standing knee slightly soft.
Make it easier
- Touch fingertips to a wall, chair, or blocks.
- Keep the lifted leg lower.
- Use hands on hips.
Avoid this
- Locking the standing knee.
- Rotating the lifted hip open.
- Lifting the leg higher than you can control.
Eagle Pose
How to do it
- Stand tall and bend your knees slightly.
- Cross one thigh over the other.
- Cross the arms or give yourself a shoulder hug.
- Sit the hips back slightly, then switch sides.
What to focus on
- Keep the standing foot grounded.
- Broaden the upper back.
- Keep your gaze steady.
Make it easier
- Keep toes of the crossed leg on the floor.
- Do only the arm variation.
- Stand near a wall.
Avoid this
- Twisting the standing knee.
- Forcing the leg wrap.
- Lifting your shoulders toward your ears.
Cat-Cow
How to do it
- Start on hands and knees.
- Inhale as you lift your chest and tailbone.
- Exhale as you round your spine and gently tuck your chin.
- Move slowly for the planned reps or time.
What to focus on
- Let the movement travel through the whole spine.
- Keep hands under shoulders and knees under hips.
- Match the movement to an easy breath rhythm.
Make it easier
- Put a folded blanket under your knees.
- Make the movement smaller.
- Do it seated on a chair.
Avoid this
- Dropping sharply into the lower back.
- Moving faster than you can control.
- Locking your elbows.
Downward-Facing Dog
How to do it
- Start on hands and knees.
- Lift your hips up and back.
- Press through your hands and lengthen your spine.
- Bend your knees as much as needed.
What to focus on
- Create length from hands to hips.
- Keep your neck relaxed between your arms.
- Press the floor away without sinking into the shoulders.
Make it easier
- Bend your knees more.
- Place hands on blocks or a wall.
- Shorten the distance between hands and feet.
Avoid this
- Forcing your heels to the floor.
- Rounding your back just to straighten your legs.
- Letting shoulder discomfort build.
Plank Pose
How to do it
- Place hands under shoulders and step legs back.
- Make a long line from head to heels.
- Press the floor away.
- Hold for the planned time.
What to focus on
- Keep hips from sagging or lifting too high.
- Draw the lower ribs gently in.
- Reach back through your heels.
Make it easier
- Lower your knees.
- Hold for shorter intervals.
- Put hands on a bench or wall.
Avoid this
- Dropping your lower back.
- Shrugging into your neck.
- Holding your breath.
Cobra Pose
How to do it
- Lie on your stomach with hands near your ribs.
- Press the tops of your feet into the mat.
- Lift your chest gently.
- Use light support from your hands.
What to focus on
- Keep the lift small and controlled.
- Draw shoulders back and down.
- Lengthen forward through the chest.
Make it easier
- Keep the lift low.
- Place forearms down for Sphinx Pose.
- Keep legs slightly wider apart.
Avoid this
- Pushing hard with your hands.
- Jamming the lower back.
- Lifting your shoulders toward your ears.
Upward-Facing Dog
How to do it
- Lie on your stomach with hands near your ribs.
- Press into your hands and the tops of your feet.
- Lift your chest and, if comfortable, your thighs.
- Keep shoulders open and breathe steadily.
What to focus on
- Press through the tops of the feet.
- Keep the chest broad.
- Lengthen the spine instead of compressing the lower back.
Make it easier
- Practice Cobra Pose instead.
- Keep thighs lightly supported.
- Hold for a shorter time.
Avoid this
- Letting shoulders collapse forward.
- Sinking into your wrists.
- Forcing the pose when Cobra feels better controlled.
Seated Forward Fold
How to do it
- Sit with legs extended forward.
- Lengthen your spine.
- Fold from the hips and reach toward legs, ankles, or feet.
- Hold for the planned time.
What to focus on
- Keep the fold steady rather than forceful.
- Bend your knees if the hamstrings pull strongly.
- Let the breath soften the pose.
Make it easier
- Sit on a folded blanket.
- Bend your knees.
- Rest hands on shins instead of reaching for feet.
Avoid this
- Rounding aggressively to reach farther.
- Pulling hard on your feet.
- Forcing your knees straight.
Butterfly Pose
How to do it
- Sit and bring the soles of your feet together.
- Let your knees open outward.
- Hold your feet or ankles.
- Stay upright or fold slightly forward.
What to focus on
- Keep the spine long.
- Let the hips open gradually.
- Relax the inner thighs without pushing the knees down.
Make it easier
- Sit on a blanket.
- Place blocks or cushions under the knees.
- Move your feet farther from your body.
Avoid this
- Pressing your knees down with your hands.
- Bouncing the knees aggressively.
- Rounding heavily through the back.
Head-to-Knee Pose
How to do it
- Sit with one leg extended and the other foot near the inner thigh.
- Turn your torso toward the extended leg.
- Fold forward from the hips.
- Hold, then switch sides.
What to focus on
- Keep the extended knee soft if needed.
- Lengthen the spine before folding.
- Aim your chest toward the leg.
Make it easier
- Sit on a folded blanket.
- Bend the extended knee.
- Rest hands on the leg instead of reaching the foot.
Avoid this
- Pulling yourself down by the foot.
- Forcing the bent knee flat.
- Rounding your back just to go lower.
Staff Pose
How to do it
- Sit with both legs extended forward.
- Place hands beside your hips.
- Flex your feet gently.
- Sit tall for the planned time.
What to focus on
- Lengthen through your spine.
- Keep legs active without locking the knees.
- Let your shoulders drop away from your ears.
Make it easier
- Sit on a folded blanket.
- Bend your knees slightly.
- Practice with your back near a wall.
Avoid this
- Collapsing through the lower back.
- Forcing the legs rigidly straight.
- Lifting the shoulders as you press the hands down.
Seated Twist
How to do it
- Sit comfortably with legs crossed or extended.
- Place one hand behind you and the other on the opposite knee or thigh.
- Turn gently through your upper body.
- Hold, then switch sides.
What to focus on
- Sit tall before twisting.
- Turn gradually with the breath.
- Keep both sitting bones grounded if possible.
Make it easier
- Sit on a folded blanket.
- Keep the twist smaller.
- Use a chair version.
Avoid this
- Pulling hard with the arms.
- Twisting into sharp discomfort.
- Collapsing your chest while turning.
Half Lord of the Fishes
How to do it
- Sit with one leg bent across or beside the other.
- Place one hand behind you.
- Hug the bent knee or hook the opposite arm around it.
- Twist gently, then switch sides.
What to focus on
- Lengthen upward before turning.
- Keep the twist controlled.
- Let the breath create space through the spine.
Make it easier
- Keep the bottom leg extended.
- Sit on a folded blanket.
- Hug the knee instead of hooking the elbow.
Avoid this
- Forcing the elbow outside the knee.
- Twisting the neck more than the torso.
- Rounding the lower back heavily.
Pigeon Pose
How to do it
- From hands and knees or downward dog, bring one knee forward.
- Extend the other leg back.
- Support your hips as needed.
- Stay upright or fold forward, then switch sides.
What to focus on
- Keep the front knee comfortable.
- Let the stretch settle around the outer hip and glute.
- Use support if one hip is hanging in the air.
Make it easier
- Place a blanket or block under the front hip.
- Keep the front foot closer to the body.
- Use Reclined Figure Four instead.
Avoid this
- Forcing the front shin parallel.
- Ignoring knee discomfort.
- Twisting the hips to reach the floor.
Lizard Pose
How to do it
- Start in a low lunge.
- Bring both hands inside the front foot.
- Keep the back knee down or lifted.
- Hold, then switch sides.
What to focus on
- Keep the front foot grounded.
- Let the hips lower gradually.
- Keep your chest reaching forward.
Make it easier
- Place blocks under your hands.
- Lower the back knee.
- Stay on hands instead of forearms.
Avoid this
- Forcing your forearms to the floor.
- Letting the front knee roll too far outward.
- Sinking into a pinching feeling in the hip.
Reclined Figure Four
How to do it
- Lie on your back with knees bent.
- Cross one ankle over the opposite thigh.
- Draw the legs toward you if comfortable.
- Hold, then switch sides.
What to focus on
- Keep head and shoulders relaxed.
- Flex the crossed foot gently.
- Let the stretch settle into the outer hip.
Make it easier
- Keep the bottom foot on the floor.
- Hold behind the thigh instead of the shin.
- Move the legs farther from your chest.
Avoid this
- Pulling aggressively with the arms.
- Letting the crossed knee feel strained.
- Lifting your head and neck.
Supine Twist
How to do it
- Lie on your back and draw one or both knees toward your chest.
- Let the knees move to one side.
- Open your arms wide or rest one hand on the top leg.
- Hold, then switch sides.
What to focus on
- Keep both shoulders relaxed toward the floor.
- Twist gently through the spine.
- Let the breath soften the position.
Make it easier
- Place a pillow or blanket under the knees.
- Keep the knees closer to center.
- Twist one bent leg at a time.
Avoid this
- Forcing the knees to the floor.
- Turning your neck into discomfort.
- Pushing the twist deeper with your hand.
Happy Baby
How to do it
- Lie on your back and bend your knees toward your chest.
- Hold the backs of your thighs, ankles, or outer feet.
- Let your knees move toward your armpits.
- Keep your lower back heavy on the floor.
What to focus on
- Relax your head and shoulders.
- Let the hips open without pulling hard.
- Keep the movement small if you rock side to side.
Make it easier
- Hold behind your thighs.
- Do one leg at a time.
- Keep the knees less wide.
Avoid this
- Pulling the feet aggressively downward.
- Lifting your tailbone too far.
- Rocking quickly if it bothers your back.
Knees to Chest
How to do it
- Lie on your back.
- Draw both knees toward your chest.
- Hold your shins or the backs of your thighs.
- Breathe slowly for the planned time.
What to focus on
- Keep shoulders and face relaxed.
- Let the lower back soften toward the floor.
- Use a gentle hold rather than a strong pull.
Make it easier
- Hold one knee at a time.
- Keep the grip behind the thighs.
- Support your head with a small folded towel.
Avoid this
- Pulling the knees forcefully into the chest.
- Lifting the neck to look forward.
- Rocking quickly if it feels uncomfortable.
Legs Up the Wall
How to do it
- Sit sideways near a wall.
- Turn onto your back and bring your legs up the wall.
- Rest your arms comfortably.
- Stay for the planned time with easy breathing.
What to focus on
- Let the wall support your legs.
- Keep your lower back comfortable.
- Relax your shoulders and face.
Make it easier
- Move your hips farther from the wall.
- Bend your knees slightly.
- Place a folded blanket under your hips or head.
Avoid this
- Forcing your hips tightly against the wall.
- Staying if your legs tingle or feel uncomfortable.
- Straining to keep your knees perfectly straight.
Reclined Bound Angle
How to do it
- Lie on your back and bring the soles of your feet together.
- Let your knees open outward.
- Rest your arms comfortably.
- Hold for the planned time.
What to focus on
- Let the hips open passively.
- Keep the lower back and ribs relaxed.
- Support the knees if the stretch feels strong.
Make it easier
- Place blocks, pillows, or blankets under the knees.
- Move the feet farther from the body.
- Keep the knees less open.
Avoid this
- Forcing the knees toward the floor.
- Arching the lower back sharply.
- Holding if the inner thighs feel strained.
Boat Pose
How to do it
- Sit with knees bent and feet on the floor.
- Lean back slightly while keeping your spine long.
- Lift one or both feet if comfortable.
- Reach arms forward or hold behind the thighs.
What to focus on
- Keep your chest lifted.
- Use the core without gripping through the neck.
- Breathe steadily while holding.
Make it easier
- Keep toes on the floor.
- Hold behind your thighs.
- Use shorter holds.
Avoid this
- Rounding your back to lift the legs higher.
- Holding your breath.
- Letting shoulders tense upward.
Side Plank
How to do it
- Start in plank or on one forearm.
- Turn to one side and stack or stagger your feet.
- Lift your hips.
- Reach the top arm up or place it on your hip, then switch sides.
What to focus on
- Press the floor away with the bottom arm.
- Keep hips lifted and steady.
- Make a long line through your body.
Make it easier
- Lower the bottom knee.
- Practice on the forearm.
- Hold for a shorter time.
Avoid this
- Letting the bottom shoulder collapse.
- Dropping your hips.
- Twisting your neck to look up if it feels strained.
Bridge Pose
How to do it
- Lie on your back with knees bent and feet hip-width apart.
- Press into your feet.
- Lift your hips.
- Hold, then lower slowly.
What to focus on
- Lift from your hips and glutes.
- Keep knees pointing forward.
- Lengthen the front of the body without squeezing the lower back.
Make it easier
- Lift only partway.
- Keep arms flat on the floor.
- Hold for a shorter time.
Avoid this
- Letting knees fall outward.
- Pushing into your neck.
- Overarching to get higher.
Locust Pose
How to do it
- Lie on your stomach with arms by your sides or reaching back.
- Lift your chest and legs slightly.
- Keep your gaze down or slightly forward.
- Hold, then lower with control.
What to focus on
- Lengthen through the legs and chest.
- Keep the back of your neck long.
- Use a small, steady lift.
Make it easier
- Lift only the chest or only the legs.
- Keep hands on the floor for light support.
- Hold for a shorter time.
Avoid this
- Throwing your head back.
- Lifting so high the lower back pinches.
- Holding your breath.
Camel Pose
How to do it
- Kneel with knees hip-width apart.
- Place hands on your lower back or hips.
- Lift your chest.
- Lean back gently, keeping hands on your back or reaching toward heels.
What to focus on
- Lift the chest before moving back.
- Keep hips over knees as much as possible.
- Let your neck follow only if comfortable.
Make it easier
- Keep hands on your lower back.
- Tuck toes under to bring heels closer.
- Make the backbend smaller.
Avoid this
- Dropping the head back suddenly.
- Pushing hips far behind the knees.
- Forcing hands to the heels.
Sphinx Pose
How to do it
- Lie on your stomach.
- Place forearms on the floor with elbows under or slightly ahead of shoulders.
- Press gently through the forearms.
- Lift your chest for the planned time.
What to focus on
- Keep shoulders away from ears.
- Let the chest broaden.
- Keep the lower back comfortable.
Make it easier
- Move elbows farther forward.
- Place a folded towel under the ribs.
- Keep the lift very small.
Avoid this
- Sinking heavily into the lower back.
- Clenching the glutes hard.
- Letting shoulders collapse toward your ears.
Bow Pose
How to do it
- Lie on your stomach and bend your knees.
- Reach back for your ankles or feet.
- Kick the feet into the hands to lift the chest.
- Hold briefly with steady breath.
What to focus on
- Lift the chest and thighs evenly.
- Keep knees roughly hip-width if possible.
- Use the legs to create the lift.
Make it easier
- Practice one leg at a time.
- Keep the lift small.
- Do Locust Pose instead.
Avoid this
- Pulling hard on the feet.
- Letting knees splay very wide.
- Forcing the backbend if your lower back feels compressed.
Seated Neck Stretch
How to do it
- Sit tall on a chair or mat.
- Let one ear move gently toward the same-side shoulder.
- Keep the opposite shoulder relaxed downward.
- Hold, then switch sides.
What to focus on
- Keep the stretch light.
- Breathe into the side of the neck.
- Keep your chest open and spine upright.
Make it easier
- Tilt your head less.
- Rest both hands on your thighs.
- Use a shorter hold.
Avoid this
- Pulling the head with force.
- Twisting the neck while tilting.
- Lifting the opposite shoulder.
Seated Shoulder Rolls
How to do it
- Sit tall with arms relaxed.
- Roll shoulders slowly up, back, and down.
- Complete the planned reps.
- Reverse direction if useful.
What to focus on
- Make the circles smooth.
- Move the shoulder blades, not just the neck.
- Keep your jaw relaxed.
Make it easier
- Make smaller circles.
- Move one shoulder at a time.
- Do fewer reps.
Avoid this
- Rushing through the movement.
- Holding tension at the top of the shrug.
- Moving into sharp shoulder discomfort.
Seated Spinal Twist
How to do it
- Sit tall on a chair with feet on the floor.
- Turn your torso gently to one side.
- Hold the chair seat or backrest lightly.
- Hold, then switch sides.
What to focus on
- Grow taller before turning.
- Keep hips facing forward.
- Let the twist come from the upper body.
Make it easier
- Make the twist smaller.
- Keep hands on your thighs.
- Sit farther forward on the chair.
Avoid this
- Pulling hard with the arms.
- Twisting quickly.
- Letting your knees shift far out of position.
Chair Forward Fold
How to do it
- Sit on a chair with feet flat on the floor.
- Fold forward over your thighs.
- Let your head and arms relax.
- Hold for the planned time.
What to focus on
- Let your back and neck soften.
- Keep both feet grounded.
- Fold only as far as comfortable.
Make it easier
- Rest elbows on thighs.
- Place a pillow on your lap.
- Keep your torso higher.
Avoid this
- Forcing your head below your knees.
- Holding your breath.
- Standing up too quickly after the fold.
Chair Cat-Cow
How to do it
- Sit on a chair with feet flat and hands on thighs.
- Inhale and gently lift your chest.
- Exhale and round your spine.
- Repeat slowly for the planned reps or time.
What to focus on
- Move with the breath.
- Keep the motion smooth through the spine.
- Let the shoulders follow naturally.
Make it easier
- Make each movement smaller.
- Keep hands closer to your hips.
- Slow the pace.
Avoid this
- Throwing the head forward or back.
- Forcing a large arch.
- Moving so fast the breath gets tense.
Wrist Stretch
How to do it
- Sit or stand comfortably.
- Extend one arm with palm facing forward or down.
- Use the other hand to gently guide the fingers back or downward.
- Hold, then switch sides.
What to focus on
- Keep the stretch light and controlled.
- Relax the shoulder of the stretching arm.
- Breathe steadily.
Make it easier
- Bend the elbow slightly.
- Use less pressure on the fingers.
- Hold for a shorter time.
Avoid this
- Pulling hard on the fingers.
- Locking the elbow aggressively.
- Continuing through numbness or sharp discomfort.
Build a Yoga Routine That Fits How You Practice
A yoga app should do more than show a long list of poses or ask you to follow a fixed class every time. This builder helps you create a yoga sequence you can actually use: choose poses, adjust the timing, save it, and run it step by step when you are ready.
You can keep the session short and practical, such as a 10-minute morning flow or a desk yoga break, or build something slower, such as a Yin practice, evening sequence, or yoga for sleep. The plan is not locked into one format. Start with a preset, change the poses, remove what does not fit, and save the result as your own reusable yoga template.
Each pose becomes a clear checklist step, with timing, sides, reps, breaths, and instructions where useful.
Why Use Checklist for Yoga?
Many yoga apps are built around videos, teachers, generated classes, or multi-week programs. Those can be useful, but they are not always the best fit when you already know roughly what you want to do and need a simple way to build, save, and repeat a sequence.
Checklist is built around repeatable routines. For yoga, that means a pose sequence can become a reusable template instead of a one-time note or static article. You can create one flow for mornings, another for evenings, one for flexibility, one for desk breaks, and one for post-workout recovery.
The checklist format also keeps the sequence editable. If a pose does not work for you, remove it. If the session is too long, shorten the timers. If you want something stronger, add more standing, balance, or core poses. If you want something calmer, use more seated, supine, Yin, or restorative poses.
Yoga also often connects with other habits. You might stretch after a gym workout, do a short flow before bed, use chair yoga during work, or add a few mobility poses to a recovery day. Checklist lets those practices live in the same place as your other checklists, workouts, travel lists, home tasks, and work processes.
How the Yoga App Builder Works
Start by choosing a preset or building from the pose library. Presets give you a quick starting point, while the full list lets you create something more specific.
You can filter poses by practical criteria such as:
- Goal, such as flexibility, relaxation, strength, balance, sleep, recovery, or posture
- Style, such as Hatha, Vinyasa, Yin, restorative, gentle yoga, chair yoga, desk yoga, or breathwork
- Position, such as standing, seated, kneeling, supine, prone, balancing, or chair
- Body area, such as hips, lower back, shoulders, spine, hamstrings, core, wrists, or full body
- Props, such as no props, yoga mat, chair, wall, block, or blanket
- Difficulty, from beginner to advanced
After selecting poses, you can adjust the fields that matter for this builder. Most poses use a timer. Some dynamic movements use reps. Left/right poses can include sides. Breathing-focused steps can use breath counts. Rest or transition time can be included where useful.
When the sequence is ready, you can create a one-time checklist session or save it as a reusable template. Running it in Play Mode lets you move through each pose in order, use timers, read the instructions, and mark steps complete as you go.
Yoga Routine Ideas You Can Build
The builder is designed around practical sessions people are likely to repeat, not just one-off classes. Useful starting points include:
- Beginner yoga for learning a simple sequence
- Morning or evening yoga for daily use
- Yoga for flexibility, relaxation, or sleep
- Desk yoga or chair yoga for short breaks
- Lower back, hip opening, neck and shoulder, balance, or core-focused sessions
- Post-workout, Yin, or restorative yoga for slower recovery days
These presets are starting points. The value is that you can edit them before saving. A beginner sequence can become shorter. A morning flow can become more active. A sleep-focused session can remove anything that feels too energetic. A flexibility plan can focus more on hips, hamstrings, or lower back.
Save, Run, and Repeat
A yoga sequence is more useful when you do not need to rebuild it every time. Once you have created one that works for you, save it as a template and run it again later.
This is especially useful for repeat use, such as morning yoga, evening yoga, desk yoga, or a weekly flexibility session. You can schedule saved templates so they fit into your day or week, then run them as checklist sessions when it is time to practice.
Completed sessions can also be saved in your Checklist history. That gives you a basic record of what you completed before, without turning the builder into a complex yoga analytics or coaching platform. The focus is simple: create the sequence, run it, and make it easier to repeat.
Over time, you can update the saved template as your needs change. If a pose feels too difficult, replace it. If the session feels too short, add another step. If a flow becomes too repetitive, create a second version for a different time of day or goal.
Who This Yoga Builder Is For
This builder is mainly for people who want a practical yoga planner rather than a full yoga studio app. It works well for beginners, casual yoga users, people practicing at home, and anyone who prefers a clear sequence they can customize.
It is also useful for people who use yoga alongside other routines. A gym user might save a post-workout sequence. Someone working at a desk might create a short chair yoga checklist. A traveler might keep a no-props flow for hotel rooms. Someone building an evening habit might schedule a short sleep-focused session. It is best when you want a visible, editable checklist you can save, schedule, repeat, and run step by step.
Start With a Preset or Build Your Own
Use the builder above to choose a preset or start from the pose library. Filter the poses, select the ones you want, adjust the timing and fields, then save the result as a reusable Checklist template or create a one-time checklist session.
A good first version does not need to be complicated. Start with a small sequence you are likely to repeat, run it once, and adjust it after you see what fits your body, time, and routine.